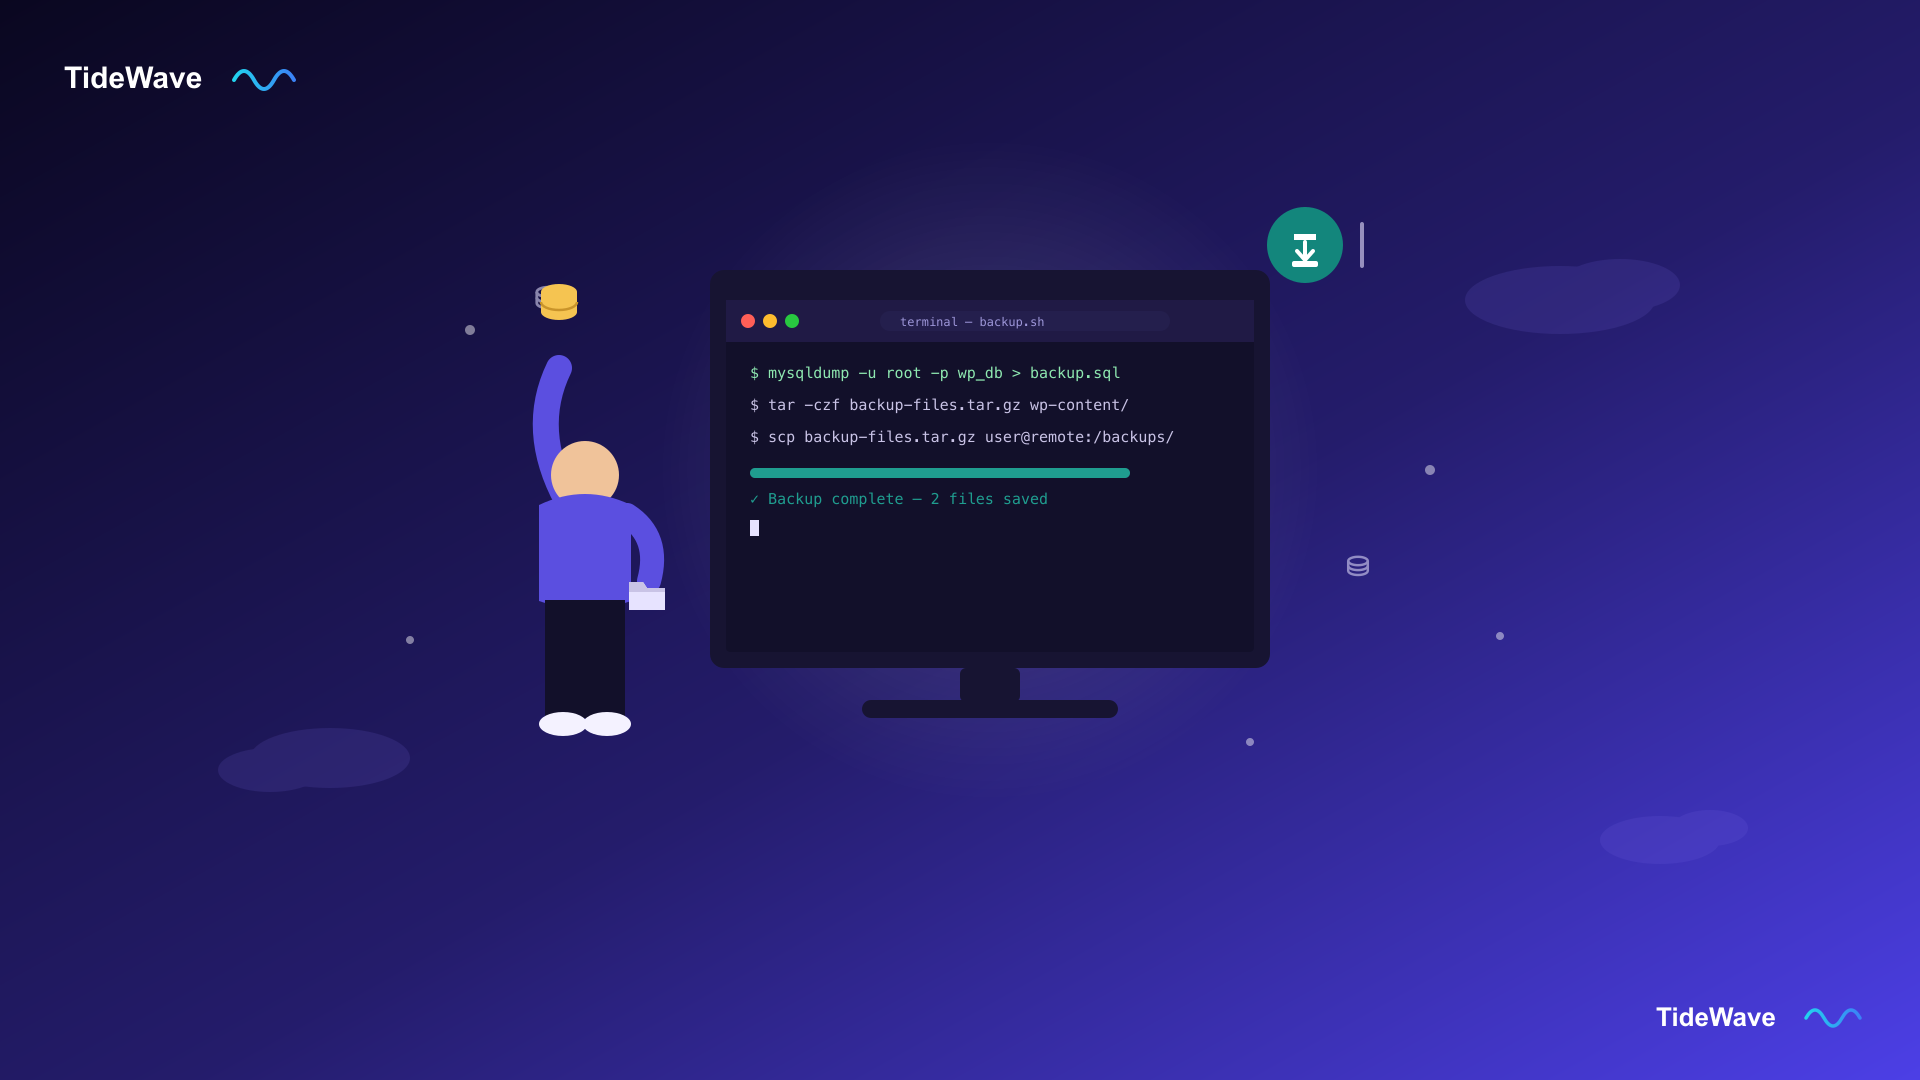
How to Create a WordPress Backup Manually?
Backup plugins are convenient right up until the moment they aren't: your site is already down and you can't log into wp-admin, your host doesn't allow you to install plugins on a locked account, or you just want a backup you're certain isn't silently failing in the background. A manual backup solves all three, because it only relies on two things every WordPress site already has: a MySQL database and a folder of files, both of which you can copy by hand with tools that ship on virtually every server.
In this guide, you'll back up both pieces manually, first through phpMyAdmin and your host's file manager (no terminal required), then with mysqldump, tar, and WP-CLI if you have SSH access, which is faster and easier to automate. You'll also learn how to restore from these backups, and how to schedule them so you're not relying on remembering to do this by hand every time.
What a Complete WordPress Backup Actually Needs
A WordPress site is really two separate things, and a backup is only complete if it captures both:
- The database — every post, page, comment, user account, setting, and plugin option lives here. Without it, your files alone are just an empty shell.
- The files — WordPress core, your active theme, every plugin, and everything in
wp-content/uploads(your media library). Without these, your database has nowhere to point its content, and no way to render it.
Miss either one, and a restore will leave you with a half-working site: a database with no theme to display it, or a theme with no content behind it.
Method 1: Manual Backup Without SSH (phpMyAdmin + File Manager)
If your hosting account doesn't give you terminal access, this method works entirely through your host's control panel (cPanel, Plesk, or similar) and takes about 10-15 minutes for a typical site.
Step 1: Export Your Database With phpMyAdmin
- Log into your hosting control panel and open phpMyAdmin.
- In the left sidebar, select your WordPress database. If you're not sure which one it is, check the
DB_NAMEvalue in your site'swp-config.phpfile. - Click the Export tab along the top.
- Choose the Quick export method, and set the format to SQL.
- Click Go. Your browser will download a
.sqlfile containing your entire database.
For a large site, switch to the Custom export method instead of Quick, so you can enable gzip compression before exporting; this can shrink the download significantly and avoid browser timeouts on bigger databases.
Step 2: Download Your Files With a File Manager or FTP
- Open your host's File Manager (or connect with an FTP client like FileZilla using your hosting credentials).
- Navigate to your WordPress installation's root folder, usually named
public_htmlor matching your domain. - Select everything, and compress it into a single archive if your file manager supports it (look for a Compress or Archive option), which turns thousands of small files into one manageable download.
- Download the resulting archive to your computer.
If your file manager can't compress files for you, downloading the wp-content folder on its own (which holds your themes, plugins, and uploads) is a reasonable minimum, since WordPress core itself can always be re-downloaded fresh from wordpress.org if needed.
Step 3: Store Both Files Somewhere Safe
Move the .sql export and the files archive off of your local downloads folder and into at least one other location, a cloud storage folder (Google Drive, Dropbox) or an external drive. A backup that only exists in one place isn't really a backup yet.
Method 2: Manual Backup With SSH (Faster and Scriptable)
If your host gives you SSH access, this method is faster, easier to repeat consistently, and simple to automate later with a cron job.
Step 1: Back Up the Database With mysqldump
Connect to your server over SSH, and find your database credentials in wp-config.php:
grep -E "DB_NAME|DB_USER|DB_PASSWORD|DB_HOST" wp-config.php
Then export the database with mysqldump:
mysqldump -u DB_USER -p -h DB_HOST DB_NAME > backup-$(date +%F).sql
You'll be prompted for the password interactively, which keeps it out of your shell history. $(date +%F) inserts today's date into the filename (for example, backup-2026-09-08.sql), so repeated backups don't overwrite each other.
For a large database, compress the output directly as it's created, rather than compressing it afterward:
mysqldump -u DB_USER -p -h DB_HOST DB_NAME | gzip > backup-$(date +%F).sql.gz
Step 2: Back Up Your Files With tar
From your WordPress root directory, archive and compress everything in one step:
tar -czf backup-files-$(date +%F).tar.gz \
    --exclude='wp-content/cache' \
    --exclude='wp-content/uploads/cache' \
    .
The --exclude flags skip cache directories that don't need to be backed up and can be quite large; drop them if your setup doesn't use disk caching, or add more excludes for anything else you regenerate automatically (like node_modules in a custom build setup).
Step 3: Copy Both Backups Off the Server
A backup that lives on the same server it's protecting doesn't help you if that server goes down entirely. Copy both files to your local machine with scp:
scp [email protected]:/path/to/wordpress/backup-$(date +%F).sql.gz .
scp [email protected]:/path/to/wordpress/backup-files-$(date +%F).tar.gz .
Or, if you have a remote backup server or another machine you control, use rsync instead, which only transfers changed data on subsequent runs and resumes cleanly if interrupted:
rsync -avz backup-files-$(date +%F).tar.gz user@backup-host:/backups/mysite/
Method 3: Manual Backup With WP-CLI
If WP-CLI is installed on your server, it wraps the same steps above into WordPress-aware commands, which is especially useful because it reads your database credentials automatically instead of you having to find them yourself.
# Export the database (reads credentials from wp-config.php automatically)
wp db export backup-$(date +%F).sql

# Export just the content (posts, pages, comments) as portable XML,
# useful for moving content between sites independent of plugins/theme
wp export --dir=./exports

# Back up the files the same way as Method 2
tar -czf backup-files-$(date +%F).tar.gz --exclude='wp-content/cache' .
wp db export is functionally equivalent to the mysqldump command above, but it's one command instead of needing to look up your database name and credentials manually, which makes it the fastest option when it's available.
Automating Manual Backups With Cron
Once you're comfortable running the commands above by hand, turning them into a scheduled job removes the "did I remember to do this" problem entirely. Create a small script:
#!/bin/bash
# /home/youruser/backup-wordpress.sh

cd /path/to/wordpress || exit 1

DATE=$(date +%F)
BACKUP_DIR=/home/youruser/backups

mkdir -p "$BACKUP_DIR"

wp db export "$BACKUP_DIR/db-$DATE.sql"
tar -czf "$BACKUP_DIR/files-$DATE.tar.gz" --exclude='wp-content/cache' .

# Keep only the last 7 days of backups
find "$BACKUP_DIR" -name "*.sql" -mtime +7 -delete
find "$BACKUP_DIR" -name "*.tar.gz" -mtime +7 -delete
Make it executable, and add it to your crontab to run every night:
chmod +x /home/youruser/backup-wordpress.sh
crontab -e
Add this line to run it at 2 AM daily:
0 2 * * * /home/youruser/backup-wordpress.sh >> /home/youruser/backup.log 2>&1
The find ... -mtime +7 -delete lines are what keep this sustainable long-term: without them, this script would quietly fill up your disk with backups forever. Adjust +7 to however many days of history you actually want to keep.
Restoring From a Manual Backup
Restoring the Database
mysql -u DB_USER -p -h DB_HOST DB_NAME < backup-2026-09-08.sql
If your backup is gzip-compressed, decompress it into the import instead of extracting it to disk first:
gunzip < backup-2026-09-08.sql.gz | mysql -u DB_USER -p -h DB_HOST DB_NAME
Restoring Your Files
Extract the archive into your WordPress root, overwriting the existing files:
tar -xzf backup-files-2026-09-08.tar.gz -C /path/to/wordpress
If You're Restoring to a Different Domain or Server
Restoring a backup to a new domain (for example, moving from a staging URL to production, or migrating hosts) requires one more step, because WordPress stores its site URL directly inside the database, in multiple places, including serialized data inside post content. Use WP-CLI's search-replace, which safely handles serialized values that a plain find-and-replace would corrupt:
wp search-replace 'https://old-domain.com' 'https://new-domain.com' --all-tables
Run this immediately after importing the database, and before loading the site in a browser, so every internal link and asset URL points to the correct domain from the start.
Frequently Asked Questions (FAQ) About Manual WordPress Backups
Yes, in terms of the data itself, a mysqldump export and a tar archive contain exactly the same information a plugin would collect. What you lose is the plugin's automation, scheduling UI, and one-click restore; a manual backup requires you to run the commands (or the cron job) yourself and restore by hand.
For most sites, no. mysqldump takes a consistent snapshot without requiring downtime for typical traffic levels. For a very large, high-write site (like an active e-commerce store), consider using the --single-transaction flag with mysqldump to reduce the chance of capturing data mid-write.
This almost always means the database user in your command doesn't match the credentials in wp-config.php, or that user doesn't have export privileges. Double-check the DB_USER, DB_PASSWORD, and DB_HOST values directly from wp-config.php rather than guessing them.
It scales with your content and, especially, your revision history and transient options, both of which can bloat a database significantly over time. If your export is unexpectedly large, consider cleaning up post revisions and expired transients before your next backup, which will also make your site itself faster.
Yes. Add an rsync or a cloud CLI upload (like the AWS CLI for S3, or rclone for most cloud storage providers) as an additional line in the backup-wordpress.sh script above, right after the tar and wp db export commands, so the backup is copied offsite automatically as part of the same nightly job.
wp db export creates a full raw SQL dump of your entire database, the same as mysqldump, needed for a complete site restore. wp export creates a WordPress-specific XML file (the same format as Tools → Export in the dashboard) containing just your content, which is useful for moving posts between sites but cannot fully restore a broken site on its own.
Conclusion
A manual backup takes a few extra minutes compared to clicking a button in a plugin, but it comes with something plugins can't always guarantee: certainty about exactly what was backed up, and the ability to do it even when your dashboard is inaccessible. Whether you use phpMyAdmin and a file manager, or mysqldump and tar over SSH, the two things that actually matter are the same either way: capture both the database and the files, and store the result somewhere other than the server you just backed up.
Once you're comfortable running these commands by hand, wrapping them in the cron script above turns a manual process into a reliable, automatic one, without ever needing to install a backup plugin at all.
Here are a few additional resources if you want to go deeper:
- WordPress Codex: Backing Up Your Database — the official documentation covering both manual and automated backup approaches.
- WP-CLI Command Reference: wp db — the full list of database subcommands, including export, import, and search-replace.
- MySQL Documentation: mysqldump — the complete reference for every mysqldump flag, including options for large or high-traffic databases.


