Parallel Routes in Next.js: Building Dashboards with Independent Sections
A dashboard is rarely one thing. It's a revenue chart, a list of recent orders, an activity feed, and maybe a panel of alerts, each pulling from a different data source with different response times. If you build it as a single page that awaits everything, the slowest query decides when anything appears, and one failing API takes down the whole screen.
Parallel routes give each of those sections its own route. Every section gets its own page.tsx, its own loading.tsx, its own error.tsx, and can even have its own sub-navigation, while all of them render together inside one layout at one URL.
This post builds a dashboard with parallel routes step by step: defining slots, rendering them in a layout, giving each one independent loading and error states, handling default.tsx (which Next.js 16 requires), adding tabs inside a slot, and switching slots based on the user's role.
What Parallel Routes Are
A parallel route is a folder whose name starts with @. That folder is called a slot. Slots don't add anything to the URL. Instead, each slot is passed as a prop to the layout in the same parent folder, next to the usual children.
app/
└── dashboard/
    ├── layout.tsx
    ├── page.tsx              # the implicit "children" slot
    ├── default.tsx
    ├── @revenue/
    │   ├── page.tsx
    │   ├── loading.tsx
    │   ├── error.tsx
    │   └── default.tsx
    ├── @orders/
    │   ├── page.tsx
    │   ├── loading.tsx
    │   └── default.tsx
    └── @activity/
        ├── page.tsx
        ├── loading.tsx
        └── default.tsx
All of these render at /dashboard. The layout receives four props: children (from dashboard/page.tsx), revenue, orders, and activity. children is itself an implicit slot; dashboard/page.tsx behaves exactly as if it were dashboard/@children/page.tsx.
Step 1: The Layout
The layout decides where each slot goes:
// app/dashboard/layout.tsx
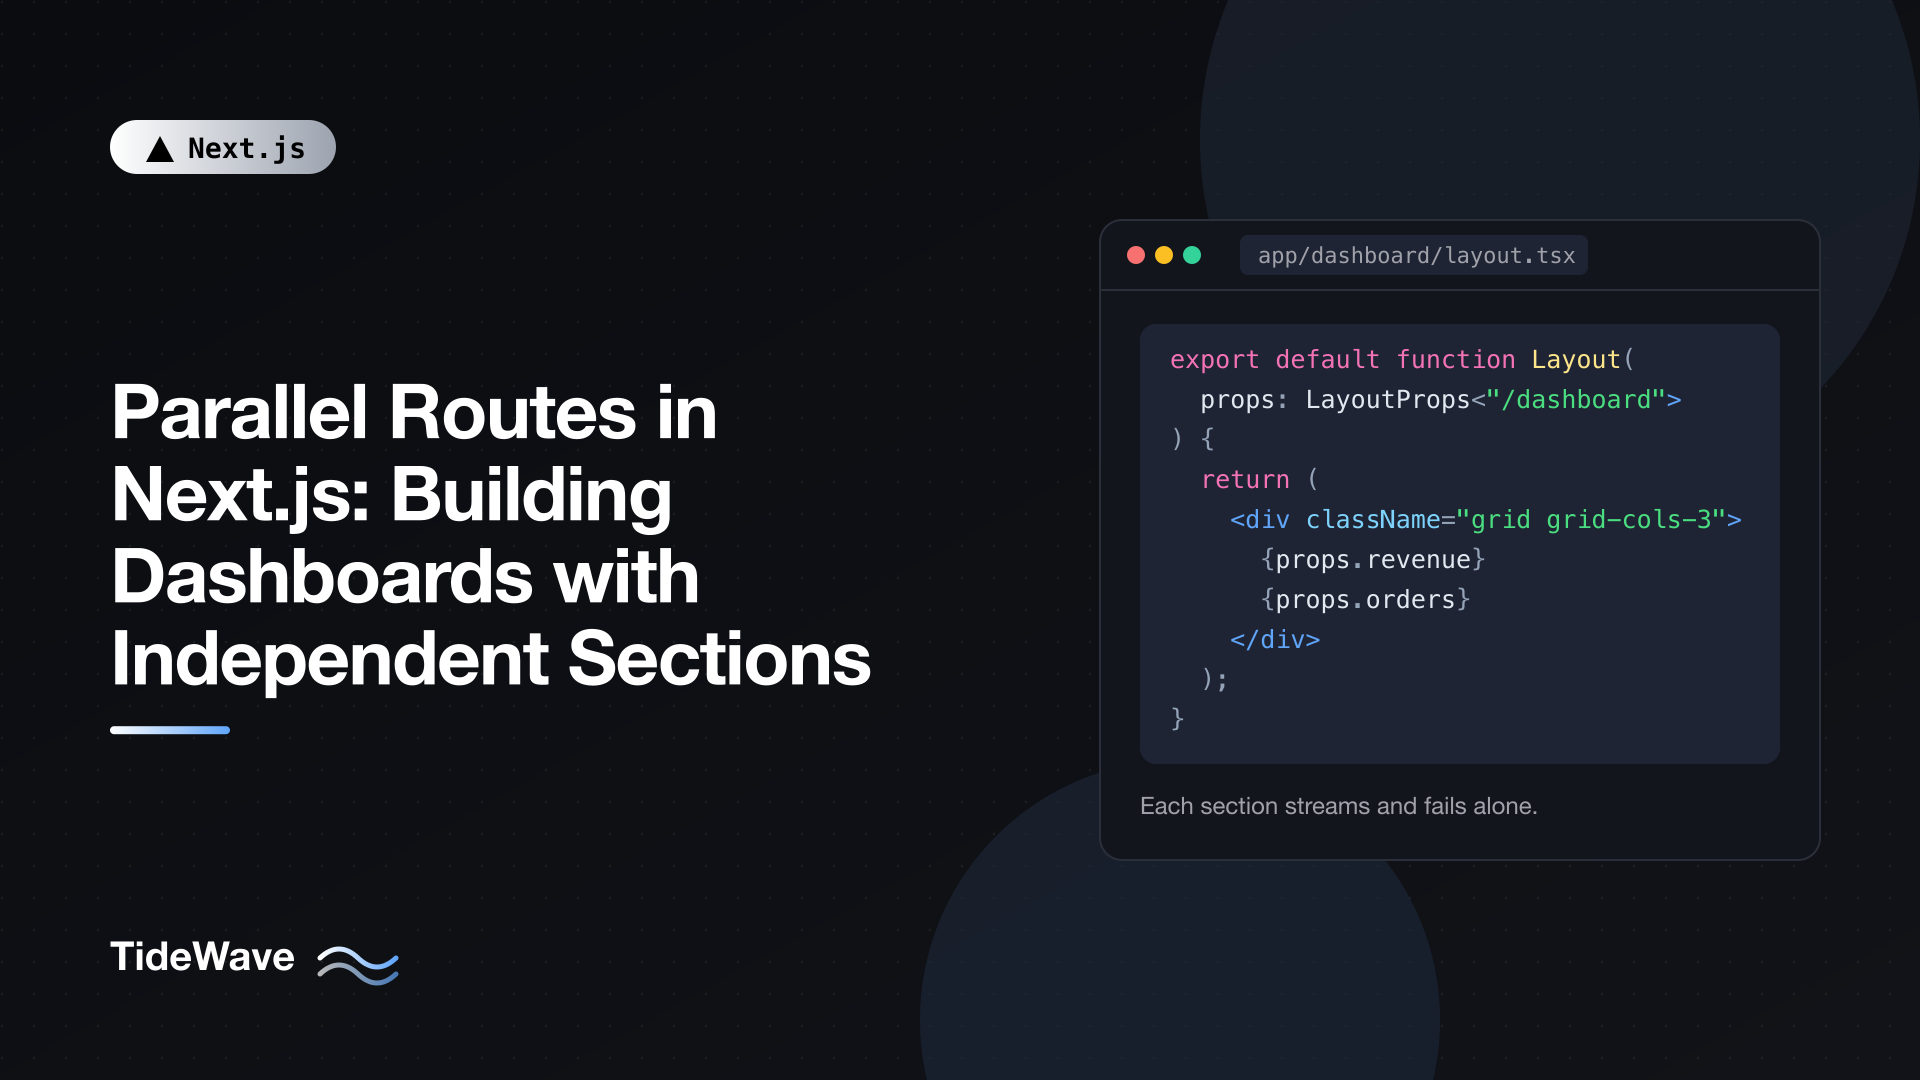
export default function DashboardLayout(props: LayoutProps<"/dashboard">) {
  return (
    <div className="mx-auto max-w-7xl space-y-6 p-6">
      <header>{props.children}</header>

      <div className="grid gap-6 lg:grid-cols-3">
        <section className="rounded-xl border p-5 lg:col-span-2">
          {props.revenue}
        </section>
        <section className="rounded-xl border p-5">{props.activity}</section>
      </div>

      <section className="rounded-xl border p-5">{props.orders}</section>
    </div>
  );
}
LayoutProps<"/dashboard"> is a global type helper Next.js generates from your folder structure (during next dev, next build, or next typegen). It already knows this layout has revenue, orders, and activity slots, so props.revenue is typed as React.ReactNode and a typo like props.revenu is a type error. If you'd rather write the type yourself:
// app/dashboard/layout.tsx (manual types)
type Props = {
  children: React.ReactNode;
  revenue: React.ReactNode;
  orders: React.ReactNode;
  activity: React.ReactNode;
};
The children slot here renders a page header, but it could be anything: a welcome message, a date-range picker, or nothing at all.
Step 2: Each Slot Fetches Its Own Data
Each slot's page.tsx is a normal Server Component that loads only what it needs:
// app/dashboard/page.tsx
export default function DashboardHome() {
  return (
    <div>
      <h1 className="text-2xl font-semibold">Dashboard</h1>
      <p className="text-slate-500">Last 30 days</p>
    </div>
  );
}
// app/dashboard/@revenue/page.tsx
import { getRevenueByDay } from "@/lib/analytics";
import { RevenueChart } from "./revenue-chart";

export default async function RevenueSlot() {
  const data = await getRevenueByDay({ days: 30 });
  const total = data.reduce((sum, d) => sum + d.amount, 0);

  return (
    <>
      <h2 className="text-lg font-medium">Revenue</h2>
      <p className="text-3xl font-bold">${total.toLocaleString()}</p>
      <RevenueChart data={data} />
    </>
  );
}
// app/dashboard/@orders/page.tsx
import { getRecentOrders } from "@/lib/orders";

export default async function OrdersSlot() {
  const orders = await getRecentOrders({ limit: 10 });

  return (
    <>
      <h2 className="mb-4 text-lg font-medium">Recent orders</h2>
      <table className="w-full text-left text-sm">
        <thead>
          <tr>
            <th>Order</th>
            <th>Customer</th>
            <th>Total</th>
          </tr>
        </thead>
        <tbody>
          {orders.map((order) => (
            <tr key={order.id}>
              <td>#{order.number}</td>
              <td>{order.customerName}</td>
              <td>${order.total.toFixed(2)}</td>
            </tr>
          ))}
        </tbody>
      </table>
    </>
  );
}
// app/dashboard/@activity/page.tsx
import { getActivityFeed } from "@/lib/activity";

export default async function ActivitySlot() {
  const events = await getActivityFeed({ limit: 8 });

  return (
    <>
      <h2 className="mb-4 text-lg font-medium">Activity</h2>
      <ul className="space-y-3 text-sm">
        {events.map((event) => (
          <li key={event.id}>
            <span className="font-medium">{event.actor}</span> {event.action}
          </li>
        ))}
      </ul>
    </>
  );
}
RevenueChart would be a Client Component (charts need the browser), receiving data as a serializable prop. Everything else stays on the server.
Because each slot is its own route segment, Next.js renders them concurrently. The orders query doesn't wait for the revenue query to finish, and vice versa. You get this without writing any Promise.all or coordinating fetches in a parent component.
Step 3: Independent Loading States
Add a loading.tsx to each slot, and each section shows its own skeleton while its data loads:
// app/dashboard/@revenue/loading.tsx
export default function RevenueLoading() {
  return (
    <div className="animate-pulse space-y-4">
      <div className="h-5 w-24 rounded bg-slate-200" />
      <div className="h-9 w-40 rounded bg-slate-200" />
      <div className="h-48 rounded bg-slate-100" />
    </div>
  );
}
// app/dashboard/@orders/loading.tsx
export default function OrdersLoading() {
  return (
    <div className="animate-pulse space-y-2">
      {Array.from({ length: 6 }).map((_, i) => (
        <div key={i} className="h-8 rounded bg-slate-100" />
      ))}
    </div>
  );
}
A loading.tsx wraps its segment in a React Suspense boundary. Since each slot is a separate segment, each gets a separate boundary. When the user opens /dashboard, the layout and header appear right away, three skeletons show, and each section is streamed in as soon as its own data is ready. A fast activity feed appears immediately even if the revenue query takes two seconds.
Design the skeletons to match the final layout (same height, same rough shape) so the page doesn't jump when real content arrives.
Step 4: Independent Error States
The same idea applies to errors. An error.tsx in a slot catches errors thrown while rendering that slot and leaves the rest of the dashboard alone:
// app/dashboard/@revenue/error.tsx
"use client";
export default function RevenueError({
error,
retry,
}: {
error: Error & { digest?: string };
retry: () => void;
}) {
return (
<div className="space-y-3">
<h2 className="text-lg font-medium">Revenue</h2>
<p className="text-sm text-red-600">
We couldn't load revenue data right now.
</p>
<button
onClick={() => retry()}
className="rounded border px-3 py-1 text-sm"
>
Try again
</button>
</div>
);
}
If the analytics service is down, the revenue card shows this message with a retry button, and orders and activity keep working. Error boundaries must be Client Components, hence "use client". The retry prop (stable as of Next.js 16.3) re-fetches and re-renders the slot.
Compare that to a single-page dashboard: one thrown error would replace the whole page with the nearest error boundary.
Step 5: default.tsx and Unmatched Slots
This is the part of parallel routes that confuses people most, and Next.js 16 made it stricter.
Next.js tracks which page each slot is showing. On client-side navigation, if you go to a URL that a slot has no page for, the slot keeps showing whatever it was showing before. On a hard navigation (a full page load or refresh), Next.js has no previous state to keep, so it needs something to render for every slot that doesn't match the URL. That something is default.tsx.
In Next.js 16, every named slot must have a default.tsx. The build fails without one. For a dashboard, you typically want slots to render nothing (or their normal content) when they don't match:
// app/dashboard/@activity/default.tsx
export default function ActivityDefault() {
  return null;
}
If you'd rather show a 404 when a slot can't be matched, call notFound():
// app/dashboard/@orders/default.tsx
import { notFound } from "next/navigation";

export default function OrdersDefault() {
  notFound();
}
The implicit children slot can have a default.tsx too, at app/dashboard/default.tsx. Without one, a hard navigation to a URL that only a named slot matches will 404 for the children part. Often the simplest option is to re-export the page:
// app/dashboard/default.tsx
export { default } from "./page";
When does a slot not match? As soon as you add sub-pages. That's the next step.
Step 6: Tabs Inside a Slot
A slot can have nested routes and its own layout. That lets one section of the dashboard have tabs while the others stay put.
app/dashboard/@orders/
├── layout.tsx            # tab bar for the orders section
├── page.tsx              # /dashboard          -> recent orders
├── pending/
│   └── page.tsx          # /dashboard/pending  -> pending orders
├── loading.tsx
└── default.tsx
// app/dashboard/@orders/layout.tsx
import { OrdersTabs } from "./orders-tabs";

export default function OrdersLayout({
  children,
}: {
  children: React.ReactNode;
}) {
  return (
    <>
      <OrdersTabs />
      {children}
    </>
  );
}
// app/dashboard/@orders/orders-tabs.tsx
"use client";

import Link from "next/link";
import { useSelectedLayoutSegment } from "next/navigation";

const tabs = [
  { href: "/dashboard", label: "Recent", segment: null },
  { href: "/dashboard/pending", label: "Pending", segment: "pending" },
];

export function OrdersTabs() {
  const segment = useSelectedLayoutSegment();

  return (
    <nav className="mb-4 flex gap-4 border-b">
      {tabs.map((tab) => (
        <Link
          key={tab.href}
          href={tab.href}
          className={
            segment === tab.segment
              ? "border-b-2 border-slate-900 pb-2 font-medium"
              : "pb-2 text-slate-500"
          }
        >
          {tab.label}
        </Link>
      ))}
    </nav>
  );
}
// app/dashboard/@orders/pending/page.tsx
import { getPendingOrders } from "@/lib/orders";

export default async function PendingOrders() {
  const orders = await getPendingOrders();

  return (
    <ul className="space-y-2 text-sm">
      {orders.map((order) => (
        <li key={order.id}>
          #{order.number} from {order.customerName}, waiting{" "}
          {order.hoursWaiting}h
        </li>
      ))}
    </ul>
  );
}
useSelectedLayoutSegment() called inside the slot's layout returns the active child segment: null on the root page, "pending" on the pending tab.
Clicking "Pending" navigates to /dashboard/pending. Only the orders slot has a page for that URL. On this client-side navigation, the revenue and activity slots keep their current content, and so does children. That's the "independent sections" part: one section navigates, the others don't move.
If the user refreshes on /dashboard/pending, though, Next.js has to render the other slots from scratch. Revenue and activity have no pending page, so their default.tsx files render. This is why the defaults matter. For a dashboard where every section should always be visible, make the defaults render the same content as the slot's main page:
// app/dashboard/@revenue/default.tsx
export { default } from "./page";
Now a refresh on any tab URL shows the full dashboard with that tab selected.
Step 7: Different Slots for Different Users
Because slots are just props, the layout can choose which ones to render. A common use is a role-specific dashboard:
app/dashboard/
├── layout.tsx
├── page.tsx              # children slot (not rendered by this layout)
├── @admin/
│   ├── page.tsx
│   └── default.tsx
└── @member/
    ├── page.tsx
    └── default.tsx
// app/dashboard/layout.tsx
import { getCurrentUser } from "@/lib/auth";

export default async function DashboardLayout({
  admin,
  member,
}: LayoutProps<"/dashboard">) {
  const user = await getCurrentUser();
  return user?.role === "admin" ? admin : member;
}
There's an important security detail here: both slots render on the server, regardless of which one the layout returns. The conditional controls what the user sees, not what runs. If @admin/page.tsx fetches sensitive data, that fetch runs for every user, and its output can be included in the response.
So the admin slot must check authorization itself, before loading anything:
// app/dashboard/@admin/page.tsx
import { getCurrentUser } from "@/lib/auth";
import { getAdminStats } from "@/lib/admin";

export default async function AdminSlot() {
  const user = await getCurrentUser();
  if (user?.role !== "admin") return null;

  const stats = await getAdminStats();

  return (
    <div>
      <h2 className="text-lg font-medium">Admin overview</h2>
      <p>{stats.activeUsers} active users</p>
    </div>
  );
}
Better still, put the check inside getAdminStats itself (a data access layer), so every caller is protected. Wrap getCurrentUser in React's cache so calling it from the layout and the slot only does the work once per request.
Rendering Rules to Know
A few behaviors are worth keeping in mind as your dashboard grows:
- Slots don't change URLs.
app/dashboard/@orders/pending/page.tsxis served at/dashboard/pending, not/dashboard/@orders/pending. - Slots at the same level share a rendering mode. You can't have one slot prerendered and its sibling rendered per request. If one slot at a level reads cookies or other request data, all slots at that level are rendered dynamically.
- Slot layouts work like any layout. They persist across navigations within the slot and don't re-render when only their children change.
useSelectedLayoutSegmenttakes a slot name. From the parent layout,useSelectedLayoutSegment("orders")returns the active segment inside@orders. Without an argument it readschildren.- Every named slot needs
default.tsxin Next.js 16. Add one when you create the slot, even if it just returnsnull.
When Parallel Routes Are the Right Tool
Parallel routes are a good fit when sections of a page:
- Load from different sources with different speeds and should stream independently.
- Should fail independently.
- Need their own navigation that doesn't reset the rest of the page.
- Are conditionally shown based on role or state.
If you only need independent loading for a few components, plain Suspense boundaries inside one page are simpler and don't require default.tsx files or extra folders. Reach for parallel routes when the sections genuinely behave like separate pages. They're also the foundation for route-based modals, where a slot combines with an intercepted route; see the post on intercepting routes for that pattern.
Conclusion
Parallel routes turn each section of a dashboard into its own route segment. Create a slot with an @folder, render it from the parent layout as a prop, and it gets its own data fetching, its own loading.tsx and error.tsx, and optionally its own nested pages and layout. Sections stream in as they're ready, fail without taking each other down, and can navigate independently.
The parts that need care are default.tsx, which every named slot needs and which decides what a slot shows after a refresh, and conditional slots, which still run on the server even when they're hidden. Get those right and parallel routes are one of the cleanest ways to build complex, resilient screens in the App Router.