Building a Progressive Web App (PWA) with Next.js
A Progressive Web App is a website that can behave like an installed app. Users can add it to their home screen or dock, it opens in its own window without browser chrome, it can show something useful when the network drops, and it can receive push notifications. There's no app store review and no separate codebase: it's the same Next.js app, with a few extra pieces.
Those pieces are smaller than people expect. You need a web app manifest that describes the app, a set of icons, and usually a service worker that intercepts network requests so the app keeps working offline. Next.js supports the manifest natively through the App Router's metadata files. The service worker is plain JavaScript you write yourself or generate with a library.
This post builds a PWA step by step: the manifest and icons, theme colors and iOS metadata, a hand-written service worker with an offline fallback, safe caching strategies for Next.js assets, handling updates, a custom install button, and how to test it all.
What Makes an App Installable
Browsers decide whether to offer installation based on a few criteria. In practice, you need:
- The site served over HTTPS (or
localhostduring development). - A web app manifest with at least a
nameorshort_name, astart_url, adisplaymode such asstandalone, and icons at 192×192 and 512×512.
Chromium-based browsers (Chrome, Edge, Samsung Internet) show an install option once these are met. Safari on macOS lets users add any site to the Dock, and Safari on iOS and iPadOS uses Share → Add to Home Screen. A service worker isn't strictly required for installation in current Chromium versions, but you want one anyway: it's what makes the app work offline.
Step 1: The Web App Manifest
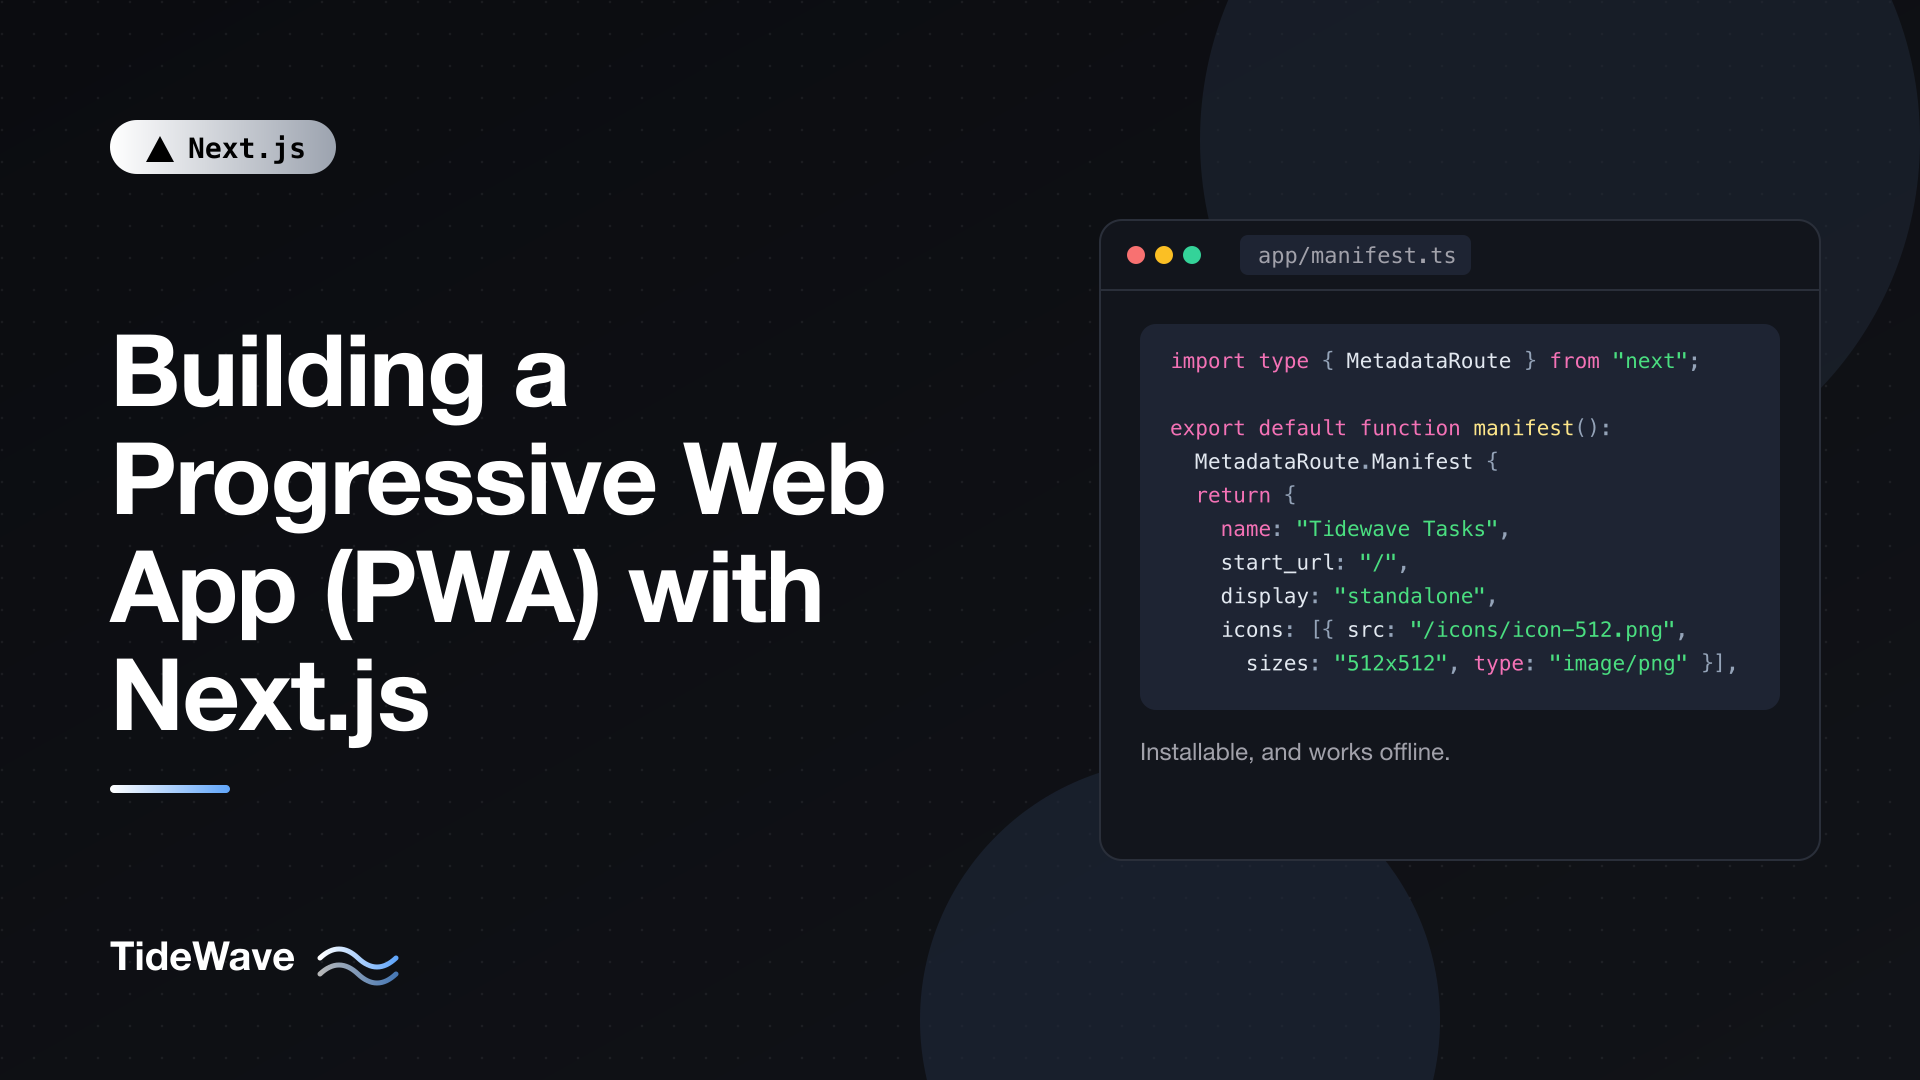
In the App Router, a manifest.ts file in app/ generates /manifest.webmanifest and adds the <link rel="manifest"> tag to every page automatically:
// app/manifest.ts
import type { MetadataRoute } from "next";

export default function manifest(): MetadataRoute.Manifest {
  return {
    name: "Tidewave Tasks",
    short_name: "Tasks",
    description: "A fast, offline-friendly task list.",
    id: "/",
    start_url: "/?source=pwa",
    scope: "/",
    display: "standalone",
    orientation: "portrait",
    background_color: "#0f172a",
    theme_color: "#0ea5e9",
    categories: ["productivity"],
    icons: [
      { src: "/icons/icon-192.png", sizes: "192x192", type: "image/png" },
      { src: "/icons/icon-512.png", sizes: "512x512", type: "image/png" },
      {
        src: "/icons/icon-maskable-512.png",
        sizes: "512x512",
        type: "image/png",
        purpose: "maskable",
      },
    ],
    shortcuts: [
      {
        name: "New task",
        url: "/tasks/new",
        icons: [
          { src: "/icons/shortcut-new.png", sizes: "96x96", type: "image/png" },
        ],
      },
    ],
  };
}
The MetadataRoute.Manifest type gives you autocomplete and catches typos in field names. The important fields:
name/short_name: the full name appears in install dialogs and splash screens; the short name appears under the home screen icon, where space is tight.id: a stable identity for the app. If you later changestart_url, browsers still recognize it as the same installed app.start_url: the page that opens when the user launches the installed app. Adding?source=pwalets your analytics separate installed launches from regular visits.display: "standalone": opens in its own window without the address bar.minimal-uikeeps a few navigation controls;browseris a normal tab.background_color: the splash screen color shown while the app loads. Match your page background to avoid a flash.theme_color: the color of the title bar or status bar.shortcuts: entries in the long-press (mobile) or right-click (desktop) menu on the app icon.
You could also write a static app/manifest.json, but the TypeScript version is type-checked and can read from config, for example to vary the name between staging and production.
Step 2: Icons
Put icon files in public/icons/. You need at minimum:
| File | Size | Purpose |
|---|---|---|
icon-192.png | 192×192 | Home screen, app launcher |
icon-512.png | 512×512 | Splash screen, install dialog |
icon-maskable-512.png | 512×512 | Android adaptive icons |
apple-icon.png (in app/) | 180×180 | iOS home screen |
A maskable icon has its important content within a central "safe zone" (roughly the middle 80%), with the background extending to the edges. Android crops icons into circles, squircles, or rounded squares depending on the device; a regular icon gets awkward white padding, while a maskable one fills the shape cleanly. Keep purpose: "maskable" on a separate entry from your regular icons, since a maskable design looks too zoomed-out when displayed uncropped.
For iOS, place an apple-icon.png in the app/ folder. Next.js turns it into the <link rel="apple-touch-icon"> tag automatically, the same way app/icon.png becomes the favicon.
Step 3: Theme Color and iOS Metadata
The theme color in the manifest only applies once the app is installed. To color the browser UI for regular visitors too, export a viewport object from your root layout. You can give different colors for light and dark mode:
// app/layout.tsx
import type { Metadata, Viewport } from "next";
import { ServiceWorkerRegistration } from "./sw-registration";
import "./globals.css";

export const metadata: Metadata = {
  title: "Tidewave Tasks",
  description: "A fast, offline-friendly task list.",
  appleWebApp: {
    capable: true,
    title: "Tasks",
    statusBarStyle: "black-translucent",
  },
};

export const viewport: Viewport = {
  themeColor: [
    { media: "(prefers-color-scheme: light)", color: "#0ea5e9" },
    { media: "(prefers-color-scheme: dark)", color: "#0f172a" },
  ],
  viewportFit: "cover",
};

export default function RootLayout({
  children,
}: {
  children: React.ReactNode;
}) {
  return (
    <html lang="en">
      <body>
        {children}
        <ServiceWorkerRegistration />
      </body>
    </html>
  );
}
themeColor and viewportFit belong in the viewport export, not in metadata. The appleWebApp metadata generates the Apple-specific tags iOS reads when the app is launched from the home screen: the title under the icon and how the status bar looks. statusBarStyle: "black-translucent" with viewportFit: "cover" lets your content extend under the status bar for an edge-to-edge look; use CSS env(safe-area-inset-top) padding so nothing gets hidden behind the notch.
Step 4: A Service Worker
A service worker is a script the browser runs separately from your page. It sits between your app and the network, so it can answer requests from a cache when the network is slow or gone. It lives in public/ so it's served from the root of your site, which gives it control over every page:
// public/sw.js
const VERSION = "v1";
const STATIC_CACHE = `static-${VERSION}`;
const PAGES_CACHE = `pages-${VERSION}`;
const OFFLINE_URL = "/offline";

// Pre-cache the offline page and core icons on install.
self.addEventListener("install", (event) => {
  event.waitUntil(
    caches
      .open(STATIC_CACHE)
      .then((cache) => cache.addAll([OFFLINE_URL, "/icons/icon-192.png"])),
  );
});

// Remove caches from older versions on activate.
self.addEventListener("activate", (event) => {
  event.waitUntil(
    (async () => {
      const keys = await caches.keys();
      await Promise.all(
        keys
          .filter((key) => key !== STATIC_CACHE && key !== PAGES_CACHE)
          .map((key) => caches.delete(key)),
      );
      await self.clients.claim();
    })(),
  );
});

self.addEventListener("fetch", (event) => {
  const { request } = event;
  const url = new URL(request.url);

  // Only handle GET requests from our own origin.
  if (request.method !== "GET" || url.origin !== self.location.origin) return;

  // Full page loads: network first, fall back to cache, then offline page.
  if (request.mode === "navigate") {
    event.respondWith(networkFirstPage(request));
    return;
  }

  // Hashed build assets never change: cache first.
  if (
    url.pathname.startsWith("/_next/static/") ||
    url.pathname.startsWith("/icons/")
  ) {
    event.respondWith(cacheFirst(request));
  }

  // Everything else (RSC payloads, API calls, Server Actions) goes to the network as usual.
});

async function networkFirstPage(request) {
  const cache = await caches.open(PAGES_CACHE);
  try {
    const response = await fetch(request);
    if (response.ok) cache.put(request, response.clone());
    return response;
  } catch {
    const cached = await cache.match(request);
    return cached ?? (await caches.match(OFFLINE_URL));
  }
}

async function cacheFirst(request) {
  const cached = await caches.match(request);
  if (cached) return cached;

  const response = await fetch(request);
  if (response.ok) {
    const cache = await caches.open(STATIC_CACHE);
    cache.put(request, response.clone());
  }
  return response;
}

// Let the page tell a waiting worker to take over (see "Handling Updates").
self.addEventListener("message", (event) => {
  if (event.data === "SKIP_WAITING") self.skipWaiting();
});
Here's what each part does.
install runs once when a new version of the worker is downloaded. It pre-caches the offline page so it's guaranteed to be available. event.waitUntil keeps the worker in the installing state until caching finishes; if it fails, the install fails and the old worker stays in place.
activate runs when this version takes control. It deletes caches with old version names, so bumping VERSION cleans up everything the previous worker stored. clients.claim() makes the worker control open pages immediately instead of after the next reload.
fetch sees every request the page makes. The strategy depends on what's being requested:
- Navigations (
request.mode === "navigate", meaning the user typed a URL, refreshed, or opened the app) use network first. Users get fresh HTML when online. Offline, they get the last version of that page they visited, or the offline page if they never visited it. /_next/static/assets use cache first. Next.js puts a content hash in every filename, so a given URL always returns the same file. Once cached, it never needs to be fetched again.- Everything else is left alone. That includes the RSC payloads that power client-side navigation, Route Handlers, and Server Actions.
What Not to Cache
Leaving RSC payloads, API responses, and Server Actions to the network is deliberate. Caching them in the service worker creates a second, invisible cache layer on top of Next.js's own caching, and it's very easy to serve stale or mismatched data from it. Server Action requests are POSTs, which the worker ignores anyway, and they must never be replayed from a cache.
Be careful with the pages cache too. If your app has authenticated pages, network-first navigation will store a user's personalized HTML in the browser's cache storage. That's usually acceptable for a single-user device, but clear those caches on logout (caches.delete("pages-v1") from the page), or skip caching for sensitive paths entirely.
Serving the Worker with the Right Headers
The browser checks for service worker updates on navigation, but HTTP caching can delay that. Tell browsers and CDNs never to cache sw.js itself:
// next.config.ts
import type { NextConfig } from "next";

const nextConfig: NextConfig = {
  async headers() {
    return [
      {
        source: "/sw.js",
        headers: [
          {
            key: "Content-Type",
            value: "application/javascript; charset=utf-8",
          },
          {
            key: "Cache-Control",
            value: "no-cache, no-store, must-revalidate",
          },
          {
            key: "Content-Security-Policy",
            value: "default-src 'self'; script-src 'self'",
          },
        ],
      },
    ];
  },
};

export default nextConfig;
The Content-Security-Policy header applies to the worker script itself and restricts it to same-origin resources.
Step 5: The Offline Page
The offline page needs to render without a network, so make it fully static: no request-time data, no data fetching that could fail.
// app/offline/page.tsx
import type { Metadata } from "next";

export const metadata: Metadata = {
  title: "You're offline",
};

export default function OfflinePage() {
  return (
    <main className="mx-auto flex min-h-dvh max-w-md flex-col items-center justify-center gap-4 p-6 text-center">
      <h1 className="text-2xl font-semibold">You're offline</h1>
      <p>
        This page isn't available without a connection. Pages you've visited
        recently still work, and everything will sync once you're back online.
      </p>
    </main>
  );
}
Because the worker pre-caches /offline during install, this page is always available, even for routes the user has never visited.
Step 6: Registering the Worker
Registration has to happen in the browser, so it goes in a Client Component. We render it once in the root layout (as shown in Step 3):
// app/sw-registration.tsx
"use client";

import { useEffect } from "react";

export function ServiceWorkerRegistration() {
  useEffect(() => {
    if (!("serviceWorker" in navigator)) return;
    if (process.env.NODE_ENV !== "production") return;

    navigator.serviceWorker
      .register("/sw.js", { scope: "/", updateViaCache: "none" })
      .catch((error) =>
        console.error("Service worker registration failed:", error),
      );
  }, []);

  return null;
}
A few details:
- The feature check means browsers without service worker support simply skip it; the site still works as a normal website.
- Registering only in production avoids a frustrating development experience where a worker serves cached bundles and your changes seem to disappear. To test the worker locally, run
next build && next start. updateViaCache: "none"tells the browser to bypass the HTTP cache when checking for a newsw.js, which complements the headers from Step 4.
Step 7: Handling Updates
When you deploy a new sw.js (for example, after bumping VERSION), the browser downloads it and installs it, but the new worker waits until every tab using the old one is closed. That's a safety feature: it prevents an old page from suddenly talking to a new worker that expects different assets. For an installed app that users rarely fully close, though, updates can take days to apply.
A common pattern is to detect the waiting worker and offer a reload:
// app/update-banner.tsx
"use client";

import { useEffect, useState } from "react";

export function UpdateBanner() {
  const [waiting, setWaiting] = useState<ServiceWorker | null>(null);

  useEffect(() => {
    if (!("serviceWorker" in navigator)) return;

    let reloading = false;
    const onControllerChange = () => {
      if (reloading) return;
      reloading = true;
      window.location.reload();
    };
    navigator.serviceWorker.addEventListener(
      "controllerchange",
      onControllerChange,
    );

    navigator.serviceWorker.getRegistration().then((registration) => {
      if (!registration) return;
      if (registration.waiting) setWaiting(registration.waiting);

      registration.addEventListener("updatefound", () => {
        const installing = registration.installing;
        installing?.addEventListener("statechange", () => {
          if (
            installing.state === "installed" &&
            navigator.serviceWorker.controller
          ) {
            setWaiting(installing);
          }
        });
      });
    });

    return () => {
      navigator.serviceWorker.removeEventListener(
        "controllerchange",
        onControllerChange,
      );
    };
  }, []);

  if (!waiting) return null;

  return (
    <div
      role="status"
      className="fixed inset-x-4 bottom-4 rounded-lg bg-slate-900 p-4 text-white"
    >
      A new version is available.{" "}
      <button
        className="underline"
        onClick={() => waiting.postMessage("SKIP_WAITING")}
      >
        Reload
      </button>
    </div>
  );
}
When the user clicks Reload, the page sends SKIP_WAITING to the waiting worker, which calls self.skipWaiting() (the message handler at the bottom of sw.js). The new worker activates, the controllerchange event fires, and the page reloads once with the new version. The reloading flag prevents a reload loop. Add UpdateBanner to the root layout next to the registration component.
Step 8: A Custom Install Button
Chromium browsers fire a beforeinstallprompt event when the app is installable. You can save it and show your own install button at a better moment than the browser's default:
// app/install-button.tsx
"use client";

import { useEffect, useState } from "react";

type BeforeInstallPromptEvent = Event & {
  prompt: () => Promise<void>;
  userChoice: Promise<{ outcome: "accepted" | "dismissed" }>;
};

export function InstallButton() {
  const [promptEvent, setPromptEvent] =
    useState<BeforeInstallPromptEvent | null>(null);
  const [isIOS, setIsIOS] = useState(false);
  const [installed, setInstalled] = useState(false);

  useEffect(() => {
    setInstalled(window.matchMedia("(display-mode: standalone)").matches);
    setIsIOS(/iPad|iPhone|iPod/.test(navigator.userAgent));

    const onPrompt = (event: Event) => {
      event.preventDefault();
      setPromptEvent(event as BeforeInstallPromptEvent);
    };
    const onInstalled = () => setInstalled(true);

    window.addEventListener("beforeinstallprompt", onPrompt);
    window.addEventListener("appinstalled", onInstalled);
    return () => {
      window.removeEventListener("beforeinstallprompt", onPrompt);
      window.removeEventListener("appinstalled", onInstalled);
    };
  }, []);

  if (installed) return null;

  if (promptEvent) {
    return (
      <button
        onClick={async () => {
          await promptEvent.prompt();
          await promptEvent.userChoice;
          setPromptEvent(null);
        }}
      >
        Install app
      </button>
    );
  }

  if (isIOS) {
    return (
      <p>To install, tap the Share button and choose "Add to Home Screen".</p>
    );
  }

  return null;
}
beforeinstallprompt is non-standard and only exists in Chromium browsers, so the component treats it as an enhancement. On iOS, where there's no install API, it shows instructions instead. Once the app runs in standalone mode, the button hides itself. Everything reads browser APIs inside useEffect, which keeps the server-rendered HTML and the first client render identical. For why that matters, see fixing hydration mismatch errors.
Connectivity-Aware UI
The service worker handles full page loads offline. Client-side navigations and Server Actions still need the network. Next.js 16 has an experimental useOffline hook (from next/offline), enabled with experimental.useOffline: true in next.config.ts. With it on, failed navigations and Server Actions are retried automatically when the connection returns, and the hook returns true while the app is offline so you can show a banner:
// app/offline-banner.tsx
"use client";

import { useOffline } from "next/offline";

export function OfflineBanner() {
  const isOffline = useOffline();
  if (!isOffline) return null;
  return (
    <div role="status">
      You're offline. Changes will sync when you reconnect.
    </div>
  );
}
It's experimental, so check the release notes before relying on it in production. Without it, the browser's online and offline events plus navigator.onLine give you a basic signal.
Using a Library Instead
A hand-written worker is easy to understand and has no dependencies, which is why I've used one here. For larger apps, a library like Serwist (the maintained successor to next-pwa) can generate a precache manifest of all your build assets, provide ready-made caching strategies, and handle background sync. It has examples for both Turbopack and webpack builds. Pick it up when you find yourself reimplementing its features by hand.
Push Notifications
Installed PWAs can receive Web Push notifications in Chromium browsers, Firefox, Safari on macOS, and on iOS 16.4 and later for apps added to the home screen. The flow is: generate VAPID keys with the web-push package, subscribe the user with registration.pushManager.subscribe(), store the subscription on your server (a Server Action works well), and send messages from the server with webpush.sendNotification(). The worker shows them by listening for the push event and calling self.registration.showNotification(). Always ask for permission in response to a user action, like clicking "Enable notifications", never on page load.
Testing Your PWA
- Build for production. Run
next build && next startand openhttp://localhost:3000.localhostcounts as a secure context, so service workers and installation work without HTTPS. If you need HTTPS locally (for example, to test on a phone),next dev --experimental-httpsgenerates a self-signed certificate. - Chrome DevTools → Application. The Manifest panel shows parsed fields, icons, and installability errors. Service workers shows the active and waiting workers and has "Update on reload" and "Offline" toggles. Cache storage lets you inspect exactly what's cached.
- Simulate offline. Tick "Offline" in the Service workers panel or the Network panel, then navigate. Visited pages should load from cache and new ones should show your offline page.
- Test on real devices. Install on Android and iOS and check the icon, splash screen, status bar color, and safe-area padding. Emulators don't always match.
Conclusion
Turning a Next.js app into a PWA takes a typed app/manifest.ts, a proper set of icons including a maskable one, theme colors in the viewport export, and a service worker in public/sw.js. Keep the worker's caching narrow: network first for page navigations with an offline fallback, cache first for hashed /_next/static assets, and hands off RSC payloads, API routes, and Server Actions. Register it only in production, serve it with no-cache headers, give users a way to pick up updates, and treat install prompts and offline hooks as progressive enhancements. The result is still your regular Next.js app, just one that users can install and keep using when the connection drops.