Generating Dynamic Open Graph Images in Next.js with ImageResponse
When someone shares a link to your site, the preview image does most of the work of getting it clicked. A generic logo on every page looks the same in every feed. A card that shows the post title, author, and a bit of branding looks intentional, and it tells people what they're about to read.
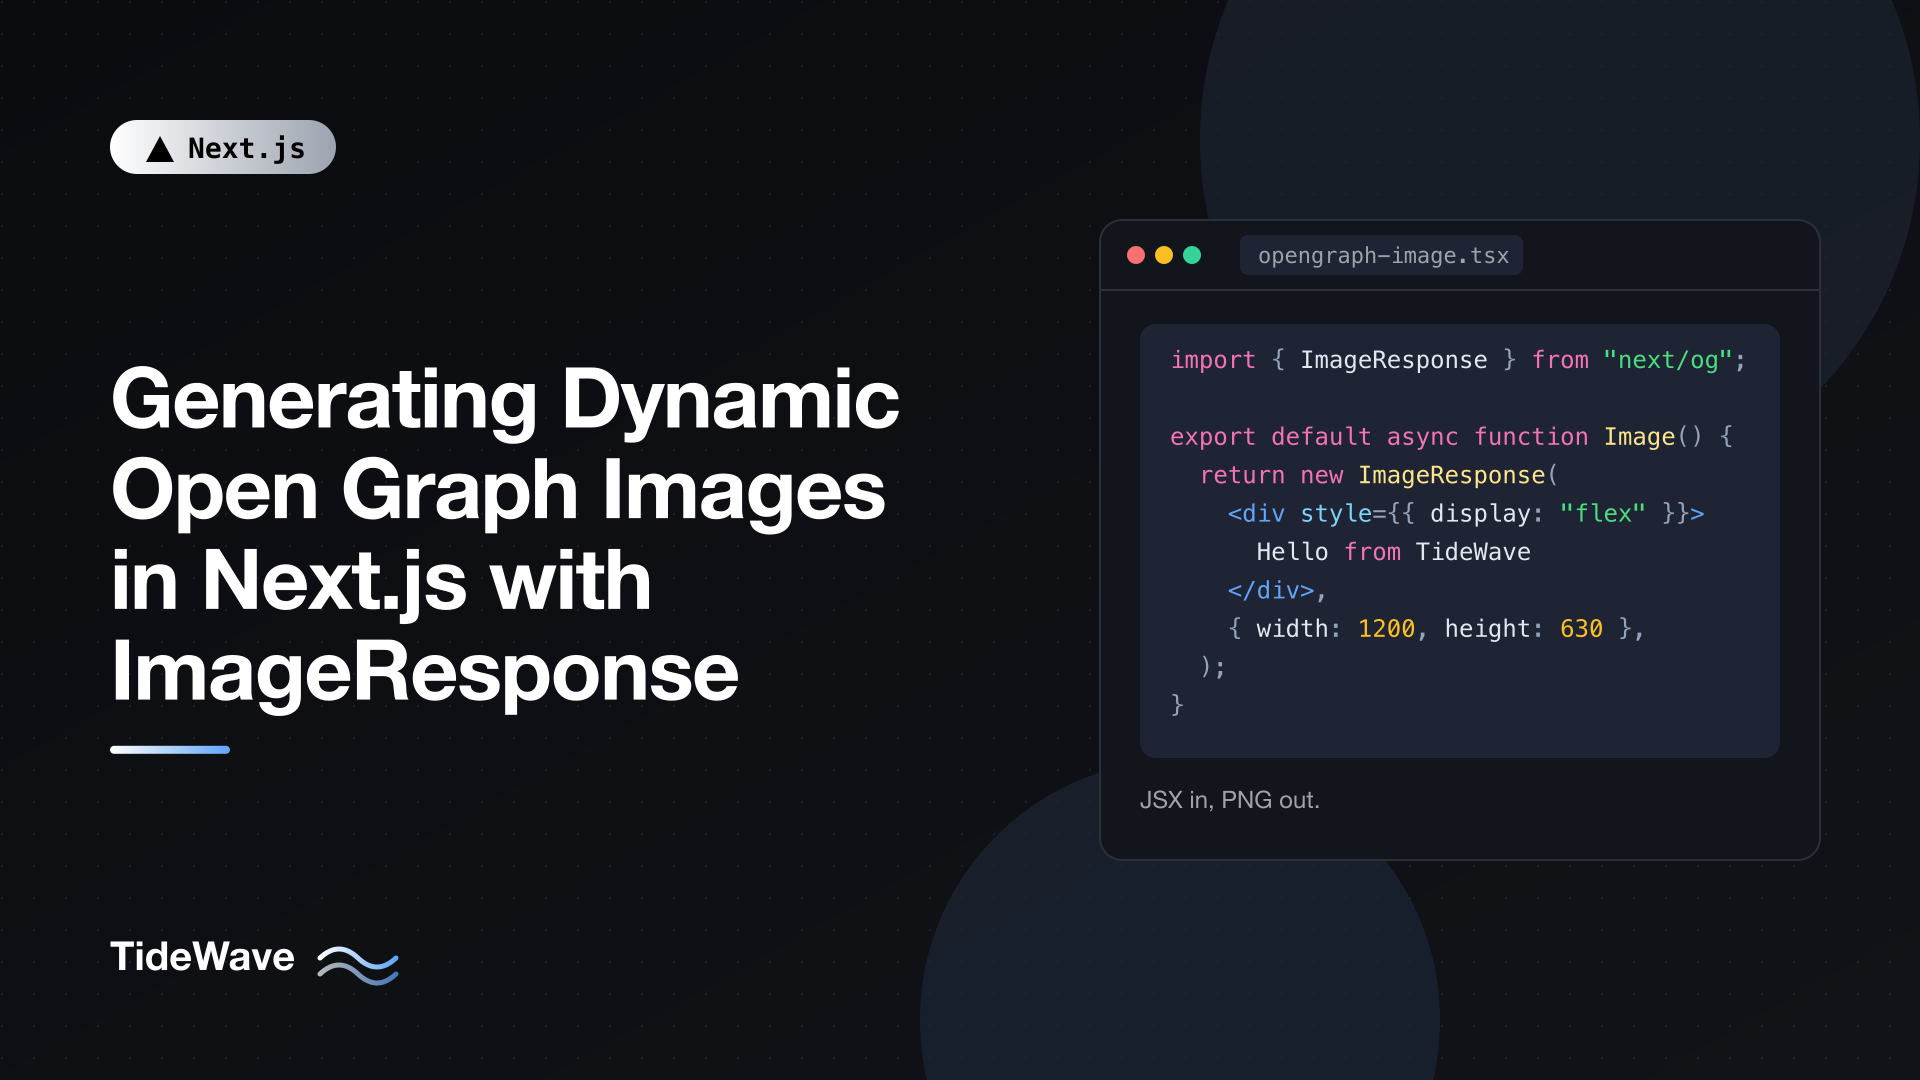
Designing those cards by hand doesn't scale past a handful of pages. Next.js solves this with ImageResponse from next/og: you write JSX and inline styles, and it renders a PNG. Combined with the opengraph-image.tsx file convention, every route can get its own image, generated from the same data as the page, with the right meta tags wired up automatically.
This post walks through a site-wide default image, a per-post image with custom fonts and a logo, the layout rules you need to know (it isn't a browser), a Route Handler variant for images used outside your pages, and how caching and debugging work.
How It Works
ImageResponse takes a React element and options, and returns a Response containing a PNG. Under the hood it uses Satori to convert the JSX and CSS into SVG, then Resvg to rasterize that SVG into a PNG. There's no headless browser involved, which is why it's fast, and also why only a subset of CSS is supported.
You can use it in two places:
| Where | When to use it |
|---|---|
opengraph-image.tsx / twitter-image.tsx in a route folder | Images for your own pages. Next.js adds the meta tags for you. |
A Route Handler, e.g. app/api/og/route.tsx | Images requested by URL with parameters, or used outside your page metadata. |
The file convention is the better default. It knows the route's params, it's statically generated when possible, and it saves you from keeping meta tags in sync with image URLs.
A Site-Wide Default Image
Start with an image for the whole site. Create app/opengraph-image.tsx:
// app/opengraph-image.tsx
import { ImageResponse } from "next/og";

export const alt = "TideWave: practical web development guides";
export const size = { width: 1200, height: 630 };
export const contentType = "image/png";

export default function Image() {
  return new ImageResponse(
    <div
      style={{
        width: "100%",
        height: "100%",
        display: "flex",
        flexDirection: "column",
        justifyContent: "center",
        padding: 80,
        background: "linear-gradient(135deg, #0b1120 0%, #1e3a8a 100%)",
        color: "white",
      }}
    >
      <div style={{ fontSize: 96, fontWeight: 700 }}>TideWave</div>
      <div style={{ fontSize: 40, marginTop: 24, opacity: 0.8 }}>
        Practical guides to Next.js, CSS, and the modern web
      </div>
    </div>,
    { ...size },
  );
}
The three named exports are metadata about the image. Next.js turns them into og:image:alt, og:image:width, og:image:height, and og:image:type tags. The default export returns the image itself. Because the file sits in app/, it applies to every route that doesn't define its own image.
size is reused in the ImageResponse options so the declared dimensions and the actual PNG always match. 1200 by 630 is the standard size for large link previews.
The image's URL is absolute in the generated tags, which requires metadataBase to be set in your root layout. If you haven't set it, see the Next.js Metadata API post for how.
A Per-Post Image
Now the interesting part: an image per blog post, using the post's title, author, and date. Put an opengraph-image.tsx next to the post's page.tsx:
app/
  blog/
    [slug]/
      page.tsx
      opengraph-image.tsx
// app/blog/[slug]/opengraph-image.tsx
import { ImageResponse } from "next/og";
import { readFile } from "node:fs/promises";
import { join } from "node:path";
import { getPost } from "@/lib/posts";

const size = { width: 1200, height: 630 };
const contentType = "image/png";

// Read assets once, at module scope. They don't depend on the request.
const interBold = await readFile(
  join(process.cwd(), "assets/fonts/Inter-Bold.ttf"),
);
const interRegular = await readFile(
  join(process.cwd(), "assets/fonts/Inter-Regular.ttf"),
);
const logo = await readFile(join(process.cwd(), "assets/logo.png"), "base64");
const logoSrc = `data:image/png;base64,${logo}`;

export async function generateImageMetadata({
  params,
}: {
  params: { slug: string };
}) {
  const post = await getPost(params.slug);
  return [
    {
      id: "default",
      alt: post ? post.title : "TideWave blog post",
      size,
      contentType,
    },
  ];
}

export default async function Image({
  params,
}: {
  params: Promise<{ slug: string }>;
}) {
  const { slug } = await params;
  const post = await getPost(slug);

  const title = post?.title ?? "TideWave";
  const fontSize = title.length > 70 ? 56 : title.length > 40 ? 68 : 80;

  return new ImageResponse(
    <div
      style={{
        width: "100%",
        height: "100%",
        display: "flex",
        flexDirection: "column",
        justifyContent: "space-between",
        padding: 72,
        background: "#0b1120",
        color: "#f8fafc",
        fontFamily: "Inter",
      }}
    >
      <div style={{ display: "flex", alignItems: "center", gap: 16 }}>
        <img src={logoSrc} width={56} height={56} alt="" />
        <span style={{ fontSize: 32, color: "#93c5fd" }}>TideWave</span>
      </div>

      <div
        style={{
          display: "flex",
          fontSize,
          fontWeight: 700,
          lineHeight: 1.15,
          letterSpacing: "-0.02em",
        }}
      >
        {title}
      </div>

      <div style={{ display: "flex", fontSize: 28, color: "#94a3b8" }}>
        {post ? `${post.author.name} · ${post.readingTime} min read` : ""}
      </div>
    </div>,
    {
      ...size,
      fonts: [
        { name: "Inter", data: interBold, weight: 700, style: "normal" },
        { name: "Inter", data: interRegular, weight: 400, style: "normal" },
      ],
    },
  );
}
There's a lot going on, so piece by piece.
Assets at module scope. Fonts and the logo are read once when the module loads, using top-level await. They don't depend on the post, so there's no reason to read them on every render. Paths are resolved from process.cwd(), the project root, so keep them in a folder like assets/ rather than relative to the source file.
params is a promise. As with pages in Next.js 16, the image function receives params as a promise and must await it.
Per-post alt text. The static alt export can only be a fixed string. To give each post's image its own alt text, use generateImageMetadata, which receives the route params and returns an array of image descriptors. Returning a single item with an id gives you one image with a dynamic alt. (You can return several items to generate multiple images for the same route.) Because generateImageMetadata describes the size and type, this file keeps size and contentType as local constants instead of exporting them. Note that params is a plain object in generateImageMetadata, but a promise in the image function itself.
Font sizing by length. Satori doesn't shrink text to fit. A simple length-based scale keeps long titles from overflowing. It's crude, but it handles the realistic range of post titles well.
Shared data function. getPost is the same function the page uses, so the image and the page can't disagree about the title.
When you visit a post, its head now includes og:image pointing at the generated image, with width, height, type, and alt. The image under app/blog/[slug]/ overrides the site-wide one from app/.
Twitter images
If you don't add a twitter-image.tsx, X and most other services fall back to the Open Graph image. You only need a separate twitter-image file if you want a different design or size there. Set twitter.card to "summary_large_image" in your metadata so the image is shown large.
Layout Rules: It's Not a Browser
Most frustration with ImageResponse comes from expecting browser CSS. Satori implements a practical subset, and a few rules cover nearly every error you'll hit:
- Flexbox only. Every element is a flex container or a flex item.
display: grid, floats, and tables don't work. UseflexDirection,justifyContent,alignItems, andgap. - Explicit
display: flexon elements with multiple children. If adivcontains more than one child node, it needsdisplay: "flex"(or"none"). Text plus an expression like{name} · {date}counts as multiple children, which is why the examples build the string with a template literal or setdisplay: flex. - Inline styles only. Use the
styleprop. Class names and external stylesheets aren't applied. - Supported CSS is a subset. Colors, gradients, borders, border radius, shadows, padding, margins, absolute positioning,
transform,opacity,lineHeight,letterSpacing, and text wrapping work. Check Satori's documentation for the full list before reaching for something exotic. - Images need dimensions. Give every
imgawidthandheight. Thesrccan be an absolute URL or a data URI.
When something renders oddly, add debug: true to the options. Satori draws outlines around every element so you can see the actual boxes.
Fonts
Without custom fonts, ImageResponse uses a built-in default font. For brand consistency you'll want your own. The rules:
- Formats:
ttf,otf, andwoffare supported.woff2is not.ttfandotfparse fastest. - One entry per weight and style. If you use bold and regular, load both files and register each with its
weight. AfontWeightwithout a matching font is rendered with the closest available one. - Mind the size. Full font files with every language can be several hundred kilobytes each, and there's a 500 KB limit on the total bundle for an image route (your code, fonts, and images combined). Use subset fonts that include only the characters you need, or a single weight if you can.
If you prefer not to commit font files, you can fetch them at module scope instead:
const interBold = await fetch(
  new URL("https://example.com/fonts/Inter-Bold.ttf"),
).then((res) => res.arrayBuffer());
Use a URL you control, and remember that a fetch at module scope runs when the route is first loaded or built, so a slow font host slows down your build.
Emoji
Emoji in titles render through an emoji image set. The emoji option picks which one: "twemoji" (the default), "blobmoji", "noto", or "openmoji".
Caching and When Images Are Generated
opengraph-image.tsx files are special Route Handlers, and they're statically optimized by default: the image is generated at build time and cached, unless it uses request-time APIs (like cookies() or headers()) or uncached data.
For a blog with generateStaticParams on its post page, that means images are generated during the build, served as static files, and cost nothing at request time. A few things change that:
- Uncached data. If your
getPostfetches withcache: "no-store"or reads request-time data, the image becomes dynamic and renders per request. - Cache Components. With
cacheComponents: true, data access is dynamic unless you cache it. Mark the data function with"use cache"(and acacheLifeprofile) so images can be prerendered and only regenerated when content changes. - Content updates. If the image reads the same cached, tagged data as the page, invalidating it with
revalidateTagor revalidating the path withrevalidatePathmeans the next request gets a freshly rendered image too.
Social platforms also cache previews aggressively on their side, often for days. If you change an image after sharing a link, use the platform's link debugging tool to force a refresh.
A Route Handler for Parameterized Images
Sometimes you need an image that isn't tied to one of your routes: a preview for a link in an email, a dynamic card for a user profile embedded elsewhere, or images for pages generated by another system. A Route Handler with query parameters works well:
// app/api/og/route.tsx
import { ImageResponse } from "next/og";

export async function GET(request: Request) {
  const { searchParams } = new URL(request.url);
  const rawTitle = searchParams.get("title") ?? "TideWave";
  const title = rawTitle.slice(0, 100);

  return new ImageResponse(
    <div
      style={{
        width: "100%",
        height: "100%",
        display: "flex",
        alignItems: "center",
        justifyContent: "center",
        padding: 80,
        background: "#0b1120",
        color: "white",
        fontSize: 72,
        fontWeight: 700,
        textAlign: "center",
      }}
    >
      {title}
    </div>,
    {
      width: 1200,
      height: 630,
      headers: {
        "Cache-Control": "public, max-age=86400, s-maxage=604800, immutable",
      },
    },
  );
}
You'd reference it from metadata like this:
openGraph: {
  images: [
    {
      url: `/api/og?title=${encodeURIComponent(post.title)}`,
      width: 1200,
      height: 630,
      alt: post.title,
    },
  ],
},
Two things to be careful about with this approach:
- Anyone can call it. The title comes straight from the query string, so someone could generate images with your branding and arbitrary text. Truncating the input, as above, limits abuse. For stricter control, accept an ID (like a slug) and look up the text yourself, or sign the parameters with an HMAC and verify the signature in the handler.
- It runs on every uncached request. Rendering is fast but not free. The
Cache-Controlheader lets your CDN cache each unique URL. Since the URL contains the content, it's safe to cache for a long time.
For your own pages, the file convention is still simpler and safer: no user-controlled input and build-time generation by default.
Previewing and Debugging
You don't need to share a link to see your image. The image route is a regular URL you can open in the browser:
http://localhost:3000/opengraph-image
http://localhost:3000/blog/my-first-post/opengraph-image
When you use generateImageMetadata, the item's id is added to the path, so the post image above lives at /blog/my-first-post/opengraph-image/default. The exact URL Next.js puts in the meta tag may also include an extra suffix for cache busting. View the page source and copy the og:image value to see exactly what crawlers fetch.
A workflow that works well:
- Open the image URL in one tab and edit the component. The dev server regenerates on reload.
- Add
debug: truewhile you're fixing layout issues. - Test your longest and shortest titles, titles with emoji, and titles in any non-Latin scripts your site uses (which need a font that covers them).
- After deploying, paste a link into the apps your audience uses to confirm the preview.
Common Errors
"Expected div to have explicit display: flex" means a div has multiple children. Add display: "flex", or merge text into one string.
Text renders in the wrong font usually means the fontFamily name doesn't match the name in the fonts array, or the weight you're using wasn't registered.
Build fails with a size error means the route's bundle exceeds 500 KB. Shrink fonts (subset them) and images, or load large assets by URL.
og:image is a relative URL or missing the domain means metadataBase isn't set in the root layout.
Image is blank for some posts typically comes from getPost returning undefined for a slug. Always handle the missing case with a fallback, as in the example.
Conclusion
ImageResponse turns Open Graph images into just another component. Put an opengraph-image.tsx in app/ for a site-wide default and another next to dynamic pages for per-page images, read fonts and logos once at module scope, use generateImageMetadata when you need per-page alt text, and remember that layout is flexbox-only with inline styles. Because these files are statically generated by default, a blog with hundreds of posts gets a unique, on-brand preview for every one of them with no runtime cost. Keep a Route Handler with query parameters for the cases where an image isn't tied to a page, and protect it against arbitrary input.