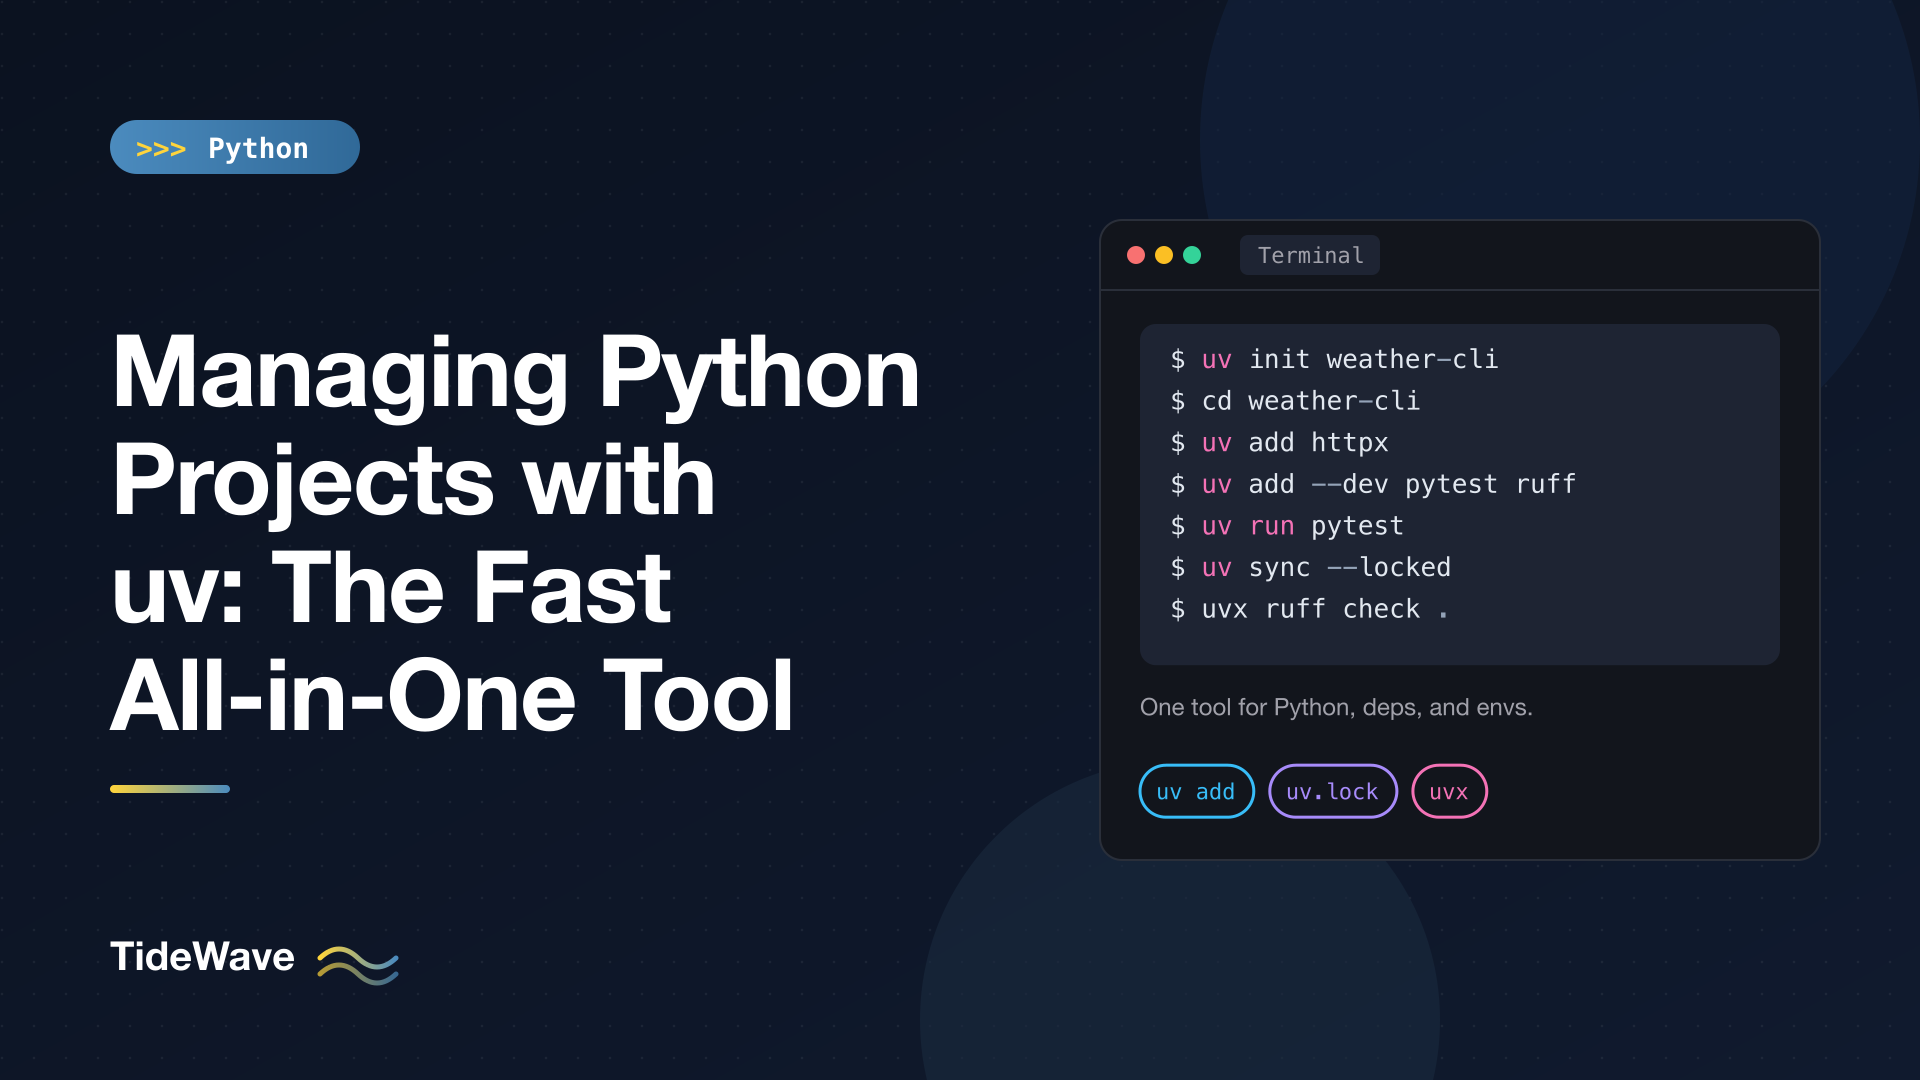
Managing Python Projects with uv: The Fast All-in-One Tool
Setting up a Python project used to involve a small stack of tools: pyenv to get the right Python version, venv to create an environment, pip to install packages, pip-tools or Poetry to lock versions, pipx to install command-line tools, and twine to publish. Each one works, but together they're a lot to learn and keep in sync.
uv, from Astral (the team behind the Ruff linter), replaces that whole stack with a single binary written in Rust. It manages Python installations, virtual environments, dependencies, lock files, scripts, and tools, and it's fast enough that installs which took a minute with pip often finish in a second or two.
This guide walks through uv the way you'd actually use it: creating a project, adding dependencies, understanding the lock file, running code, working with standalone scripts, managing Python versions, and running tools. The commands and output here come from uv 0.12.
Installing uv
uv is a standalone binary, so it doesn't need Python to be installed first. The official installers:
# macOS and Linux
curl -LsSf https://astral.sh/uv/install.sh | sh

# Windows (PowerShell)
powershell -ExecutionPolicy ByPass -c "irm https://astral.sh/uv/install.ps1 | iex"
It's also available through Homebrew (brew install uv), WinGet, and pipx, or with pip install uv. Check that it works:
uv --version
uv 0.12.22 (70fe1196a 2026-10-01 aarch64-apple-darwin)
Run uv self update later to upgrade a standalone install.
Creating a Project
uv init scaffolds a new project:
uv init weather-cli
cd weather-cli
You get a small, standard layout:
weather-cli/
├── .git/
├── .gitignore
├── .python-version
├── README.md
├── pyproject.toml
└── src/
    └── weather_cli/
        └── __init__.py
The generated pyproject.toml is plain, standards-based configuration, not a uv-specific format:
[project]
name = "weather-cli"
version = "0.1.0"
description = "Add your description here"
readme = "README.md"
authors = [
    { name = "Your Name", email = "you@example.com" }
]
requires-python = ">=3.14"
dependencies = []

[project.scripts]
weather-cli = "weather_cli:main"

[build-system]
requires = ["uv_build>=0.12.22,<0.13.0"]
build-backend = "uv_build"
A few things to notice:
requires-pythonis set from the Python version uv picked..python-versionpins the exact version the project uses locally.- Applications are created as installable packages with a
src/layout and a[project.scripts]entry point, soweather-clibecomes a real command. uv initalso initializes a Git repository unless you pass--vcs none.
The variations you're likely to want:
| Command | Creates |
|---|---|
uv init | A packaged application (the default) |
uv init --no-package | A simple app with a top-level main.py and no build system |
uv init --lib | A library, with a py.typed marker, meant to be published |
uv init --bare | Only a pyproject.toml |
uv init --script tool.py | A single script with inline metadata (covered below) |
Every field in pyproject.toml is explained in Understanding pyproject.toml.
Running Code with uv run
You don't need to create or activate a virtual environment yourself. uv run does it for you:
uv run weather-cli
Using CPython 3.14.8
Creating virtual environment at: .venv
Hello from weather-cli!
On the first run, uv creates .venv, installs the project and its dependencies into it, and then runs the command. On every later run, it checks that the environment matches the lock file (which takes milliseconds when nothing changed) and syncs it if needed.
uv run works with any command:
uv run python -c "import sys; print(sys.version)"
uv run python app.py
uv run pytest
uv run ruff check .
The .venv directory is a completely standard virtual environment. If you prefer, you can still activate it with source .venv/bin/activate and use python and pytest directly. How environments work is covered in Virtual Environments in Python: venv Explained.
Managing Dependencies
Adding and Removing Packages
uv add httpx
Resolved 8 packages in 645ms
Prepared 8 packages in 3.29s
Installed 8 packages in 4ms
 + anyio==4.15.1
 + certifi==2026.7.22
 + h11==0.16.0
 + httpcore==1.0.9
 + httpx==0.28.1
 + idna==3.20
 + typing-extensions==4.16.0
That single command does three things: adds "httpx>=0.28.1" to dependencies in pyproject.toml, resolves the full dependency tree and writes uv.lock, and installs everything into .venv.
You can pass version constraints, extras, and other sources:
uv add "httpx>=0.28"
uv add "fastapi[standard]"
uv add "git+https://github.com/encode/httpx"
uv add --editable ../shared-utils
Removing a dependency cleans up the manifest, the lock file, and the environment:
uv remove httpx
Development Dependencies
Tools you need for development but not in production, like pytest and Ruff, go in a dependency group:
uv add --dev pytest ruff
uv writes them to the standard [dependency-groups] table (PEP 735):
[dependency-groups]
dev = [
    "pytest>=9.1.1",
    "ruff>=0.16.10",
]
The dev group is installed by default with uv sync and uv run. You can create other groups with --group, for example uv add --group docs mkdocs, and include them with uv sync --group docs. Optional features for users of your package go in [project.optional-dependencies] with uv add --optional.
Seeing the Dependency Tree
uv tree
weather-cli v0.1.0
├── httpx v0.28.1
│   ├── anyio v4.15.1
│   │   ├── idna v3.20
│   │   └── typing-extensions v4.16.0
│   ├── certifi v2026.7.22
│   ├── httpcore v1.0.9
│   │   ├── certifi v2026.7.22
│   │   └── h11 v0.16.0
│   └── idna v3.20
├── pytest v9.1.1 (group: dev)
│   ├── iniconfig v2.3.0
│   ├── packaging v26.3
│   ├── pluggy v1.6.0
│   └── pygments v2.21.0
└── ruff v0.16.10 (group: dev)
uv tree --outdated shows which packages have newer versions available, and uv tree --invert --package idna shows which packages pull a given dependency in.
The Lock File: uv.lock
pyproject.toml declares what you want (httpx>=0.28). uv.lock records exactly what you got: every package, direct and indirect, with exact versions, source URLs, and hashes.
version = 1
revision = 5
requires-python = ">=3.14"

[[package]]
name = "anyio"
version = "4.15.1"
source = { registry = "https://pypi.org/simple" }
dependencies = [
    { name = "idna" },
    { name = "typing-extensions", marker = "python_full_version < '3.15'" },
]
Some important properties:
- It's universal. A single lock file covers every platform and Python version allowed by
requires-python. Platform-specific dependencies are recorded with markers rather than requiring a separate lock per OS. - Commit it. For applications, the lock file is what makes builds reproducible across machines and CI.
- Don't edit it by hand. uv manages it.
Syncing, Locking, and Upgrading
The commands that work with the lock file:
| Command | What it does |
|---|---|
uv lock | Resolve dependencies and update uv.lock without installing |
uv sync | Make .venv match the lock file exactly (installs and removes packages) |
uv sync --locked | Sync, but fail if uv.lock is out of date with pyproject.toml |
uv sync --frozen | Sync from uv.lock as-is without checking it against pyproject.toml |
uv sync --no-dev | Skip the dev group (for production) |
uv lock --upgrade | Upgrade all packages to the newest versions allowed |
uv lock --upgrade-package httpx | Upgrade one package only |
uv lock --check | Exit with an error if the lock file needs updating |
When a teammate clones your repository, they run one command:
uv sync
uv installs the Python version from .python-version if it isn't present, creates .venv, and installs exactly what's in the lock file. In CI, use uv sync --locked so the build fails loudly if someone changed pyproject.toml without updating the lock.
If another tool needs a requirements.txt, export one:
uv export --no-hashes --no-dev > requirements.txt
# This file was autogenerated by uv via the following command:
#    uv export --no-hashes --no-dev
-e .
anyio==4.15.1
    # via httpx
certifi==2026.7.22
    # via
    #   httpcore
    #   httpx
...
Managing Python Versions
uv can download and manage Python interpreters itself, replacing tools like pyenv for most purposes:
uv python install 3.13        # install a version
uv python install 3.14t       # the free-threaded build
uv python list                # show installed and available versions
uv python pin 3.13            # write .python-version for this project
You rarely need to install versions explicitly. If a project requires a Python you don't have, uv run and uv sync download it automatically. uv also finds interpreters already on your system, such as Homebrew or python.org installs.
uv python pin refuses versions that conflict with requires-python, which catches a common mistake early:
uv python pin 3.13
error: The requested Python version `3.13` is incompatible with the project `requires-python` value of `>=3.14`.
To support 3.13, lower requires-python first, then pin.
You can also run a one-off command on a different Python without changing the project: uv run --python 3.13 pytest. That's handy for checking compatibility before widening requires-python.
Scripts with Inline Dependencies
Not everything needs a project. For single-file scripts, uv supports inline script metadata (PEP 723), where dependencies are declared in a comment block at the top of the file.
Start with a plain script:
# fetch_peps.py
import httpx

response = httpx.get("https://peps.python.org/api/peps.json", timeout=10)
peps = response.json()
print(f"{response.status_code}: {len(peps)} PEPs")
Add a dependency to it:
uv add --script fetch_peps.py httpx
uv writes the metadata block into the file:
# /// script
# requires-python = ">=3.13"
# dependencies = [
#     "httpx>=0.28.1",
# ]
# ///
import httpx

response = httpx.get("https://peps.python.org/api/peps.json", timeout=10)
peps = response.json()
print(f"{response.status_code}: {len(peps)} PEPs")
Now anyone with uv can run it, and uv builds a cached, isolated environment with the right dependencies on the fly:
uv run fetch_peps.py
200: 745 PEPs
The script is fully self-describing. There's no separate requirements.txt to keep next to it and no environment to set up. It's a great fit for automation scripts and utilities you share with teammates.
For quick experiments, --with adds packages for a single run without touching any file:
uv run --with rich python -c "import rich; print('rich ok')"
Running and Installing Tools
Command-line tools written in Python, like Ruff, Black, httpie, or pre-commit, shouldn't be dependencies of your project. uv handles them separately, much like pipx.
uvx (an alias for uv tool run) runs a tool in a temporary, cached environment:
uvx ruff --version
uvx ruff check .
uvx --from httpie http GET https://example.com
ruff 0.16.10
You can pin a version with uvx ruff@0.16.10 check .. For tools you use all the time, install them permanently so they're on your PATH:
uv tool install ruff
uv tool list
uv tool upgrade --all
Each tool gets its own isolated environment, so their dependencies never conflict with each other or with your projects.
Building and Publishing
uv can build and publish packages too:
uv version --bump minor   # 0.1.0 => 0.2.0, updates pyproject.toml
uv build                  # writes an sdist and a wheel to dist/
uv publish                # uploads dist/* to PyPI
Successfully built dist/weather_cli-0.1.0.tar.gz
Successfully built dist/weather_cli-0.1.0-py3-none-any.whl
uv build works with any standards-compliant build backend, not just uv_build, so it also builds Hatchling, setuptools, or Poetry-based projects. uv publish supports API tokens and trusted publishing from GitHub Actions.
The pip-Compatible Interface
If you have existing workflows built around pip and requirements.txt, uv offers drop-in replacements under uv pip and uv venv:
uv venv                               # create .venv
uv pip install -r requirements.txt    # install into it
uv pip compile requirements.in -o requirements.txt
uv pip sync requirements.txt
uv pip list
These behave like pip, venv, and pip-tools, but much faster. They're a low-risk way to speed up an existing project without changing its structure. The project commands (uv add, uv sync, uv run) are the better choice for new work, because they keep pyproject.toml, the lock file, and the environment in sync automatically. For how uv compares to Poetry and pip-tools in more depth, see Poetry vs uv vs pip-tools.
Using uv in CI and Docker
In GitHub Actions, the official astral-sh/setup-uv action installs uv and can cache its downloads:
# .github/workflows/test.yml
name: test
on: [push]
jobs:
  test:
    runs-on: ubuntu-latest
    steps:
      - uses: actions/checkout@v7
      - uses: astral-sh/setup-uv@v10
      - run: uv sync --locked
      - run: uv run pytest
In a Dockerfile, copy the uv binary from its official image and sync from the lock file:
FROM python:3.13-slim
COPY --from=ghcr.io/astral-sh/uv:latest /uv /uvx /bin/

WORKDIR /app
COPY pyproject.toml uv.lock ./
RUN uv sync --locked --no-dev --no-install-project

COPY . .
RUN uv sync --locked --no-dev

CMD ["uv", "run", "--no-dev", "weather-cli"]
Installing dependencies before copying the source lets Docker cache that layer, so code changes don't trigger a full reinstall.
A Day-to-Day Cheat Sheet
| Task | Command |
|---|---|
| New project | uv init myapp |
| Add a dependency | uv add requests |
| Add a dev dependency | uv add --dev pytest |
| Remove a dependency | uv remove requests |
| Install everything from the lock | uv sync |
| Run a command in the project | uv run pytest |
| Upgrade one package | uv lock --upgrade-package requests |
| Show the dependency tree | uv tree |
| Pin the Python version | uv python pin 3.13 |
| Run a script with inline deps | uv run script.py |
| Run a tool once | uvx ruff check . |
| Build a package | uv build |
Conclusion
uv collapses the Python packaging toolchain into one fast tool. uv init creates a standards-based project, uv add and uv remove keep pyproject.toml and uv.lock in sync, uv run makes sure the environment is correct before every command, and uv sync reproduces the exact environment on any machine. On top of that, it installs Python versions, runs self-contained scripts with inline metadata, and manages command-line tools.
Because everything it produces is standard, pyproject.toml, .venv, wheels, there's little lock-in: the same project still works with pip and other tools. If you're starting a new Python project today, uv is a very reasonable default.