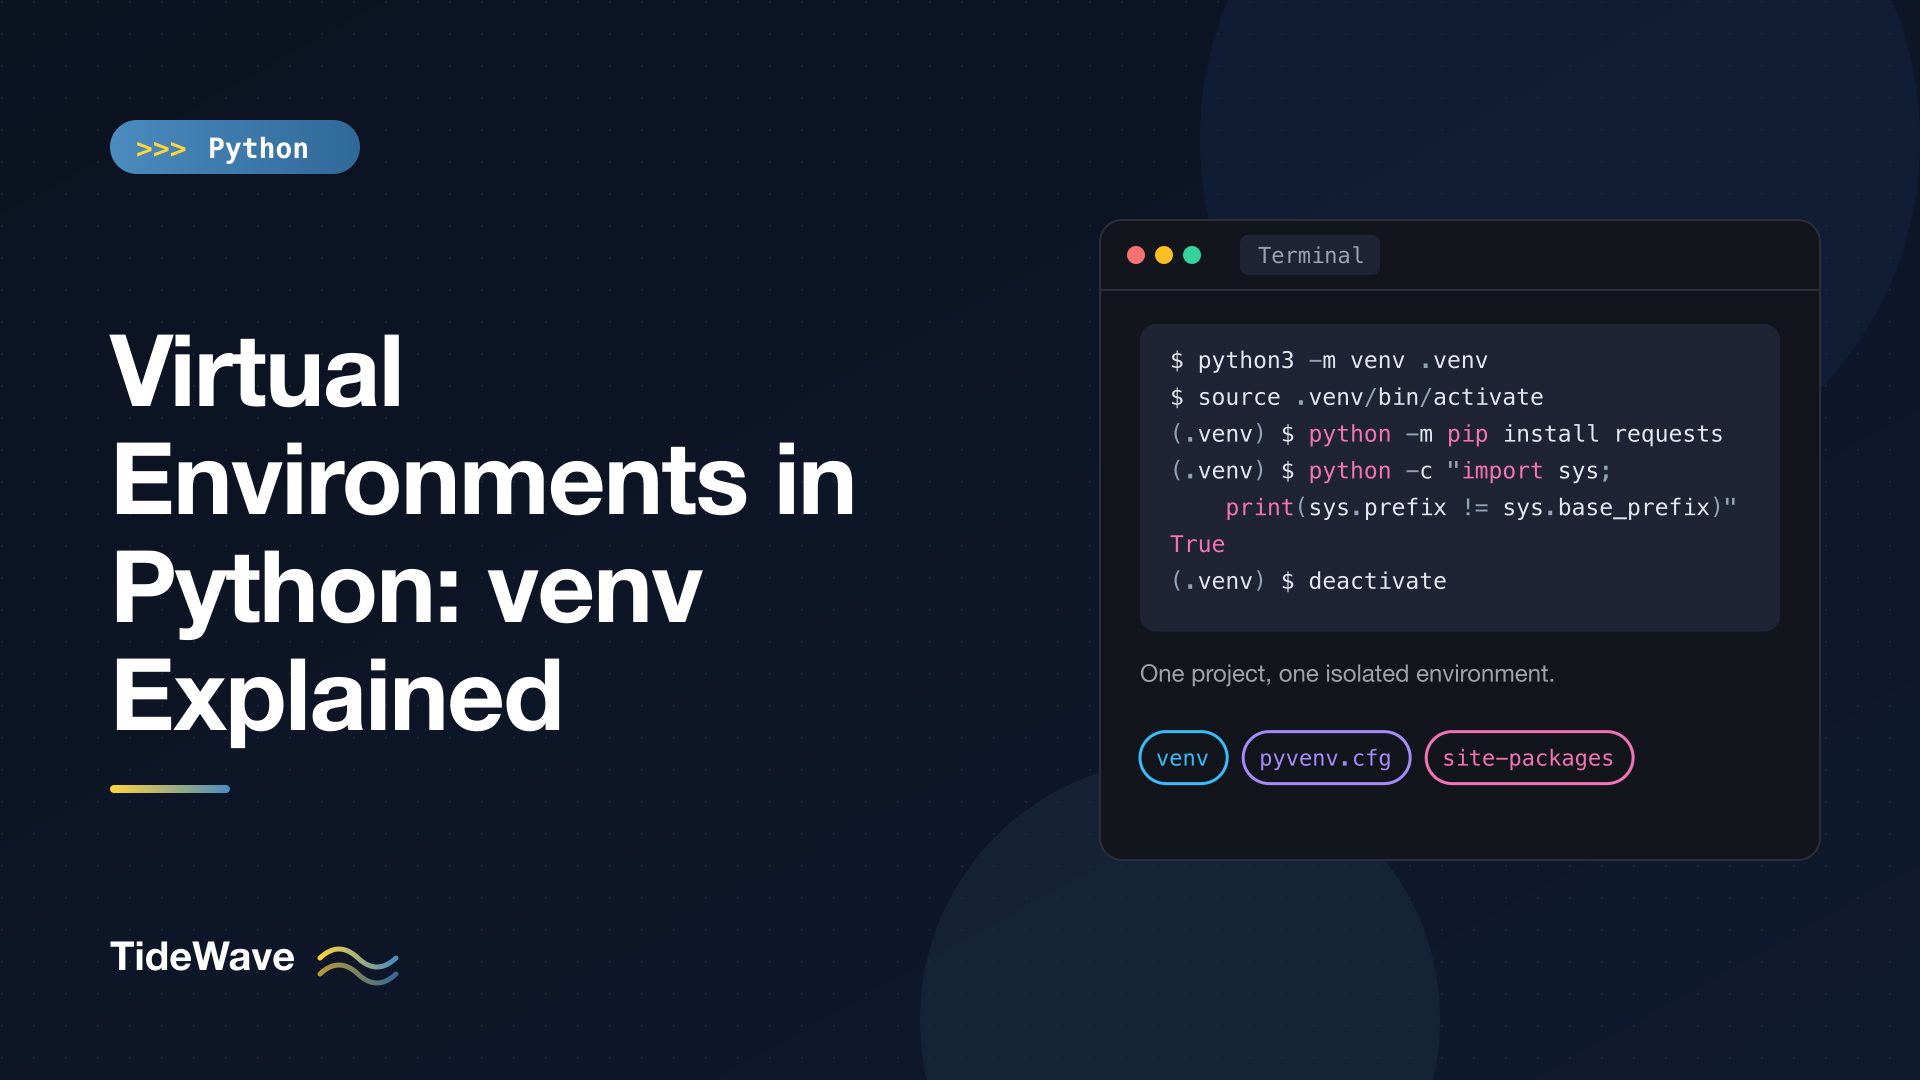
Virtual Environments in Python: venv Explained
Every Python project eventually depends on third-party packages, and different projects need different versions of them. One app pins Django 4.2, another needs Django 5.2. A script you wrote last year only works with an old pandas. If all of those share one global Python installation, installing a package for one project can quietly break another.
Virtual environments solve this. Each project gets its own isolated directory of installed packages, with its own python and pip, while still using the same underlying Python interpreter. The tool for creating them, venv, has been part of the standard library since Python 3.3.
This post covers why you need virtual environments, how to create, activate, and use one, what's actually inside the directory, how it works under the hood, and the habits that avoid the common mistakes. Everything here uses Python 3.13 and works the same on 3.14.
Why Not Just Install Packages Globally?
A few reasons, from annoying to serious:
- Version conflicts. Two projects that need different versions of the same package can't both be satisfied by one installation.
- Reproducibility. If everything goes into one place, you can't tell which packages a project actually needs. "It works on my machine" usually means "my machine has 200 packages installed".
- Breaking your system. On Linux and macOS (with Homebrew), the system Python is used by OS tools. Upgrading or removing a package there can break them.
- Permissions. Global installs often need
sudo, which is a bad idea for code downloaded from the internet.
Modern Python distributions enforce this. Homebrew, Debian, Ubuntu, Fedora, and others mark their Python as "externally managed" (per PEP 668), so a global pip install is refused:
python3 -m pip install requests
error: externally-managed-environment

× This environment is externally managed
╰─> To install Python packages system-wide, try brew install
    xyz, where xyz is the package you are trying to
    ...
The intended fix is a virtual environment, not --break-system-packages.
Creating a Virtual Environment
From your project directory, run the venv module and give it a directory name:
cd myproject
python3 -m venv .venv
On Windows, use the py launcher:
py -m venv .venv
.venv is the conventional name. Editors like VS Code and PyCharm detect it automatically, and tools like uv use it by default. The leading dot keeps it out of the way in directory listings.
The environment uses whichever Python ran the command. If you need a specific version, call that interpreter explicitly, for example python3.12 -m venv .venv.
Activating and Deactivating
Activation adjusts your shell so that python and pip refer to the environment's copies. The command depends on your shell:
| Platform / shell | Command |
|---|---|
| macOS / Linux (bash, zsh) | source .venv/bin/activate |
| fish | source .venv/bin/activate.fish |
| csh / tcsh | source .venv/bin/activate.csh |
| Windows (cmd.exe) | .venv\Scripts\activate.bat |
| Windows (PowerShell) | .venv\Scripts\Activate.ps1 |
After activating, your prompt shows the environment name, and python points inside it:
source .venv/bin/activate
which python
/Users/you/projects/myproject/.venv/bin/python
Activation also sets the VIRTUAL_ENV environment variable to the environment's path, which tools use to detect it. To leave, run:
deactivate
On PowerShell, you may first need to allow local scripts with Set-ExecutionPolicy -ExecutionPolicy RemoteSigned -Scope CurrentUser.
You Don't Have to Activate
Activation is a convenience, not a requirement. All it really does is put .venv/bin at the front of your PATH. You can always call the environment's interpreter directly:
.venv/bin/python app.py
.venv/bin/python -m pip install requests
This is the most reliable form for scripts, cron jobs, systemd units, and Dockerfiles, where there's no interactive shell to activate.
Installing Packages
With the environment active, pip installs into it:
python -m pip install requests
python -m pip list
Prefer python -m pip over bare pip. It guarantees that you're using the pip that belongs to the python you think you're using, which avoids a whole class of "I installed it but it says module not found" problems. For a full tour of pip, see What Is pip and How Do I Use It.
A new environment contains only pip:
python -m pip list
Package Version
------- -------
pip     25.0
Everything else you install lands in the environment's own site-packages directory and is invisible to other environments and to the global Python.
Recording Dependencies
To make the environment reproducible, record what's installed:
python -m pip freeze > requirements.txt
certifi==2026.7.22
charset-normalizer==3.5.2
idna==3.20
requests==2.34.2
urllib3==2.8.0
Someone else (or you on another machine) can recreate it:
python3 -m venv .venv
.venv/bin/python -m pip install -r requirements.txt
pip freeze lists everything, including indirect dependencies like urllib3, with exact versions. That's fine for applications. For real projects, you'll usually declare your direct dependencies in pyproject.toml and let a tool generate the lock file; see Understanding pyproject.toml and Poetry vs uv vs pip-tools.
What's Inside a Virtual Environment
On macOS or Linux, a fresh .venv looks like this:
.venv/
├── .gitignore
├── bin/
│   ├── activate
│   ├── activate.csh
│   ├── activate.fish
│   ├── Activate.ps1
│   ├── pip
│   ├── pip3
│   ├── pip3.13
│   ├── python -> python3.13
│   ├── python3 -> python3.13
│   └── python3.13 -> /opt/homebrew/opt/python@3.13/bin/python3.13
├── include/
├── lib/
│   └── python3.13/
│       └── site-packages/
│           ├── pip/
│           └── pip-25.0.dist-info/
└── pyvenv.cfg
On Windows the layout is slightly different: Scripts\ instead of bin/, and Lib\site-packages\ instead of lib/python3.X/site-packages/.
A few things stand out:
- The
pythonfiles are symlinks (on macOS and Linux) to the real interpreter. A virtual environment doesn't contain a copy of Python. It's a small directory that points at an existing installation. site-packagesis the environment's own, which is where your installed packages go..gitignorecontains*. Since Python 3.13,venvadds this so the environment is never committed to Git by accident. Use--without-scm-ignore-filesto skip it.
pyvenv.cfg: The Key File
home = /opt/homebrew/opt/python@3.13/bin
include-system-site-packages = false
version = 3.13.2
executable = /opt/homebrew/Cellar/python@3.13/3.13.2/Frameworks/Python.framework/Versions/3.13/bin/python3.13
command = /opt/homebrew/opt/python@3.13/bin/python3.13 -m venv /Users/you/projects/myproject/.venv
This small file is what makes a directory a virtual environment. It records which interpreter it's based on and whether global packages should be visible.
How It Works Under the Hood
When Python starts up, it looks for a pyvenv.cfg file next to the executable or one directory above it. If it finds one, it sets sys.prefix to the environment directory and builds sys.path from the environment's site-packages instead of the global one. The standard library still comes from the base installation, recorded in sys.base_prefix.
That gives you a simple way to check whether code is running inside a virtual environment:
# check_env.py
import sys


def in_virtualenv() -> bool:
    return sys.prefix != sys.base_prefix


print("executable:", sys.executable)
print("in venv:", in_virtualenv())
Run with the environment's Python and then the global one:
.venv/bin/python check_env.py
python3 check_env.py
executable: /Users/you/projects/myproject/.venv/bin/python
in venv: True
executable: /opt/homebrew/opt/python@3.13/bin/python3.13
in venv: False
This is also why activation isn't magic. The interpreter decides it's in an environment based on its own location, not on any shell state. activate only changes which python your shell finds first.
Useful venv Options
python3 -m venv --help lists everything. The options you're likely to use:
| Option | What it does |
|---|---|
--prompt NAME | Sets the name shown in your shell prompt. --prompt . uses the current directory's name. |
--upgrade-deps | Upgrades pip to the latest version from PyPI right after creation. |
--clear | Deletes the contents of an existing environment directory before recreating it. |
--system-site-packages | Lets the environment see packages installed in the base Python. |
--without-pip | Creates the environment without pip (useful when another tool manages installs). |
--copies | Copies the interpreter instead of symlinking it. |
--upgrade | Updates the environment in place after the base Python was upgraded in place. |
--without-scm-ignore-files | Skips creating the .gitignore (3.13+). |
A typical creation command for a new project:
python3 -m venv .venv --prompt myproject --upgrade-deps
--system-site-packages is occasionally useful when a heavy package like a GPU library is installed system-wide and you don't want to duplicate it. Most of the time, a fully isolated environment is easier to reason about.
Good Habits
One Environment per Project, Inside the Project
Keep the environment at myproject/.venv. It's easy to find, editors detect it, and when you delete the project, the environment goes with it. Some people prefer a central location (~/.virtualenvs/), which works too, but per-project is simpler.
Never Commit It
A virtual environment is machine-specific: the symlinks point at paths on your computer and compiled packages are built for your OS and CPU. Commit requirements.txt or a lock file instead. Python 3.13's auto-generated .gitignore handles this for you; for older environments, add .venv/ to your project's .gitignore.
Treat Environments as Disposable
Don't try to repair a broken environment. Delete it and recreate it from your dependency file:
rm -rf .venv
python3 -m venv .venv
.venv/bin/python -m pip install -r requirements.txt
The same applies when you upgrade Python itself, for example from 3.12 to 3.13. Environments are tied to the interpreter they were created from. If that interpreter is removed, the symlinks break. Recreate rather than patch.
Don't Move or Rename It
Scripts in bin/, including pip and activate, contain the environment's absolute path. If you move or rename the directory, they'll point at the old location. Recreate the environment in the new place instead.
Point Your Editor at It
In VS Code, run "Python: Select Interpreter" and choose .venv. In PyCharm, set the project interpreter to .venv/bin/python. Your editor then resolves imports, runs tests, and lints with the right packages.
Troubleshooting
ModuleNotFoundError even though you installed the package. You installed into one Python and are running another. Check python -c "import sys; print(sys.executable)" and install with python -m pip using that same python.
python3 -m venv fails with "ensurepip is not available". On Debian and Ubuntu, venv is split into a separate package. Install it with sudo apt install python3-venv (or the version-specific python3.13-venv).
Activation fails in PowerShell. The execution policy is blocking scripts. Use the Set-ExecutionPolicy command shown earlier, or run .venv\Scripts\python.exe directly.
The prompt doesn't change after activation. Some shell themes hide it, or VIRTUAL_ENV_DISABLE_PROMPT is set. Check echo $VIRTUAL_ENV to confirm you're active.
venv and Newer Tools
venv is the foundation that most other tools build on. Poetry, PDM, Hatch, and uv all create standard virtual environments with the same layout and the same pyvenv.cfg. The difference is how much they automate: uv, for example, creates .venv for you, installs from a lock file, and runs commands inside it without activation. See Managing Python Projects with uv for that workflow.
Understanding plain venv still pays off. When something goes wrong with one of those tools, it's almost always a question of which interpreter and which site-packages is in use, and that works exactly as described here.
Conclusion
A virtual environment is a small directory containing a pyvenv.cfg, links to an existing Python interpreter, and its own site-packages. Python notices the pyvenv.cfg at startup and uses that site-packages instead of the global one, which keeps each project's dependencies isolated.
Create one per project with python3 -m venv .venv, activate it or call .venv/bin/python directly, install with python -m pip, record dependencies in a file, and never commit the environment itself. When in doubt, delete it and recreate it.