Optimistic UI Updates in Next.js with useOptimistic and Server Actions
Every mutation that goes through the server has a gap between the click and the result. On a fast connection that gap might be 100 milliseconds; on a phone on a train it can be two seconds. If your UI waits for the server before changing anything, users see a button that doesn't react, click it again, and wonder whether the app is broken.
Optimistic UI closes that gap. You update the screen immediately as if the server had already said yes, then let the real response confirm or correct it. React 19 ships a hook built for exactly this, useOptimistic, and it fits neatly with Next.js Server Actions.
This post covers how useOptimistic works, how it interacts with Server Actions and revalidation, and how to build a like button and a full todo list with optimistic adds, toggles, and deletes. It also covers the failure cases, because an optimistic update that can't roll back cleanly is worse than no optimistic update at all.
How useOptimistic Works
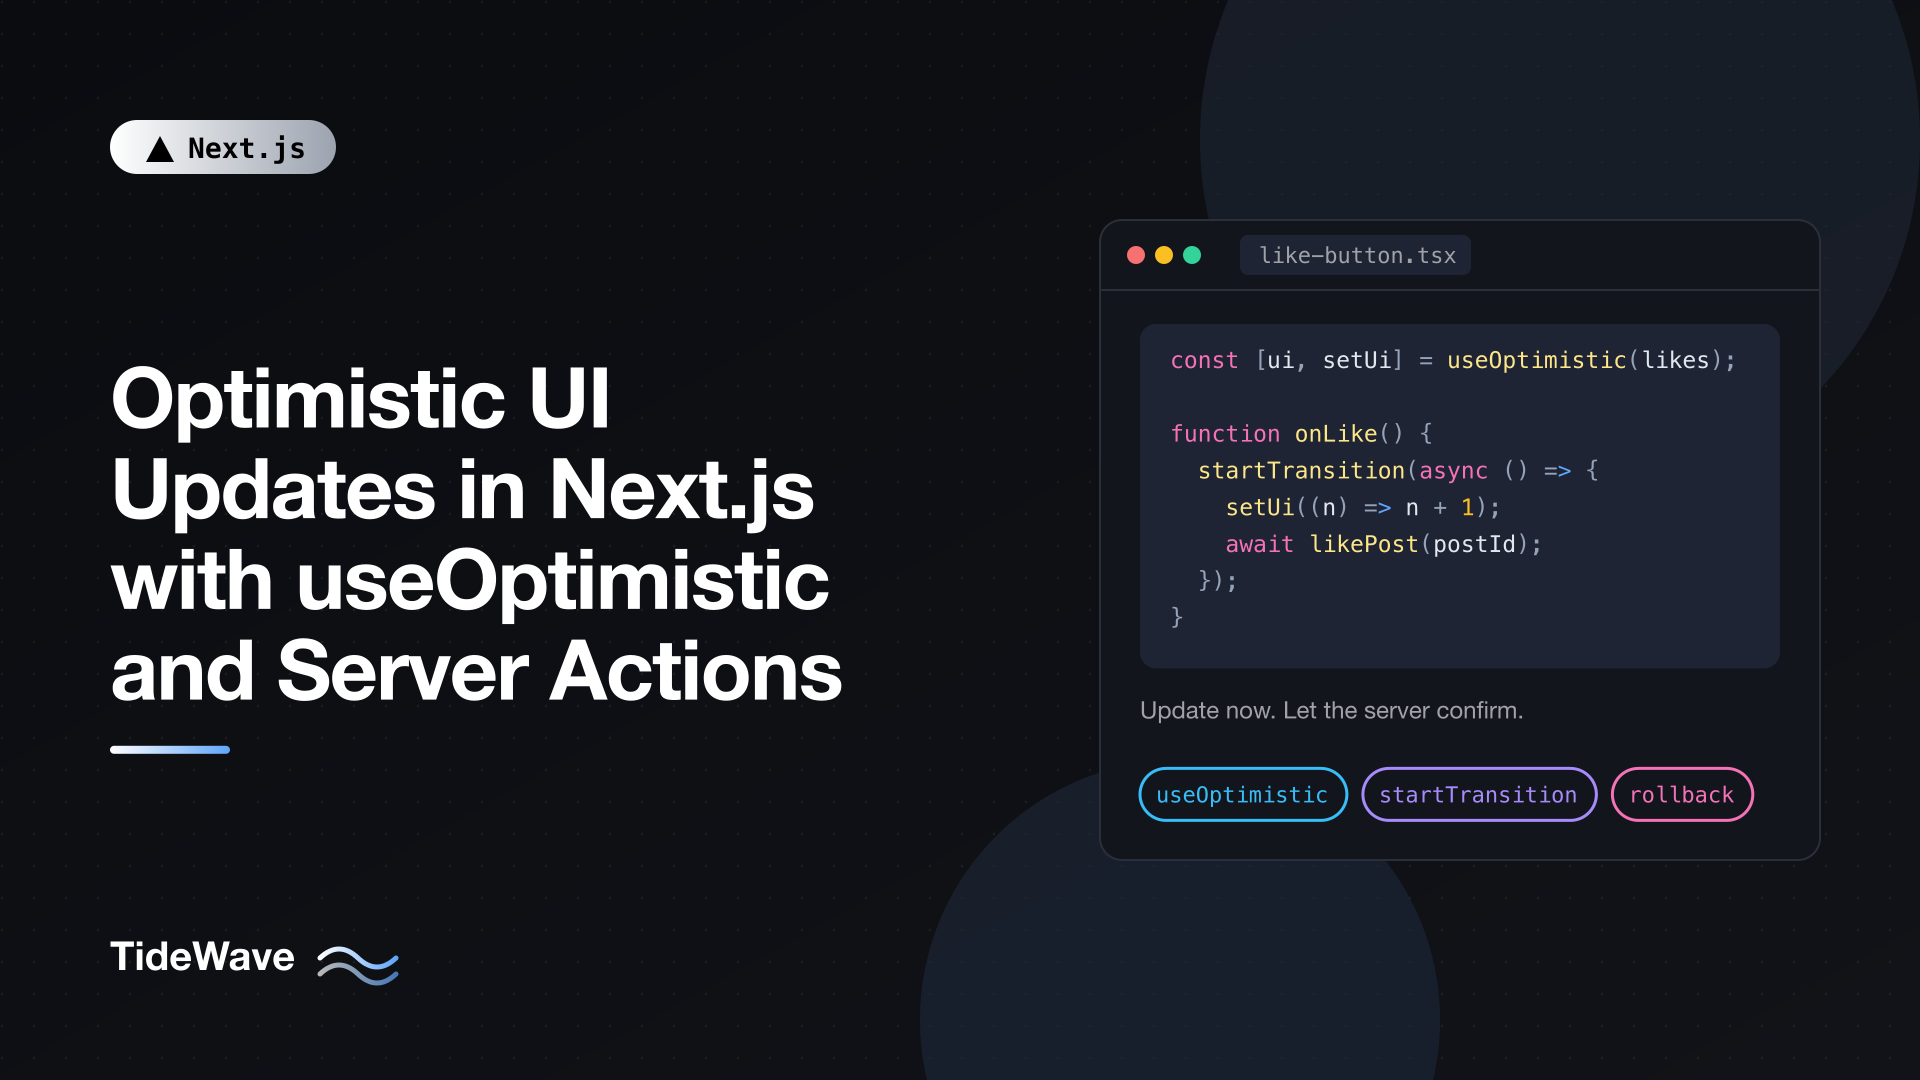
useOptimistic takes a value, usually a prop that came from the server, and returns a version of it you can temporarily override:
const [optimisticValue, setOptimisticValue] = useOptimistic(serverValue);
The key idea is that the override only lives as long as an action is running. While an action or transition is pending, optimisticValue reflects what you set. When the action finishes, React throws the optimistic value away and goes back to whatever serverValue is at that point.
That's the whole trick. If the Server Action updated the data and revalidated the page, the new serverValue already contains the change, so the swap from "optimistic" to "real" is invisible. If the action failed, serverValue is unchanged, and the UI rolls back on its own. You don't write any rollback code for the basic case.
There are two ways to call the hook:
// 1. Setter form: pass the next value, or an updater function
const [optimistic, setOptimistic] = useOptimistic(value);
setOptimistic(next);
setOptimistic((current) => computeNext(current));

// 2. Reducer form: describe changes as actions
const [optimistic, dispatch] = useOptimistic(value, reducer);
dispatch({ type: "add", item });
The setter form suits simple values like a counter or a boolean. The reducer form suits collections where several kinds of change can be in flight.
One rule matters more than any other: you must call the setter inside an action or a transition. That means inside a function passed to a form's action prop, inside startTransition, or inside a function passed to useActionState. Call it from a plain event handler and React will warn you, and the value won't behave as expected.
The Data Layer for These Examples
To keep the examples self-contained, here's an in-memory todo store with an artificial delay so you can actually see the optimistic state:
// lib/todos.ts
export type Todo = {
  id: string;
  title: string;
  done: boolean;
};

const todos: Todo[] = [{ id: "1", title: "Try useOptimistic", done: false }];

const delay = (ms: number) => new Promise((resolve) => setTimeout(resolve, ms));

export async function listTodos(): Promise<Todo[]> {
  return todos.map((todo) => ({ ...todo }));
}

export async function insertTodo(title: string): Promise<Todo> {
  await delay(800);
  const todo: Todo = { id: crypto.randomUUID(), title, done: false };
  todos.push(todo);
  return todo;
}

export async function setTodoDone(id: string, done: boolean): Promise<void> {
  await delay(800);
  const todo = todos.find((t) => t.id === id);
  if (!todo) throw new Error("Todo not found");
  todo.done = done;
}

export async function deleteTodo(id: string): Promise<void> {
  await delay(800);
  const index = todos.findIndex((t) => t.id === id);
  if (index !== -1) todos.splice(index, 1);
}
Swap these functions for real database calls later; nothing else changes.
Example 1: An Optimistic Like Button
Start small. A like button has two pieces of state, whether the user liked the post and the total count. Here's the Server Action:
// app/posts/[id]/actions.ts
"use server";

import { revalidatePath } from "next/cache";
import { toggleLikeInDb } from "@/lib/likes";

export async function toggleLike(postId: string) {
  await toggleLikeInDb(postId);
  revalidatePath(`/posts/${postId}`);
}
And the button, as a Client Component that receives the real values from a Server Component parent:
// app/posts/[id]/like-button.tsx
"use client";

import { useOptimistic, useTransition } from "react";
import { toggleLike } from "./actions";

type LikeState = { liked: boolean; count: number };

export function LikeButton({
  postId,
  liked,
  count,
}: {
  postId: string;
  liked: boolean;
  count: number;
}) {
  const [optimistic, setOptimistic] = useOptimistic<LikeState>({
    liked,
    count,
  });
  const [, startTransition] = useTransition();

  function handleClick() {
    startTransition(async () => {
      setOptimistic((current) => ({
        liked: !current.liked,
        count: current.count + (current.liked ? -1 : 1),
      }));
      await toggleLike(postId);
    });
  }

  return (
    <button onClick={handleClick} aria-pressed={optimistic.liked}>
      {optimistic.liked ? "Liked" : "Like"} ({optimistic.count})
    </button>
  );
}
Walk through a click:
startTransitionstarts an async transition.setOptimisticflips the heart and adjusts the count on the current frame. The user sees the change instantly.toggleLikeruns on the server. It updates the database and callsrevalidatePath, so the response carries a freshly rendered page with newlikedandcountprops.- The transition ends. React drops the optimistic value and renders the new props, which match what the user already sees.
Notice the updater function reads from current, not from the liked prop. If someone double-clicks, the second click needs to build on the first optimistic value, not on the stale prop from the last server render. Always derive the next optimistic state from the optimistic state.
Example 2: An Optimistic Todo List
A list is where the reducer form shines. The page itself is a Server Component that reads the todos and hands them to a Client Component:
// app/todos/page.tsx
import { listTodos } from "@/lib/todos";
import { TodoList } from "./todo-list";

export default async function TodosPage() {
  const todos = await listTodos();

  return (
    <main>
      <h1>Todos</h1>
      <TodoList todos={todos} />
    </main>
  );
}
The actions do the real work and revalidate the page:
// app/todos/actions.ts
"use server";

import { revalidatePath } from "next/cache";
import { deleteTodo, insertTodo, setTodoDone } from "@/lib/todos";

export async function addTodo(formData: FormData) {
  const title = String(formData.get("title") ?? "").trim();
  if (!title || title.length > 200) return;

  await insertTodo(title);
  revalidatePath("/todos");
}

export async function toggleTodo(id: string, done: boolean) {
  await setTodoDone(id, done);
  revalidatePath("/todos");
}

export async function removeTodo(id: string) {
  await deleteTodo(id);
  revalidatePath("/todos");
}
Now the Client Component. The reducer describes every change the UI can make before the server responds:
// app/todos/todo-list.tsx
"use client";

import { startTransition, useOptimistic, useRef } from "react";
import type { Todo } from "@/lib/todos";
import { addTodo, removeTodo, toggleTodo } from "./actions";

type OptimisticTodo = Todo & { pending?: boolean };

type TodoAction =
  | { type: "add"; todo: OptimisticTodo }
  | { type: "toggle"; id: string; done: boolean }
  | { type: "remove"; id: string };

function todoReducer(
  state: OptimisticTodo[],
  action: TodoAction,
): OptimisticTodo[] {
  switch (action.type) {
    case "add":
      return [...state, action.todo];
    case "toggle":
      return state.map((todo) =>
        todo.id === action.id
          ? { ...todo, done: action.done, pending: true }
          : todo,
      );
    case "remove":
      return state.filter((todo) => todo.id !== action.id);
  }
}

export function TodoList({ todos }: { todos: Todo[] }) {
  const [optimisticTodos, dispatch] = useOptimistic(todos, todoReducer);
  const formRef = useRef<HTMLFormElement>(null);

  async function handleAdd(formData: FormData) {
    const title = String(formData.get("title") ?? "").trim();
    if (!title) return;

    formRef.current?.reset();
    dispatch({
      type: "add",
      todo: {
        id: `temp-${crypto.randomUUID()}`,
        title,
        done: false,
        pending: true,
      },
    });

    await addTodo(formData);
  }

  function handleToggle(todo: OptimisticTodo) {
    startTransition(async () => {
      dispatch({ type: "toggle", id: todo.id, done: !todo.done });
      await toggleTodo(todo.id, !todo.done);
    });
  }

  function handleRemove(id: string) {
    startTransition(async () => {
      dispatch({ type: "remove", id });
      await removeTodo(id);
    });
  }

  return (
    <>
      <form ref={formRef} action={handleAdd}>
        <input name="title" placeholder="What needs doing?" required />
        <button type="submit">Add</button>
      </form>

      <ul>
        {optimisticTodos.map((todo) => (
          <li key={todo.id} style={{ opacity: todo.pending ? 0.6 : 1 }}>
            <label>
              <input
                type="checkbox"
                checked={todo.done}
                disabled={todo.id.startsWith("temp-")}
                onChange={() => handleToggle(todo)}
              />
              {todo.title}
            </label>
            <button
              onClick={() => handleRemove(todo.id)}
              disabled={todo.id.startsWith("temp-")}
            >
              Delete
            </button>
          </li>
        ))}
      </ul>
    </>
  );
}
There are several deliberate choices in this component.
The form action is already a transition
handleAdd is passed to the form's action prop. React runs form actions inside a transition automatically, so you can call dispatch directly without startTransition. The toggle and delete handlers are plain onClick and onChange callbacks, so they wrap their work in startTransition themselves.
Temporary IDs and a pending flag
A new todo doesn't have a database ID yet, so it gets a temp- prefixed ID for its React key. The pending: true flag lets you style unconfirmed items (here, reduced opacity). When the server render arrives, the temporary item disappears and the real one, with its real ID, takes its place.
The checkbox and delete button are disabled for temporary items. You can't toggle a row the server doesn't know about yet, because there's no real ID to send.
Resetting the form immediately
React resets uncontrolled form fields after a form action completes, but that happens after the server responds. Calling formRef.current?.reset() clears the input right away, so the user can type the next todo while the first one saves. Inside a transition, useState setters are deferred until the transition finishes, but direct DOM calls like reset() and useOptimistic updates apply on the current frame. That's why the reset uses a ref rather than a controlled input.
Why Revalidation Is Not Optional
Here's the most common bug with useOptimistic in Next.js. Remove revalidatePath("/todos") from addTodo and try adding a todo. It appears, the action finishes, and then it vanishes. Refresh the page and it's back.
The cause is the rule from the start of this post: when the action ends, React discards the optimistic value and renders the current prop. If nothing told Next.js to re-render the page, the todos prop is still the old list, so the new item disappears.
The fix is to make sure every action that changes data also refreshes it. Any of these will re-render the current route and send the new props back in the same response:
revalidatePath("/todos")invalidates that route.updateTag("todos")expires data cached under that tag, if your reads are tagged.refresh()re-renders the current route without touching cached data, useful when the read isn't cached at all.
Note that revalidateTag(tag, "max") is different. It uses stale-while-revalidate semantics and doesn't re-render the current page in the action response, so the optimistic item can briefly vanish until the next request. For read-your-own-writes in an action, prefer updateTag or revalidatePath. The trade-offs are covered in the post on on-demand revalidation with revalidatePath and revalidateTag.
Handling Failures
Automatic rollback covers the visual side of failure, but users also need to know something went wrong. You have two options.
Let it throw
If a Server Action throws inside a transition, the optimistic state reverts and the error goes to the nearest error boundary. That's appropriate for unexpected failures, but swapping a whole section for an error screen because one checkbox failed to save is heavy-handed.
Return a result
For expected failures, return a result object instead of throwing:
// app/todos/actions.ts
"use server";

import { revalidatePath } from "next/cache";
import { setTodoDone } from "@/lib/todos";

export type ActionResult = { ok: true } | { ok: false; error: string };

export async function toggleTodo(
  id: string,
  done: boolean,
): Promise<ActionResult> {
  try {
    await setTodoDone(id, done);
  } catch {
    return { ok: false, error: "Couldn't update that todo. Try again." };
  }

  revalidatePath("/todos");
  return { ok: true };
}
Then show the message in the component:
// app/todos/todo-list.tsx (excerpt)
const [error, setError] = useState<string | null>(null);

function handleToggle(todo: OptimisticTodo) {
  setError(null);
  startTransition(async () => {
    dispatch({ type: "toggle", id: todo.id, done: !todo.done });
    const result = await toggleTodo(todo.id, !todo.done);
    if (!result.ok) setError(result.error);
  });
}
Remember to add useState to the imports from react. When the action returns ok: false, it never revalidated, so the transition ends with the old todos prop and the checkbox flips back. The error message explains why. That combination, automatic visual rollback plus an explicit message, is what makes optimistic UI trustworthy.
Combining useOptimistic with useActionState
If a form already uses useActionState for validation messages, you can still add optimistic behavior. The function you pass to useActionState runs inside a transition, so you can dispatch an optimistic update before calling the Server Action:
// app/comments/comment-form.tsx
"use client";

import { useActionState, useOptimistic } from "react";
import { postComment, type CommentState } from "./actions";

type Comment = { id: string; body: string; pending?: boolean };

const initialState: CommentState = { error: null };

export function Comments({ comments }: { comments: Comment[] }) {
  const [optimisticComments, addOptimistic] = useOptimistic(
    comments,
    (state: Comment[], body: string) => [
      ...state,
      { id: `temp-${state.length}`, body, pending: true },
    ],
  );

  const [state, formAction, pending] = useActionState(
    async (prev: CommentState, formData: FormData) => {
      addOptimistic(String(formData.get("body") ?? ""));
      return postComment(prev, formData);
    },
    initialState,
  );

  return (
    <>
      <ul>
        {optimisticComments.map((c) => (
          <li key={c.id} style={{ opacity: c.pending ? 0.6 : 1 }}>
            {c.body}
          </li>
        ))}
      </ul>
      <form action={formAction}>
        <textarea name="body" required />
        <button disabled={pending}>Post</button>
        {state.error && <p role="alert">{state.error}</p>}
      </form>
    </>
  );
}
Here postComment is a Server Action with the (prevState, formData) signature that validates the input, inserts the comment, calls revalidatePath, and returns { error: null } or an error message. The optimistic comment shows immediately; if validation fails, it disappears and the error appears.
A Few Practical Rules
Keep the optimistic state close to the server shape. The closer your optimistic object is to what the server will return, the less the UI jumps when the real data arrives. Fill in fields you can predict (title, author name) and mark the rest as pending.
Don't fake what you can't predict. If the server generates something meaningful, such as an order number, a price after tax, or a moderation result, show a pending placeholder rather than a guess.
Don't use it for irreversible or high-stakes actions. Payments, account deletion, and sending emails should show real progress and real confirmation. Optimism suits actions that usually succeed and are cheap to undo: likes, toggles, reordering, adding comments.
Remember actions are sequential. Next.js dispatches Server Actions from a client one at a time. If a user toggles five todos quickly, the optimistic UI updates five times instantly, but the server calls queue up. That's usually fine, and it's exactly the case where optimistic UI helps most, since the user isn't waiting on the queue.
Validate on the server anyway. An optimistic update is a UI nicety, not a promise. The Server Action still has to authenticate, authorize, and validate, because it can be called directly. See Server Actions in Next.js for the security checklist.
Conclusion
useOptimistic gives you instant feedback with very little code because it leans on a simple contract: the optimistic value exists only while an action is pending, and afterwards the server's data wins. In Next.js that contract works when your Server Action refreshes the data it changed, with revalidatePath, updateTag, or refresh, so the props that replace the optimistic state already contain the change.
Use the setter form for single values and the reducer form for lists. Derive each update from the current optimistic state, give new items temporary IDs, return result objects for expected failures, and keep optimism for actions that usually succeed. Done that way, your app feels local even when the server is far away.