Server Actions in Next.js: Handling Form Submissions Without API Routes
For a long time, handling a form in a React app meant writing the same plumbing over and over. You built an API route, wrote a client component with useState for every field, added an onSubmit handler that called fetch, parsed the JSON response, tracked a loading flag, and then figured out how to refresh whatever list the new record belonged to. None of it was hard, but all of it was boilerplate.
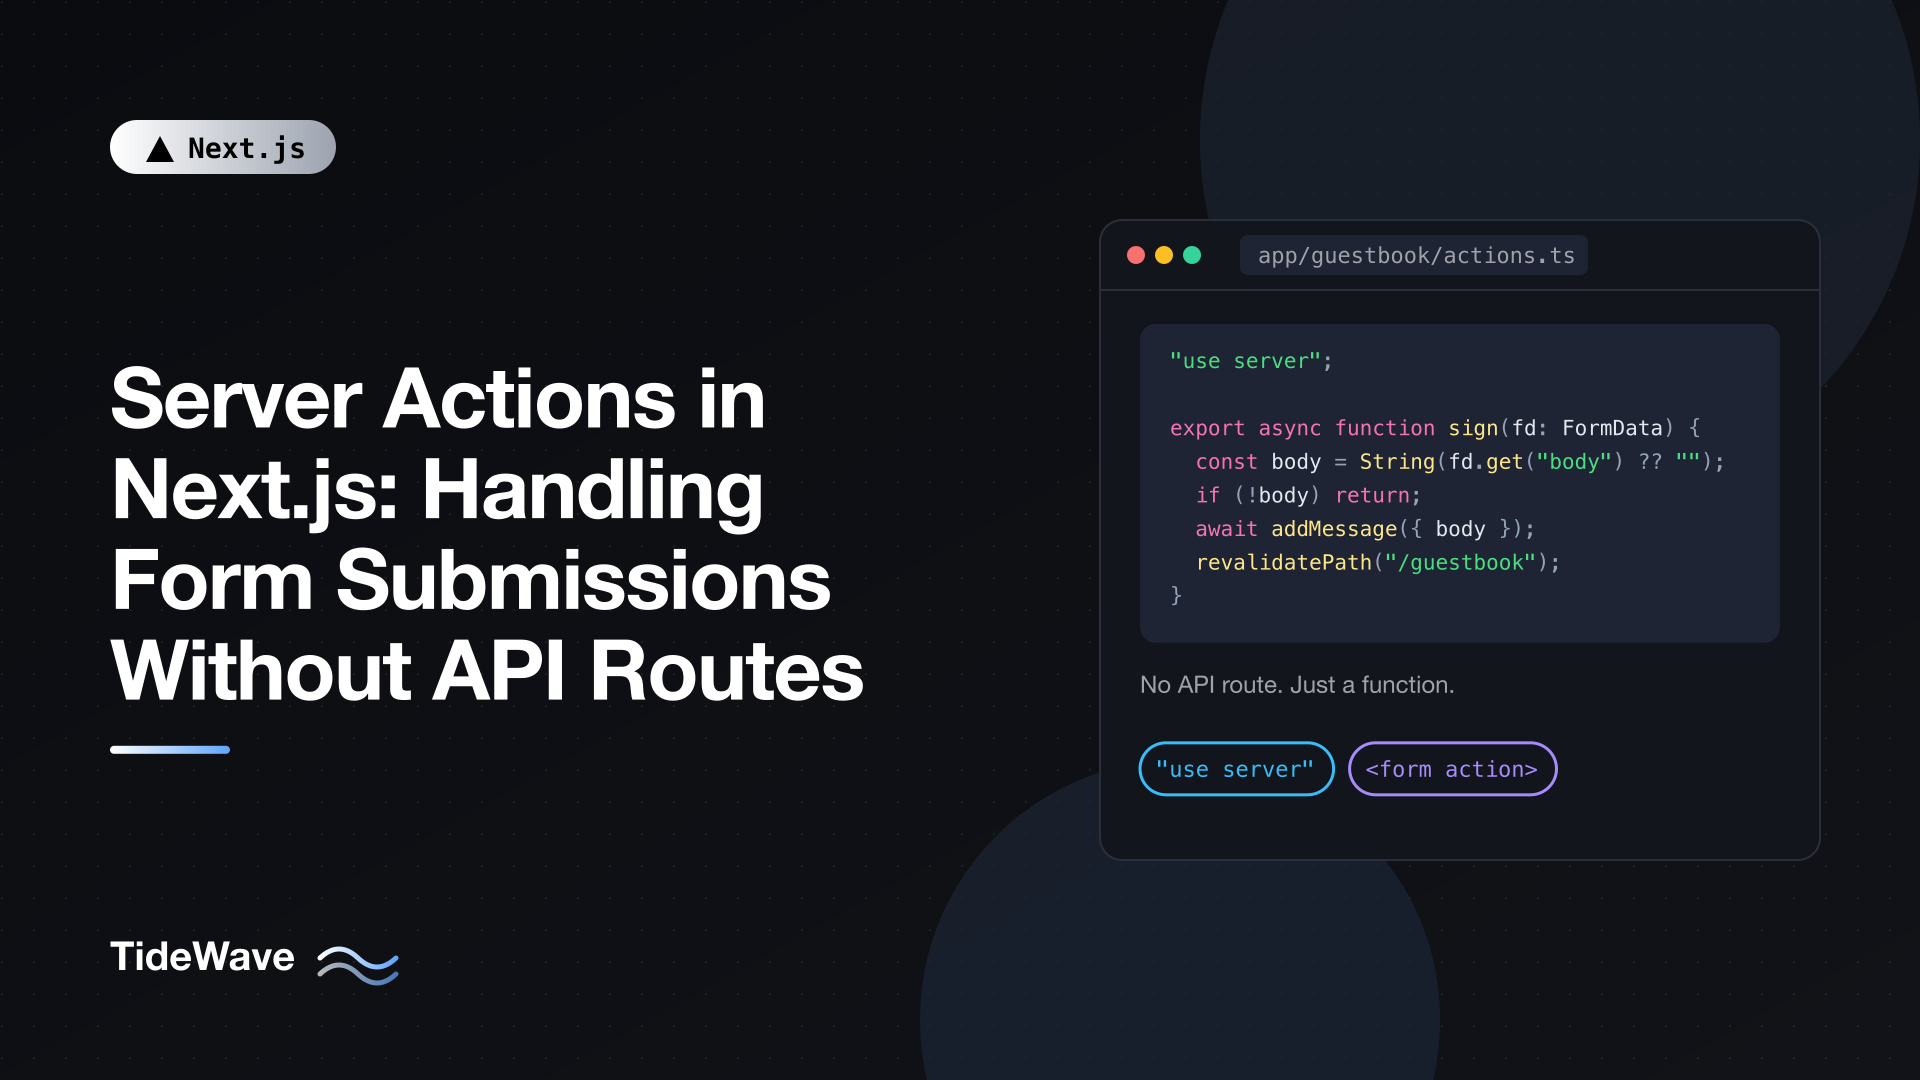
Server Actions remove most of that. In the App Router, you can write an async function that runs on the server, pass it straight to a form's action prop, and Next.js handles the request, the serialization, and the UI refresh. There's no route file to create and no fetch call to write.
This guide walks through how Server Actions work, how to read form data, how to show pending and result states, how to refresh data and redirect after a mutation, and the security rules you can't skip. Everything here uses the App Router and TypeScript, and it's written against Next.js 16.
What a Server Action Actually Is
A Server Action is an async function marked with the "use server" directive. React calls the broader concept a Server Function; when one is used for a form submission or mutation, Next.js calls it a Server Action.
When you build your app, the compiler keeps the function body on the server and replaces it in the client bundle with a reference: an encrypted action ID plus a small dispatcher. When the form is submitted, the browser sends a POST request to the current page with that ID and the form data. Next.js looks up the function, runs it, and sends back a response.
That response is the interesting part. If the action revalidates data or redirects, Next.js re-renders the affected route on the server and includes the new React Server Component payload in the same response. One round trip gives you both the result of the mutation and the updated UI.
A few facts worth keeping in mind from the start:
- Server Actions are always invoked with
POST. You can't call one withGET. - They must be
asyncfunctions. - Their arguments and return values must be serializable (strings, numbers, plain objects, arrays,
FormData,Date, and so on). - They're reachable by anyone who can send a
POSTrequest to your app, not only through your UI. Treat each one like a public endpoint.
A Small Example App
To keep the examples runnable, here's a tiny in-memory data module for a guestbook. In a real app this would talk to a database through Prisma, Drizzle, or a plain driver, but the shape of the code around it doesn't change.
// lib/messages.ts
export type Message = {
  id: string;
  author: string;
  body: string;
  createdAt: string;
};

const messages: Message[] = [];

export async function listMessages(): Promise<Message[]> {
  return [...messages].reverse();
}

export async function addMessage(input: {
  author: string;
  body: string;
}): Promise<Message> {
  const message: Message = {
    id: crypto.randomUUID(),
    createdAt: new Date().toISOString(),
    ...input,
  };
  messages.push(message);
  return message;
}

export async function removeMessage(id: string): Promise<void> {
  const index = messages.findIndex((m) => m.id === id);
  if (index !== -1) messages.splice(index, 1);
}
The data lives in a module-level array, so it resets whenever the server restarts and isn't shared between serverless instances. That's fine for following along locally.
The Old Way, for Comparison
Here's roughly what a guestbook submission looked like with a Route Handler:
// app/api/messages/route.ts
import { addMessage } from "@/lib/messages";

export async function POST(request: Request) {
  const { author, body } = await request.json();
  if (!author || !body) {
    return Response.json({ error: "Missing fields" }, { status: 400 });
  }
  const message = await addMessage({ author, body });
  return Response.json(message, { status: 201 });
}
And on the client, a component with controlled inputs, an onSubmit handler, fetch("/api/messages", ...), a loading flag, and a router.refresh() call so the list picked up the new entry. That's two files and a fair amount of glue for one insert.
Your First Server Action
The quickest way to write a Server Action is inline, inside a Server Component. Add "use server" as the first line of the function body:
// app/guestbook/page.tsx
import { revalidatePath } from "next/cache";
import { addMessage, listMessages } from "@/lib/messages";

export default async function GuestbookPage() {
  const messages = await listMessages();

  async function signGuestbook(formData: FormData) {
    "use server";

    const author = String(formData.get("author") ?? "").trim();
    const body = String(formData.get("body") ?? "").trim();
    if (!author || !body) return;

    await addMessage({ author, body });
    revalidatePath("/guestbook");
  }

  return (
    <main>
      <h1>Guestbook</h1>

      <form action={signGuestbook}>
        <input name="author" placeholder="Your name" required />
        <textarea name="body" placeholder="Say hello" required />
        <button type="submit">Sign</button>
      </form>

      <ul>
        {messages.map((m) => (
          <li key={m.id}>
            <strong>{m.author}</strong>: {m.body}
          </li>
        ))}
      </ul>
    </main>
  );
}
There's a lot happening in very little code:
signGuestbookis passed directly to the form'sactionprop. React extends the nativeformelement so thatactioncan be a function, not just a URL.- When the form is submitted, the function receives a
FormDataobject automatically. Every input with anameattribute is in it. - After the insert,
revalidatePath("/guestbook")tells Next.js the page's data is out of date. Because this happens inside a Server Action, Next.js re-renders the page and sends the fresh UI back in the same response, so the new message appears without any client code.
Because the page is a Server Component and the form posts to a real endpoint, this works before JavaScript has loaded, and even with JavaScript disabled. The browser does a normal form POST, Next.js runs the action, and the page re-renders. Once the app hydrates, the same form submits without a full page reload.
Moving Actions Into Their Own File
Inline actions are handy for small pages, but most of the time you'll want actions in a dedicated file. Put "use server" at the top of the file and every exported async function becomes a Server Action:
// app/guestbook/actions.ts
"use server";

import { revalidatePath } from "next/cache";
import { addMessage, removeMessage } from "@/lib/messages";

export async function signGuestbook(formData: FormData) {
  const author = String(formData.get("author") ?? "").trim();
  const body = String(formData.get("body") ?? "").trim();
  if (!author || !body) return;

  await addMessage({ author, body });
  revalidatePath("/guestbook");
}

export async function deleteMessage(id: string) {
  await removeMessage(id);
  revalidatePath("/guestbook");
}
A file-level "use server" has two practical benefits. First, you can import these functions into Client Components, which can't define Server Actions themselves. Second, it keeps your mutation logic in one place, which makes the security review (covered later) much easier.
One rule to remember: a "use server" file may only export async functions. Exporting a constant, such as an initial state object, causes an error. Type exports are fine because they disappear at compile time.
Reading Form Data
FormData is a standard Web API, so everything you know about it applies:
// Inside a Server Action
const email = formData.get("email"); // FormDataEntryValue | null
const tags = formData.getAll("tags"); // FormDataEntryValue[]
const avatar = formData.get("avatar"); // File when the input is type="file"
const subscribed = formData.get("subscribed") === "on"; // checkbox
A few details trip people up:
formData.get()returnsstring | File | null. Always narrow it.String(value ?? "")is a quick way to get a string, but a schema validator is better for anything non-trivial.- Unchecked checkboxes aren't sent at all, so
get()returnsnullrather than"off". - Number inputs still arrive as strings. Convert them explicitly.
- If you reach for
Object.fromEntries(formData)to grab every field at once, the result also contains internal keys prefixed with$ACTION_. Pick the fields you need instead of trusting the whole object.
For proper parsing and error messages, use a schema library. The follow-up post on form validation with Zod and Server Actions covers that in depth.
Showing Pending States and Results
The basic form above gives no feedback while the action runs, and there's no way to show a message like "Thanks for signing". For both, use React's useActionState hook in a Client Component.
First, change the action so it accepts the previous state as its first argument and returns the next state:
// app/guestbook/actions.ts
"use server";

import { revalidatePath } from "next/cache";
import { addMessage } from "@/lib/messages";

export type SignState = {
  ok: boolean;
  message: string;
};

export async function signGuestbook(
  _prevState: SignState,
  formData: FormData,
): Promise<SignState> {
  const author = String(formData.get("author") ?? "").trim();
  const body = String(formData.get("body") ?? "").trim();

  if (!author || !body) {
    return { ok: false, message: "Please fill in both fields." };
  }

  await addMessage({ author, body });
  revalidatePath("/guestbook");

  return { ok: true, message: `Thanks for signing, ${author}!` };
}
Then build the form as a Client Component:
// app/guestbook/guestbook-form.tsx
"use client";

import { useActionState } from "react";
import { signGuestbook, type SignState } from "./actions";

const initialState: SignState = { ok: false, message: "" };

export function GuestbookForm() {
  const [state, formAction, pending] = useActionState(
    signGuestbook,
    initialState,
  );

  return (
    <form action={formAction}>
      <input name="author" placeholder="Your name" required />
      <textarea name="body" placeholder="Say hello" required />

      <button type="submit" disabled={pending}>
        {pending ? "Signing..." : "Sign"}
      </button>

      <p aria-live="polite">{state.message}</p>
    </form>
  );
}
useActionState takes the action and an initial state, and returns three things: the latest state, a wrapped action to pass to the form, and a pending boolean. The wrapped action calls your Server Action with the previous state and the form data, then stores whatever it returns. The aria-live region makes the result message announce itself to screen readers.
The page now renders GuestbookForm instead of the inline form, and the list stays a Server Component:
// app/guestbook/page.tsx
import { listMessages } from "@/lib/messages";
import { GuestbookForm } from "./guestbook-form";

export default async function GuestbookPage() {
  const messages = await listMessages();

  return (
    <main>
      <h1>Guestbook</h1>
      <GuestbookForm />
      <ul>
        {messages.map((m) => (
          <li key={m.id}>
            <strong>{m.author}</strong>: {m.body}
          </li>
        ))}
      </ul>
    </main>
  );
}
A Reusable Submit Button with useFormStatus
If you'd rather not thread pending through props, useFormStatus from react-dom reads the status of the parent form. It has to be called from a component rendered inside the form:
// app/components/submit-button.tsx
"use client";

import { useFormStatus } from "react-dom";

export function SubmitButton({ children }: { children: React.ReactNode }) {
  const { pending } = useFormStatus();

  return (
    <button type="submit" disabled={pending} aria-disabled={pending}>
      {pending ? "Working..." : children}
    </button>
  );
}
Because it only depends on the nearest parent form, you can drop the same button into any form in the app, including forms rendered by Server Components that pass a Server Action directly.
Refreshing Data and Redirecting
After a mutation, the UI needs to reflect the change. You have a few tools, all imported from next/cache except redirect:
| Function | What it does after a mutation |
|---|---|
revalidatePath(path) | Invalidates cached data and rendered output for a route path |
updateTag(tag) | Immediately expires cached data with a tag (Server Actions only) |
revalidateTag(tag, "max") | Marks tagged data stale; fresh data is fetched in the background |
refresh() | Re-renders the current route without touching cached data |
redirect(url) | Navigates the user somewhere else (from next/navigation) |
When an action calls revalidatePath, updateTag, or refresh, or sets a cookie, Next.js re-renders the current route and ships the new UI in the action's response. The differences between path and tag revalidation get their own post: on-demand revalidation with revalidatePath and revalidateTag.
Redirecting is common after creating something:
// app/posts/actions.ts
"use server";

import { revalidatePath } from "next/cache";
import { redirect } from "next/navigation";
import { createPost } from "@/lib/posts";

export async function publishPost(formData: FormData) {
  const title = String(formData.get("title") ?? "").trim();
  if (!title) return;

  const post = await createPost({ title });

  revalidatePath("/posts");
  redirect(`/posts/${post.id}`);
}
redirect works by throwing a special error that Next.js catches. That has two consequences. Any code after it never runs, so revalidate before you redirect. And if you wrap your logic in try/catch, call redirect outside the try block, or your catch will swallow the redirect.
Passing Extra Arguments
Sometimes an action needs data that isn't a form field, like the ID of the row being deleted. Use bind to pre-fill arguments:
// app/guestbook/message-list.tsx
import { listMessages } from "@/lib/messages";
import { deleteMessage } from "./actions";

export async function MessageList() {
  const messages = await listMessages();

  return (
    <ul>
      {messages.map((m) => (
        <li key={m.id}>
          <strong>{m.author}</strong>: {m.body}
          <form action={deleteMessage.bind(null, m.id)}>
            <button type="submit">Delete</button>
          </form>
        </li>
      ))}
    </ul>
  );
}
The bound value is passed as the first argument to deleteMessage(id), and the form data would follow it if the function declared a second parameter. Binding works in both Server and Client Components and keeps progressive enhancement working.
The alternative is a hidden input such as input type="hidden" name="id". That works too, but the value sits in the rendered HTML as plain text. Either way, the server must not trust it blindly: check that the current user is allowed to touch that ID.
Multiple Buttons, Different Actions
A single form can trigger different actions per button with the formAction prop. A classic case is "Save draft" versus "Publish":
// app/editor/post-form.tsx
import { publishPost, saveDraft } from "./actions";

export function PostForm() {
  return (
    <form action={publishPost}>
      <input name="title" placeholder="Title" required />
      <textarea name="content" />
      <button type="submit" formAction={saveDraft}>
        Save draft
      </button>
      <button type="submit">Publish</button>
    </form>
  );
}
Clicking "Save draft" calls saveDraft with the same form data; clicking "Publish" falls back to the form's own action.
Calling Actions Outside Forms
Server Actions aren't limited to forms. In a Client Component you can call one from an event handler. This example assumes a likePost(postId: string) action exported from actions.ts. Wrap it in startTransition (or use useTransition) so React treats it as an action and you get a pending flag:
// app/posts/like-button.tsx
"use client";

import { useTransition } from "react";
import { likePost } from "./actions";

export function LikeButton({ postId }: { postId: string }) {
  const [isPending, startTransition] = useTransition();

  return (
    <button
      disabled={isPending}
      onClick={() => startTransition(() => likePost(postId))}
    >
      {isPending ? "Liking..." : "Like"}
    </button>
  );
}
One Next.js-specific behavior to know: the client dispatches Server Actions one at a time. If a user fires three actions quickly, the second waits for the first. That keeps the UI consistent, but it means Promise.all over several actions won't run them in parallel. If you need parallel work, do it inside a single action.
Security: Treat Every Action as a Public Endpoint
This is the part that matters most. Rendering a form only on an authenticated page doesn't protect the action behind it. Anyone who has the action ID (and it's in your client bundle) can POST to it with whatever data they like.
Next.js gives you some protection out of the box:
- Origin checks. The request's
Originheader must match the host, which blocks basic cross-site request forgery. - Encrypted, unguessable action IDs. Unused actions are removed from the client bundle entirely.
- Encrypted closures. Values captured by inline actions are encrypted before being sent to the client.
- A 1 MB body size limit by default.
Those are framework-level safeguards. Your application still needs to do three things inside every action:
- Authenticate and authorize. Check who's calling and whether they may perform this operation on this specific record.
- Validate input. Treat
FormDataas untrusted. Check types, lengths, and formats. - Return only what the UI needs. Whatever you return is serialized and sent to the browser, so don't return raw database rows with internal fields.
Here's what that looks like for the delete action. getCurrentUser stands in for whatever your auth library provides, and the message record has gained an ownerId field plus a getMessage(id) lookup in lib/messages.ts:
// app/guestbook/actions.ts
"use server";

import { revalidatePath } from "next/cache";
import { getCurrentUser } from "@/lib/session"; // your auth helper
import { getMessage, removeMessage } from "@/lib/messages";

export async function deleteMessage(id: string) {
  const user = await getCurrentUser();
  if (!user) throw new Error("Unauthorized");

  const message = await getMessage(id);
  if (!message || message.ownerId !== user.id) {
    throw new Error("Forbidden");
  }

  await removeMessage(id);
  revalidatePath("/guestbook");
}
Notice the action takes only an ID and re-reads the record from the database. It never trusts an object sent from the client to tell it who owns the row. For a broader look at authentication patterns, see managing authentication in a Next.js application.
Configuring Limits and Origins
If you accept file uploads or run behind a proxy with a different hostname, adjust the defaults in next.config.ts:
// next.config.ts
import type { NextConfig } from "next";

const nextConfig: NextConfig = {
  experimental: {
    serverActions: {
      bodySizeLimit: "5mb",
      allowedOrigins: ["my-proxy.example.com"],
    },
  },
};

export default nextConfig;
If you self-host across multiple instances, also set the NEXT_SERVER_ACTIONS_ENCRYPTION_KEY environment variable to the same value everywhere, so every instance can decrypt action references produced by the others.
When You Still Want a Route Handler
Server Actions are built for mutations triggered from your own UI. They're not a replacement for every endpoint. Reach for a Route Handler when:
- A third party needs to call you, such as a Stripe or CMS webhook.
- You're building a public API for mobile apps or other services.
- You need a
GETendpoint, custom headers, streaming responses, or specific status codes. - You want stable URLs that don't change between deployments. Action IDs can change with each build, which is why a user on an old tab may occasionally see a "Failed to find Server Action" error after a deploy.
A useful split: Server Actions for anything a user does in your app, Route Handlers for anything a machine does to your app.
Conclusion
Server Actions turn form handling into what it always should have been: a function that receives the submitted data and does something with it. You pass the function to action, read FormData, call revalidatePath or redirect, and Next.js takes care of the request and the UI update in a single round trip. Add useActionState and useFormStatus when you need feedback, bind when you need extra arguments, and formAction when one form has several outcomes.
The one thing to never forget is that each action is a public POST endpoint. Authenticate, authorize, and validate inside every one. With that habit in place, you can delete a lot of API routes and the client-side glue that came with them.