
Managing Authentication in a Next.js Application: A Detailed Guide of NextAuth.js
Authentication is a critical aspect of many web applications, ensuring that users can securely access their data and functionalities. In Next.js, managing authentication involves handling both server-side and client-side logic seamlessly. One popular library for authentication in Next.js is NextAuth.js. This article will explore how to manage authentication in a Next.js application and provide an example using NextAuth.js.
Why Use NextAuth.js for Authentication?
NextAuth.js simplifies authentication in Next.js applications by providing built-in support for various providers (OAuth, email, custom), secure session management, and extensive customization options. It offers secure JWT handling, database integration, and built-in protection against common security threats. Its ease of use, flexibility, and comprehensive features make it an ideal choice for robust, scalable authentication solutions in modern web applications.
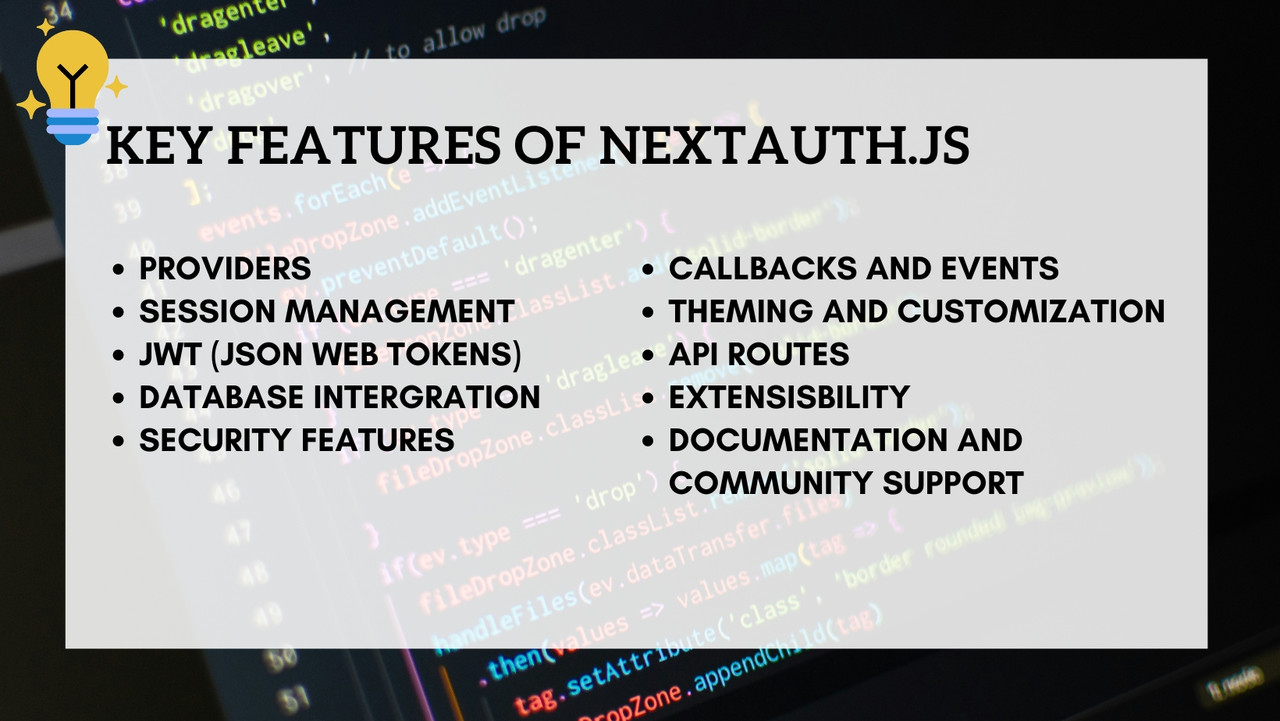
Key Features of NextAuth.js
NextAuth.js is a powerful authentication library for Next.js applications, offering a range of features designed to simplify and enhance the process of adding authentication to your app. Here are some of the key features of NextAuth.js:
-
Providers
- Built-in Authentication Providers: NextAuth.js supports a wide range of authentication providers out of the box, including OAuth providers (Google, Facebook, GitHub, etc.),email/password, and custom providers.
- Custom Providers: You can create custom authentication providers to support other authentication mechanisms or services not included by default.
-
Session Management
- Secure Session Handling: NextAuth.js provides secure and flexible session management, including both JWT-based and database-backed sessions.
- Session Callbacks: Customize session data by defining callbacks to control what information is stored in the session.
-
JWT (JSON Web Tokens)
- JWT Support: NextAuth.js offers built-in support for JWTs, allowing stateless authentication and easy integration with external APIs.
- Customizable JWT: Customize the contents of the JWT and its lifecycle through JWT callbacks.
-
Database Integration
- Database Adapters: NextAuth.js supports various databases (e.g., MySQL, PostgreSQL, MongoDB) through adapters, enabling persistent session storage and user management.
- Custom Models: Define custom database models to extend the default schema and accommodate additional user data.
-
Security Features
- Cross-Site Request Forgery (CSRF) Protection: NextAuth.js includes built-in CSRF protection to secure your application against common attacks.
- Secure Cookies: Configure secure cookies for session management, with options to enforce HTTPS and set custom cookie attributes.
-
Callbacks and Events
- Custom Callbacks: NextAuth.js provides various callbacks to customize the authentication flow, including sign-in, sign-out, session, and JWT callbacks.
- Events: Subscribe to events such as user sign-in, sign-out, and account creation to trigger custom logic in response to authentication actions.
-
Theming and Customization
- Customizable UI: Customize the built-in sign-in and authentication pages using themes or custom React components.
- Localization: Support for localization allows you to tailor authentication UI for different languages and regions.
-
API Routes
- Built-in API Routes: NextAuth.js leverages Next.js API routes to handle authentication requests, providing endpoints for sign-in, sign-out, and session management.
- Custom API Endpoints: Extend or override default API routes with custom logic to fit your application’s requirements.
-
Extensibility
- Middleware Integration: Integrate with Next.js middleware for additional request processing or custom authentication logic.
- Third-Party Services: Easily integrate with third-party services and APIs to enhance your authentication system.
-
Documentation and Community Support
- Comprehensive Documentation: NextAuth.js offers detailed documentation, including guides, API references, and examples to help you get started quickly.
- Active Community: Benefit from an active and supportive community, including contributors, issue tracking, and community-driven enhancements.
Example Usage of NextAuth.js
Below is a basic example of how to set up NextAuth.js in a Next.js application:
// pages/api/auth/[...nextauth].js
import NextAuth from "next-auth";
import Providers from "next-auth/providers";

export default NextAuth({
  providers: [
    Providers.Google({
      clientId: process.env.GOOGLE_CLIENT_ID,
      clientSecret: process.env.GOOGLE_CLIENT_SECRET,
    }),
    Providers.GitHub({
      clientId: process.env.GITHUB_CLIENT_ID,
      clientSecret: process.env.GITHUB_CLIENT_SECRET,
    }),
    // Add more providers here
  ],
  callbacks: {
    async session(session, user) {
      session.user.id = user.id;
      return session;
    },
    async jwt(token, user) {
      if (user) {
        token.id = user.id;
      }
      return token;
    },
  },
  database: process.env.DATABASE_URL, // Optional: for persistent sessions
});
This example demonstrates configuring Google and GitHub as authentication providers, customizing session and JWT callbacks, and optionally connecting to a database for persistent sessions.
Setting Up Authentication in Next.js Project with NextAuth.js
Setting up authentication in a Next.js project with NextAuth.js involves several key steps to ensure secure and seamless user authentication. NextAuth.js is a powerful and flexible authentication library that simplifies the process of integrating various authentication providers, managing sessions, and securing your application.
Setting Up a Next.js Project
Setting up a Next.js project is a straightforward process that involves initializing a new project, installing necessary dependencies, and configuring the environment for development. First, create a new Next.js project if you don't already have one:
npx create-next-app@latest nextauth-example
cd nextauth-example
Installing NextAuth.js and Dependencies
Install NextAuth.js and its required dependencies:
npm install next-auth
Configuring NextAuth.js
Create an API route for NextAuth.js. This involves creating a [...nextauth].js file inside the pages/api/auth directory.
// pages/api/auth/[...nextauth].js

import NextAuth from "next-auth";
import Providers from "next-auth/providers";

export default NextAuth({
  // Configure one or more authentication providers
  providers: [
    Providers.Google({
      clientId: process.env.GOOGLE_CLIENT_ID,
      clientSecret: process.env.GOOGLE_CLIENT_SECRET,
    }),
    // ...add more providers here
  ],
  // A database is optional, but required to persist accounts in a database
  database: process.env.DATABASE_URL,
});
Adding Environment Variables
Create a .env.local file in the root of your project and add your environment variables:
GOOGLE_CLIENT_ID=your-google-client-id
GOOGLE_CLIENT_SECRET=your-google-client-secret
DATABASE_URL=your-database-url
NEXTAUTH_URL=http://localhost:3000
Ensure you replace the placeholder values with your actual credentials.
Protecting Pages and Handling Sessions
Next, create protected pages and handle sessions. For instance, to create a protected page, you can use the useSession hook provided by NextAuth.js.
// pages/protected.js

import { getSession } from "next-auth/client";
import { useEffect, useState } from "react";

export default function Protected() {
  const [loading, setLoading] = useState(true);
  const [session, setSession] = useState(null);

  useEffect(() => {
    const checkSession = async () => {
      const session = await getSession();
      setSession(session);
      setLoading(false);
    };
    checkSession();
  }, []);

  if (loading) return <p>Loading...</p>;

  if (!session) return <p>You are not authenticated.</p>;

  return <p>Welcome, {session.user.name}!</p>;
}
Adding Sign-In and Sign-Out
Implement sign-in and sign-out functionality using NextAuth.js hooks.
// pages/index.js

import { signIn, signOut, useSession } from "next-auth/client";

export default function Home() {
  const [session, loading] = useSession();

  return (
    <div>
      {!session && (
        <>
          <h1>You are not signed in</h1>
          <button onClick={() => signIn()}>Sign in</button>
        </>
      )}
      {session && (
        <>
          <h1>Signed in as {session.user.email}</h1>
          <button onClick={() => signOut()}>Sign out</button>
        </>
      )}
    </div>
  );
}
Protecting API Routes
To protect API routes, use the getSession function to check for a valid session.
// pages/api/protected-route.js

import { getSession } from "next-auth/client";

export default async (req, res) => {
  const session = await getSession({ req });

  if (!session) {
    res.status(401).json({ message: "Unauthorized" });
    return;
  }

  res.status(200).json({ message: "Success", data: "This is protected data" });
};
Customizing Authentication
NextAuth.js provides extensive customization options. For example, you can add custom sign-in pages, callbacks, and session handling.
// pages/api/auth/[...nextauth].js

import NextAuth from "next-auth";
import Providers from "next-auth/providers";

export default NextAuth({
  providers: [
    Providers.Google({
      clientId: process.env.GOOGLE_CLIENT_ID,
      clientSecret: process.env.GOOGLE_CLIENT_SECRET,
    }),
  ],
  pages: {
    signIn: "/auth/signin",
    signOut: "/auth/signout",
    error: "/auth/error", // Error code passed in query string as ?error=
    verifyRequest: "/auth/verify-request", // (used for check email message)
    newUser: null, // If set, new users will be directed here on first sign in
  },
  callbacks: {
    async jwt(token, user, account, profile, isNewUser) {
      // Add user id to token
      if (user) {
        token.id = user.id;
      }
      return token;
    },
    async session(session, token) {
      // Add user id to session
      session.user.id = token.id;
      return session;
    },
  },
});
Styling the Sign-In Page
Customize the sign-in page to match your application's branding.
// pages/auth/signin.js

import { providers, signIn, csrfToken } from "next-auth/client";

export default function SignIn({ providers, csrfToken }) {
  return (
    <>
      <form method="post" action="/api/auth/signin/email">
        <input name="csrfToken" type="hidden" defaultValue={csrfToken} />
        <label>
          Email address
          <input type="email" id="email" name="email" />
        </label>
        <button type="submit">Sign in with Email</button>
      </form>
      {Object.values(providers).map((provider) => (
        <div key={provider.name}>
          <button onClick={() => signIn(provider.id)}>
            Sign in with {provider.name}
          </button>
        </div>
      ))}
    </>
  );
}

SignIn.getInitialProps = async (context) => {
  return {
    providers: await providers(context),
    csrfToken: await csrfToken(context),
  };
};
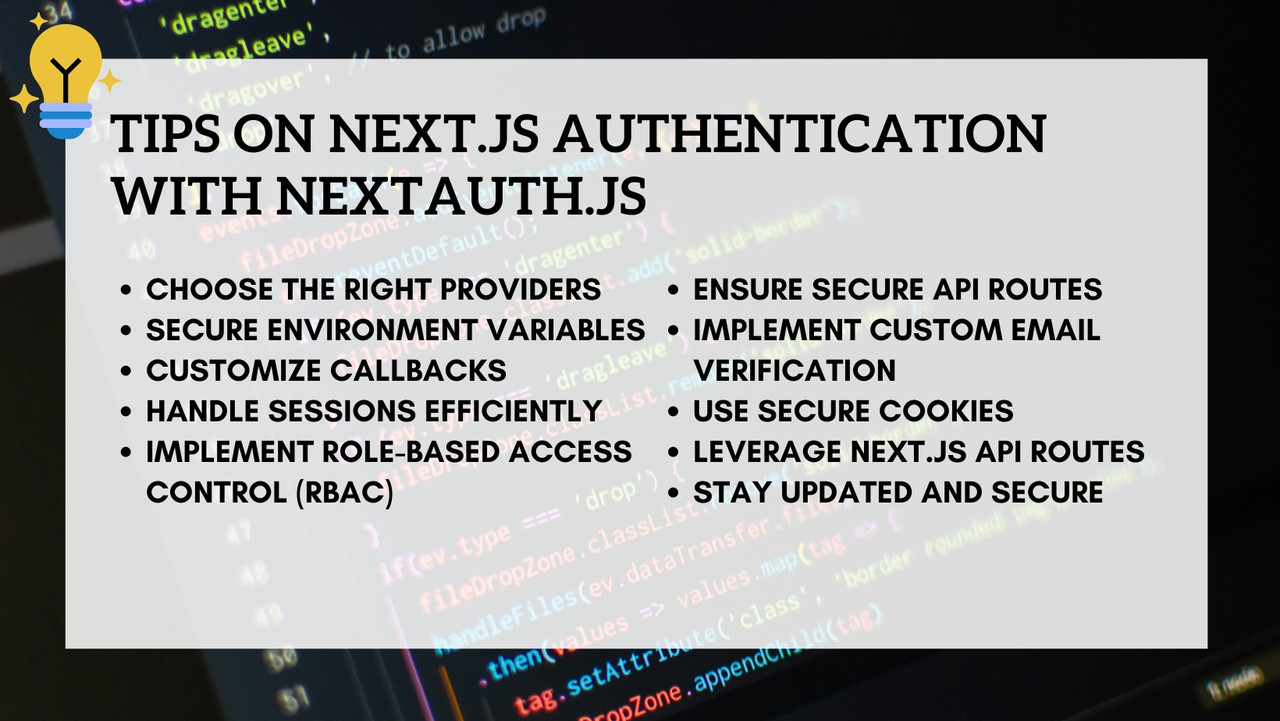
Tips on Next.js Authentication with NextAuth.js
Implementing authentication in a Next.js project using NextAuth.js can be made more effective with these practical tips:
-
Choose the Right Providers: Select appropriate authentication providers based on your user base. NextAuth.js supports OAuth providers (like Google, Facebook, GitHub), email/password, and custom providers.
Example:
import NextAuth from "next-auth"; import Providers from "next-auth/providers"; export default NextAuth({ providers: [ Providers.Google({ clientId: process.env.GOOGLE_CLIENT_ID, clientSecret: process.env.GOOGLE_CLIENT_SECRET, }), Providers.GitHub({ clientId: process.env.GITHUB_CLIENT_ID, clientSecret: process.env.GITHUB_CLIENT_SECRET, }), // Add more providers as needed ], }); -
Secure Environment Variables: Store sensitive information like client IDs and secrets in environment variables and load them securely using the
dotenvpackage or Next.js environment variable support.Example:
# .env.local GOOGLE_CLIENT_ID=your-google-client-id GOOGLE_CLIENT_SECRET=your-google-client-secret GITHUB_CLIENT_ID=your-github-client-id GITHUB_CLIENT_SECRET=your-github-client-secret -
Customize Callbacks: Use NextAuth.js callbacks to customize authentication behavior, such as modifying session data or adding additional information to JWT tokens .
Example:
callbacks: { async jwt(token, user) { if (user) { token.id = user.id; } return token; }, async session(session, token) { session.user.id = token.id; return session; }, }, -
Handle Sessions Efficiently: Decide between using JWT or database-backed sessions based on your application’s needs. JWTss are stateless and fast, while database sessions offer more control and persistence. Example for JWT sessions:
export default NextAuth({ session: { jwt: true, }, }); -
Implement Role-Based Access Control (RBAC): Define user roles and implement RBAC to restrict access to certain pages or API routes based on user roles.
Example:
export default async function handler(req, res) { const session = await getSession({ req }); if (!session || session.user.role !== "admin") { return res.status(403).json({ message: "Access denied" }); } res.status(200).json({ message: "Welcome, admin" }); } -
Ensure Secure API Routes: Protect API routes by checking the authentication status and user roles in your API route handlers.
Example:
import { getSession } from "next-auth/react"; export default async function handler(req, res) { const session = await getSession({ req }); if (!session) { return res.status(401).json({ message: "Unauthorized" }); } res.status(200).json({ message: "Secure data" }); } -
Implement Custom Email Verification: Customize the email verification workflow for email/password authentication by defining custom email provider logic and callbacks.
Example:
Providers.Email({ server: process.env.EMAIL_SERVER, from: process.env.EMAIL_FROM, sendVerificationRequest: async ({ identifier: email, url, token, baseUrl, provider, }) => { // Custom email sending logic }, }); -
Use Secure Cookies: Configure secure cookies to enhance session security, ensuring they are only sent over HTTPS and have appropriate attributes set.
Example:
export default NextAuth({ cookies: { sessionToken: { name: `__Secure-next-auth.session-token`, options: { httpOnly: true, sameSite: "Lax", path: "/", secure: process.env.NODE_ENV === "production", }, }, }, }); -
Leverage Next.js API Routes: Use Next.js API routes to handle authentication-related requests, allowing for modular and serverless-friendly code organization.
Example:
// pages/api/auth/[...nextauth].js import NextAuth from "next-auth"; import Providers from "next-auth/providers"; export default NextAuth({ providers: [ Providers.Email({ server: process.env.EMAIL_SERVER, from: process.env.EMAIL_FROM, }), ], }); -
Stay Updated and Secure:
- Regularly update NextAuth.js and other dependencies to benefit from the latest features and security patches.
- Follow best practices for security, such as using HTTPS, securing environment variables, and implementing proper error handling.
By following these tips, you can effectively manage authentication in your Next.js project using NextAuth.js, ensuring a secure and seamless user experience.
NextJs FAQ
Role-based access control (RBAC) can be implemented using NextAuth.js by storing user roles in the session or JWT. During authentication, assign roles to users and use middleware to check user roles before granting access to specific routes.
Example:
// next-auth callbacks
callbacks: {
  async jwt(token, user) {
    if (user) {
      token.role = user.role; // Assign role during sign-in
    }
    return token;
  },
  async session(session, token) {
    session.user.role = token.role; // Pass role to session
    return session;
  }
}

// Middleware for role-based access
import { getSession } from 'next-auth/react';

export default async function handler(req, res) {
  const session = await getSession({ req });
  if (!session || session.user.role !== 'admin') {
    return res.status(403).json({ message: 'Access denied' });
  }
  res.status(200).json({ message: 'Welcome, admin' });
}
Handling social logins with NextAuth.js involves configuring providers like Google, GitHub, or Facebook. Security considerations include ensuring the redirect URIs are correctly set, using HTTPS, and storing client secrets securely.
Example:
// next-auth configuration
import NextAuth from "next-auth";
import Providers from "next-auth/providers";

export default NextAuth({
  providers: [
    Providers.Google({
      clientId: process.env.GOOGLE_CLIENT_ID,
      clientSecret: process.env.GOOGLE_CLIENT_SECRET,
    }),
    // Add more providers as needed
  ],
  secret: process.env.NEXTAUTH_SECRET,
});
Integrate NextAuth.js with a custom database schema by using a custom adapter. Define models for your schema and configure NextAuth.js to use these models.
Example:
// Custom adapter example
import { TypeORMLegacyAdapter } from "@next-auth/typeorm-legacy-adapter";
import { createConnection } from "typeorm";
import User from "./models/User"; // Your custom user model

const connection = createConnection({
  type: "postgres",
  host: process.env.DB_HOST,
  port: process.env.DB_PORT,
  username: process.env.DB_USER,
  password: process.env.DB_PASSWORD,
  database: process.env.DB_NAME,
  entities: [User],
});

export default NextAuth({
  adapter: TypeORMLegacyAdapter(connection),
  // Other NextAuth.js configuration
});
To secure API routes, use session-based or token-based authentication. Check for valid sessions or JWT tokens in API route handlers.
Example:
import { getSession } from "next-auth/react";

export default async function handler(req, res) {
  const session = await getSession({ req });
  if (!session) {
    return res.status(401).json({ message: "Unauthorized" });
  }
  // Secure API logic here
  res.status(200).json({ message: "Secure data" });
}
Custom email verification workflows can be implemented by customizing NextAuth.js email provider logic and using callbacks to handle verification processes.
Example:
// Custom email provider logic
import NextAuth from "next-auth";
import Providers from "next-auth/providers";

export default NextAuth({
  providers: [
    Providers.Email({
      server: process.env.EMAIL_SERVER,
      from: process.env.EMAIL_FROM,
      generateVerificationToken: async () => {
        // Custom token generation logic
      },
      sendVerificationRequest: async ({
        identifier: email,
        url,
        token,
        baseUrl,
        provider,
      }) => {
        // Custom email sending logic
      },
    }),
  ],
  callbacks: {
    async signIn(user, account, profile) {
      if (user.emailVerified) {
        return true;
      } else {
        // Custom verification workflow
      }
    },
  },
});
Conclusion
Managing authentication in a Next.js application is straightforward with NextAuth.js. This powerful library provides a wide range of features and customization options, making it easy to integrate various authentication providers, handle sessions securely, and protect both pages and API routes. By following the steps outlined in this article, you can set up a robust authentication system in your Next.js application, enhancing security and user experience.
ALso check out the expaned version of this aricle on https://medium.com/@farihatulmaria/managing-authentication-in-a-next-js-application-a-detailed-guide-2f0bd4ba6167


