Publishing Your First Python Package to PyPI
At some point a helper module you keep copying between projects deserves a proper home. Publishing it to PyPI means anyone, including future you, can install it with a single pip install. The process used to involve setup.py, setup.cfg, MANIFEST.in, and a fair amount of folklore. Today it's one pyproject.toml, two commands, and an account.
This guide walks through the whole thing with a small, real package: laying out the project, writing the metadata, building the distribution files, checking them, doing a dry run on TestPyPI, uploading to the real index, and finally automating releases with trusted publishing from GitHub Actions.
What You're Actually Uploading
When you "publish a package", you upload one or more distribution files to the Python Package Index:
- A source distribution (sdist), a
.tar.gzcontaining your source code andpyproject.toml. Installers can build from it if no compatible wheel exists. - A wheel, a
.whlfile (really a zip) that's ready to install with no build step. For pure-Python code there's one wheel for every platform, taggedpy3-none-any.
You build both locally (or in CI), then upload them. PyPI never runs your build; it just stores the files and serves them to pip, uv, and every other installer.
Step 1: Pick a Name
Names on PyPI are first come, first served, and they're normalized: Tidy_Slug, tidy-slug, and tidy.slug all count as the same project. Before you write any metadata, search pypi.org for your name. If https://pypi.org/project/<name>/ returns a page, it's taken.
The distribution name (what people pip install) and the import name (what they import) don't have to match, but life is easier when they do. For this guide the package is called tidyslug, a tiny library that turns strings into URL slugs. Swap in your own name everywhere you see it.
Step 2: Lay Out the Project
Use the src layout. Putting your package inside a src/ directory means your tests run against the installed package rather than whatever happens to be on the current directory's import path, which catches packaging mistakes (like a missing file) before your users do.
tidyslug/
├── LICENSE
├── README.md
├── pyproject.toml
├── src/
│   └── tidyslug/
│       ├── __init__.py
│       ├── cli.py
│       └── py.typed
└── tests/
    └── test_slugify.py
The library itself is short:
# src/tidyslug/__init__.py
"""Turn any string into a clean, URL-friendly slug."""

import re
import unicodedata

__all__ = ["slugify"]
__version__ = "0.1.0"

_NON_WORD = re.compile(r"[^a-z0-9]+")


def slugify(text: str, separator: str = "-") -> str:
    """Return a lowercase ASCII slug for *text*."""
    normalized = unicodedata.normalize("NFKD", text)
    ascii_text = normalized.encode("ascii", "ignore").decode("ascii")
    slug = _NON_WORD.sub(separator, ascii_text.lower())
    return slug.strip(separator)
unicodedata.normalize("NFKD", ...) splits accented characters into a base letter plus a combining mark, and encoding to ASCII with "ignore" drops the marks. Everything that isn't a lowercase letter or digit collapses into the separator.
To show off a console command as well, add a tiny CLI module:
# src/tidyslug/cli.py
import sys

from tidyslug import slugify


def main() -> None:
    text = " ".join(sys.argv[1:])
    print(slugify(text))
The empty py.typed file is a marker from PEP 561. It tells type checkers like mypy and Pyright that your package ships inline type hints, so they'll use them instead of treating your code as untyped.
If you're fuzzy on how packages and __init__.py files relate, this primer on modules and packages covers the basics.
Step 3: Write pyproject.toml
This one file declares how to build your package and everything PyPI will display about it.
# pyproject.toml
[build-system]
requires = ["hatchling"]
build-backend = "hatchling.build"

[project]
name = "tidyslug"
version = "0.1.0"
description = "Turn any string into a clean, URL-friendly slug."
readme = "README.md"
requires-python = ">=3.10"
license = "MIT"
license-files = ["LICENSE"]
authors = [{ name = "Maria Example", email = "maria@example.com" }]
keywords = ["slug", "url", "text"]
classifiers = [
    "Programming Language :: Python :: 3",
    "Operating System :: OS Independent",
    "Development Status :: 3 - Alpha",
]
dependencies = []

[project.urls]
Homepage = "https://github.com/maria-example/tidyslug"
Issues = "https://github.com/maria-example/tidyslug/issues"

[project.scripts]
tidyslug = "tidyslug.cli:main"
A few fields deserve a closer look:
[build-system]tells build tools which backend turns your source tree into distributions. Hatchling is a solid default. Setuptools (setuptools.build_meta), Flit (flit_core.buildapi), PDM (pdm.backend), and uv's ownuv_buildall work too; the rest of this guide doesn't change.readmebecomes the long description on your PyPI page. Markdown and reStructuredText are both supported, and the content type is inferred from the extension.licenseis an SPDX expression such as"MIT"or"Apache-2.0", andlicense-fileslists the files to include in the distributions. This is the PEP 639 format. Older guides put aLicense :: OSI Approved :: ...classifier in the list; with a license expression you should leave those classifiers out.requires-pythonstops installers from picking your package on interpreters you don't support. Be honest about it: if you usematchstatements, you need at least 3.10.dependencieslists runtime requirements with loose bounds, such as"httpx>=0.27". Don't pin exact versions in a library; that's the application's job.[project.scripts]creates atidyslugcommand on install that callstidyslug.cli:main.
For a field-by-field tour of everything else the file can hold, see Understanding pyproject.toml.
Keeping the Version in One Place
Right now the version lives in two places: pyproject.toml and __version__. They will drift. With Hatchling you can mark the version as dynamic and read it from your code:
[project]
name = "tidyslug"
dynamic = ["version"]
# ...the rest stays the same, minus the version line

[tool.hatch.version]
path = "src/tidyslug/__init__.py"
Hatchling looks for a __version__ = "..." assignment in that file. Alternatively, keep the version only in pyproject.toml and read it at runtime with importlib.metadata.version("tidyslug"). Either approach is fine; pick one and stick to it.
Step 4: Build the Distributions
Create a virtual environment for your tooling (see venv explained if you need a refresher), then install build and twine:
python -m venv .venv
source .venv/bin/activate
python -m pip install --upgrade build twine
Build from the project root:
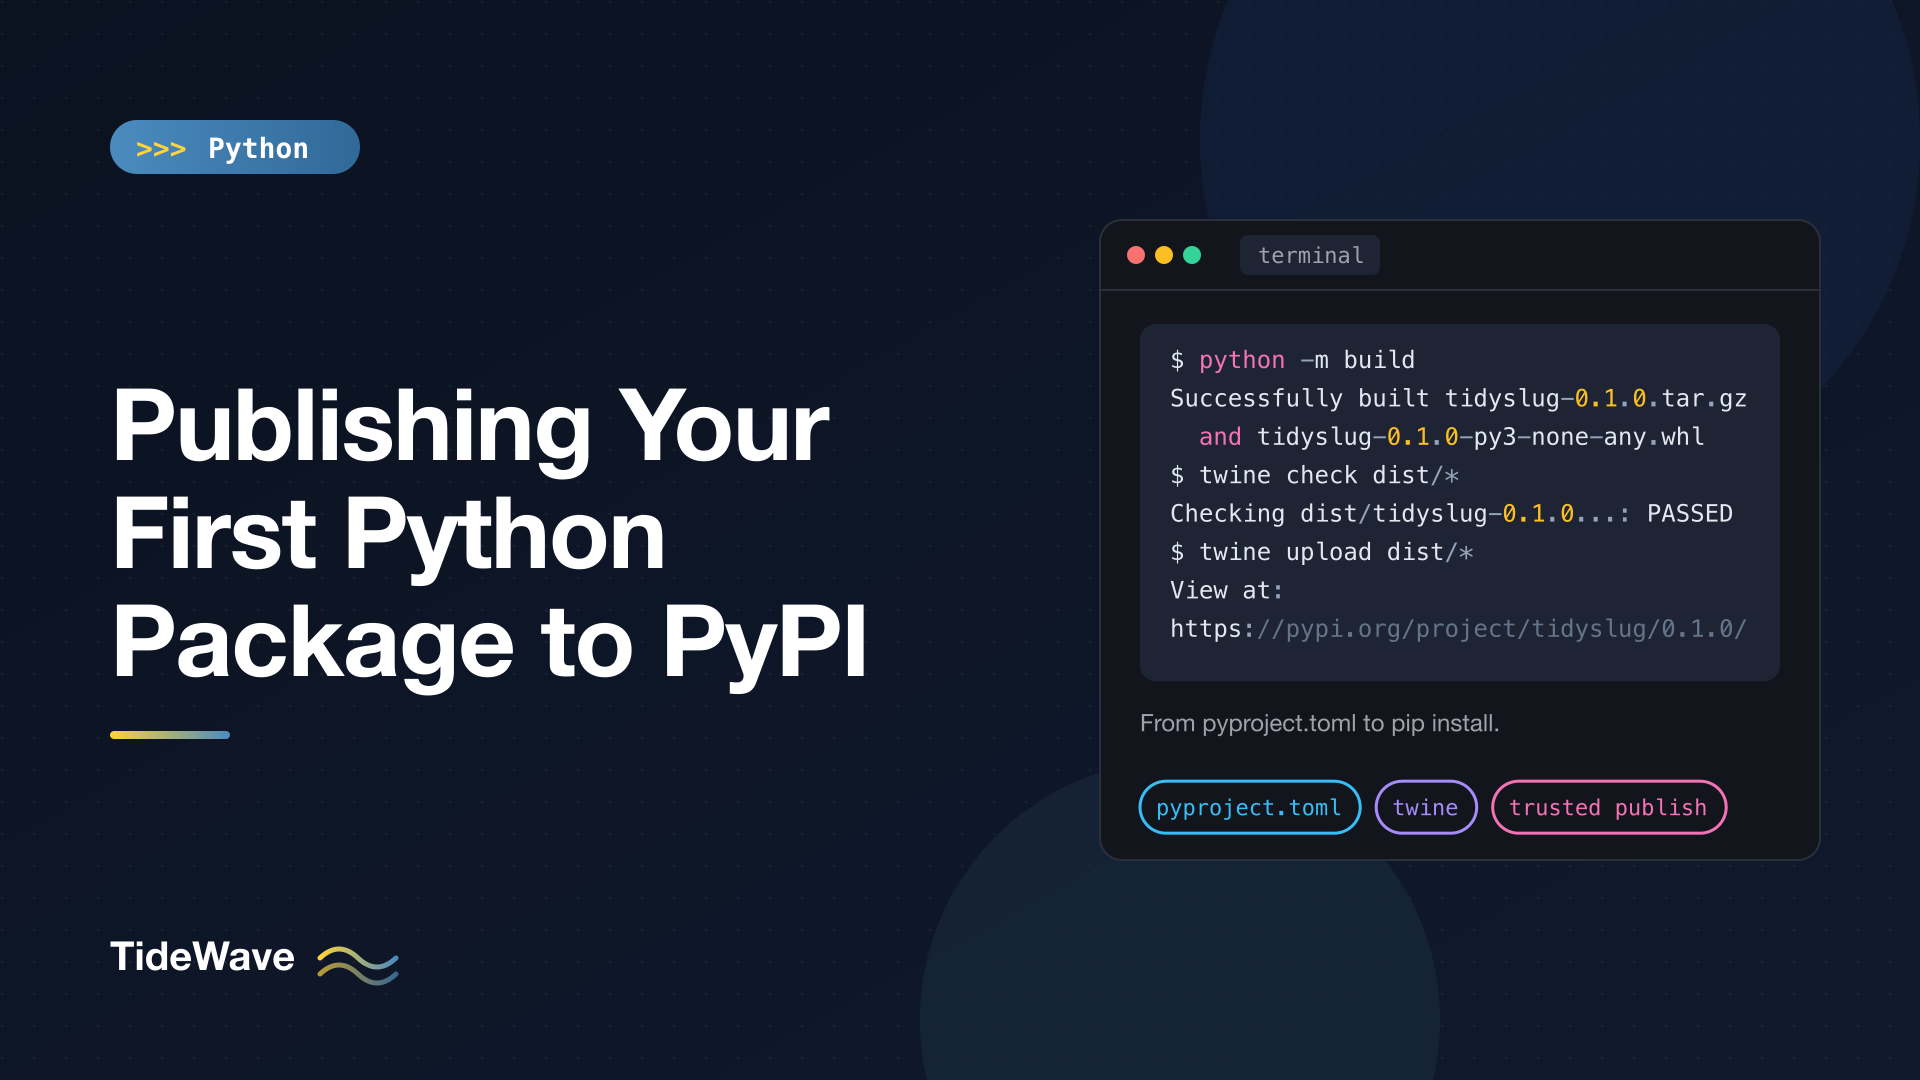
python -m build
* Creating isolated environment: venv+pip...
* Installing packages in isolated environment:
  - hatchling
...
Successfully built tidyslug-0.1.0.tar.gz and tidyslug-0.1.0-py3-none-any.whl
build creates a throwaway environment, installs whatever your [build-system] requires, and asks the backend to produce both files in dist/. Because the environment is isolated, a successful build here means it will also succeed on someone else's machine.
Look Inside Before You Ship
It takes ten seconds to confirm the wheel contains what you expect:
python -m zipfile -l dist/tidyslug-0.1.0-py3-none-any.whl
File Name                                             Modified             Size
tidyslug/__init__.py                           2020-02-02 00:00:00          488
tidyslug/cli.py                                2020-02-02 00:00:00          122
tidyslug/py.typed                              2020-02-02 00:00:00            0
tidyslug-0.1.0.dist-info/METADATA              2020-02-02 00:00:00          717
tidyslug-0.1.0.dist-info/WHEEL                 2020-02-02 00:00:00           87
tidyslug-0.1.0.dist-info/entry_points.txt      2020-02-02 00:00:00           47
tidyslug-0.1.0.dist-info/licenses/LICENSE      2020-02-02 00:00:00           46
tidyslug-0.1.0.dist-info/RECORD                2020-02-02 00:00:00          618
(The fixed 2020 timestamps are deliberate: Hatchling writes reproducible wheels.) Note that tests/ isn't in the wheel, which is what you want, and the src/ prefix is gone, so users import tidyslug, not src.tidyslug.
Then run Twine's metadata check, which catches problems like a README that PyPI can't render:
twine check dist/*
Checking dist/tidyslug-0.1.0-py3-none-any.whl: PASSED
Checking dist/tidyslug-0.1.0.tar.gz: PASSED
Test the Wheel Like a User Would
Install the wheel into a fresh environment, outside your project, and use it:
python -m venv /tmp/try-tidyslug
/tmp/try-tidyslug/bin/pip install dist/tidyslug-0.1.0-py3-none-any.whl
/tmp/try-tidyslug/bin/tidyslug "Héllo, Wörld!  Ready?"
hello-world-ready
If the import or the command fails here, it will fail for everyone. Fix it now, before the version number is burned.
Step 5: Create Your Accounts and Tokens
You need two accounts, because they're completely separate systems:
- TestPyPI at
test.pypi.org, a sandbox for practice uploads. - PyPI at
pypi.org, the real index.
Both require two-factor authentication before you can upload. Once that's set up, go to Account settings → API tokens and create a token. For the very first upload the token has to be scoped to your whole account, because the project doesn't exist yet. After the first release, delete it and create a new token scoped to just that project.
Twine reads credentials from ~/.pypirc:
# ~/.pypirc
[pypi]
username = __token__
password = pypi-AgEIcHlwaS5vcmc...

[testpypi]
username = __token__
password = pypi-AgENdGVzdC5weXBp...
The username is literally the string __token__; the password is the full token including its pypi- prefix. If you'd rather not store tokens in a file, set the TWINE_USERNAME and TWINE_PASSWORD environment variables instead. Either way, never commit a token to Git. PyPI scans public repositories for leaked tokens and revokes them, but you don't want to rely on that.
Step 6: Dry Run on TestPyPI
Upload to the sandbox first:
twine upload --repository testpypi dist/*
Twine prints a link to your new project page. Open it and check that the README renders, the links work, and the metadata looks right.
Then install from it. TestPyPI doesn't mirror the real index, so if your package has dependencies, point an extra index at PyPI so they can be resolved:
python -m venv /tmp/try-testpypi
/tmp/try-testpypi/bin/pip install \
  --index-url https://test.pypi.org/simple/ \
  --extra-index-url https://pypi.org/simple/ \
  tidyslug
TestPyPI is occasionally wiped and anyone can register names there, so don't treat it as anything more than a rehearsal space.
Step 7: Publish for Real
When the TestPyPI run looks good, upload the same files to PyPI:
twine upload dist/*
Within a minute your project is live at https://pypi.org/project/tidyslug/, and anyone can run:
pip install tidyslug
One rule to internalize: a version can only be uploaded once. PyPI won't let you replace 0.1.0, even if you delete it. If you discover a mistake after uploading, fix it and release 0.1.1. You can "yank" a broken release from the project's management page, which hides it from installers that don't pin that exact version, but the file name is still used up.
That's also why it pays to clean dist/ before every build. Old files lingering there will make twine upload dist/* try to re-upload previous versions:
rm -rf dist/
python -m build
Step 8: Automate Releases with Trusted Publishing
Manually uploading with a long-lived token works, but the better setup for anything you maintain is trusted publishing. Instead of storing a token as a CI secret, you tell PyPI "releases for this project come from this GitHub repository and this workflow". GitHub Actions then exchanges a short-lived OpenID Connect token for a temporary upload credential. There's nothing to leak or rotate.
On PyPI, open your project's Settings → Publishing page and add a GitHub publisher with your repository owner, repository name, workflow file name (publish.yml), and an environment name (pypi). You can even do this before the first release by adding a "pending publisher" from your account's publishing page, which lets CI create the project.
Then add the workflow:
# .github/workflows/publish.yml
name: Publish to PyPI

on:
  release:
    types: [published]

jobs:
  build:
    runs-on: ubuntu-latest
    steps:
      - uses: actions/checkout@v4
      - uses: actions/setup-python@v5
        with:
          python-version: "3.13"
      - run: python -m pip install build
      - run: python -m build
      - uses: actions/upload-artifact@v4
        with:
          name: dist
          path: dist/

  publish:
    needs: build
    runs-on: ubuntu-latest
    environment: pypi
    permissions:
      id-token: write
    steps:
      - uses: actions/download-artifact@v4
        with:
          name: dist
          path: dist/
      - uses: pypa/gh-action-pypi-publish@release/v1
The workflow runs whenever you publish a GitHub release. The build job produces dist/ and hands it to the publish job as an artifact. The publish job runs in the pypi environment and has id-token: write, which is the permission that allows it to request the OIDC token. The official pypa/gh-action-pypi-publish action handles the exchange and the upload, and it also generates digital attestations for your files by default.
Splitting build and publish into two jobs keeps the permission to publish away from the steps that install and run third-party build code. In the GitHub repository settings you can also add protection rules to the pypi environment, such as requiring a manual approval, so a release can't go out by accident.
Using uv Instead of build and Twine
If you already manage your project with uv, it has both halves built in:
uv build
uv publish --index testpypi   # needs a [[tool.uv.index]] entry named testpypi
uv publish                    # uploads dist/* to PyPI
uv build produces the same sdist and wheel, using whatever backend your [build-system] names. uv publish uploads them and supports trusted publishing from GitHub Actions as well. The uv guide covers the rest of its workflow.
A Release Checklist
Once you've done this a couple of times, every release boils down to:
- Bump the version (following semantic versioning is a good habit: patch for fixes, minor for new features, major for breaking changes).
- Update the changelog.
- Run your tests.
rm -rf dist/ && python -m buildtwine check dist/*, and install the wheel into a throwaway venv.- Tag and publish a GitHub release (with trusted publishing), or
twine upload dist/*.
Common Problems
| Error or symptom | Likely cause |
|---|---|
403 Forbidden on upload | Name already taken by another project, or the token is scoped to a different project |
400 File already exists | You're re-uploading a version; bump it, and clear old files from dist/ |
| README shows as raw text | readme points to a file with an unknown extension, or the Markdown is invalid; run twine check |
ModuleNotFoundError after install | Package directory not found by the backend, or a missing __init__.py; inspect the wheel's file list |
| Users on old Python get a broken install | requires-python is missing or too loose |
Conclusion
Publishing to PyPI is much less ceremony than its reputation suggests. Put your code in a src layout, describe it in pyproject.toml, build with python -m build, verify with twine check and a throwaway install, rehearse on TestPyPI, and upload. Once the first release is out, switch to trusted publishing so future releases are just "create a GitHub release" with no tokens to manage.
The part that takes real care is everything around the upload: an honest requires-python, loose dependency bounds, a README that explains what the package does, and version numbers that tell users what changed. Get those right and your small helper module becomes something other people can depend on.