Self-Hosting Next.js with Docker and Standalone Output
Next.js runs anywhere Node.js runs. You don't need a specific platform to get Server Components, streaming, image optimization, Server Actions, or proxy.ts. next start supports all of them. What you do need, when you self-host, is a way to package the app so it starts fast, stays small, and behaves the same on your laptop, in CI, and in production. Docker is the usual answer.
The naive Dockerfile copies the whole project, runs npm install, builds, and starts. It works, but the image ends up well over a gigabyte because it carries every dev dependency, the TypeScript compiler, your test tooling, and your source code. Next.js has a built-in fix for this: output: "standalone".
This guide covers what standalone output produces, a multi-stage Dockerfile that uses it, how to handle environment variables and static assets, health checks and graceful shutdown, and what changes when you run more than one container.
What Standalone Output Does
During next build, Next.js traces every file each route needs at runtime: your compiled code, the specific files inside node_modules that are actually imported, and any files read through static fs calls. With output: "standalone", it copies exactly those files into .next/standalone, along with a minimal server.js that starts the production server.
Turn it on in your config:
// next.config.ts
import type { NextConfig } from "next";

const nextConfig: NextConfig = {
  output: "standalone",
};

export default nextConfig;
After next build, the relevant output looks like this:
.next/
  standalone/
    server.js          # minimal production server
    package.json
    node_modules/      # only the traced dependencies
    .next/             # compiled server code and manifests
  static/              # hashed JS/CSS chunks (NOT copied into standalone)
public/                # your static files (NOT copied into standalone)
The key detail: .next/static and public/ are left out. Next.js assumes you might serve them from a CDN. If you're not using a CDN, copy them in yourself:
cp -r public .next/standalone/
cp -r .next/static .next/standalone/.next/
Then you can run the server with plain Node.js, no next CLI required:
node .next/standalone/server.js
server.js reads PORT and HOSTNAME from the environment. Inside a container you'll want HOSTNAME=0.0.0.0 so the server listens on all interfaces, not just localhost.
A Production Dockerfile
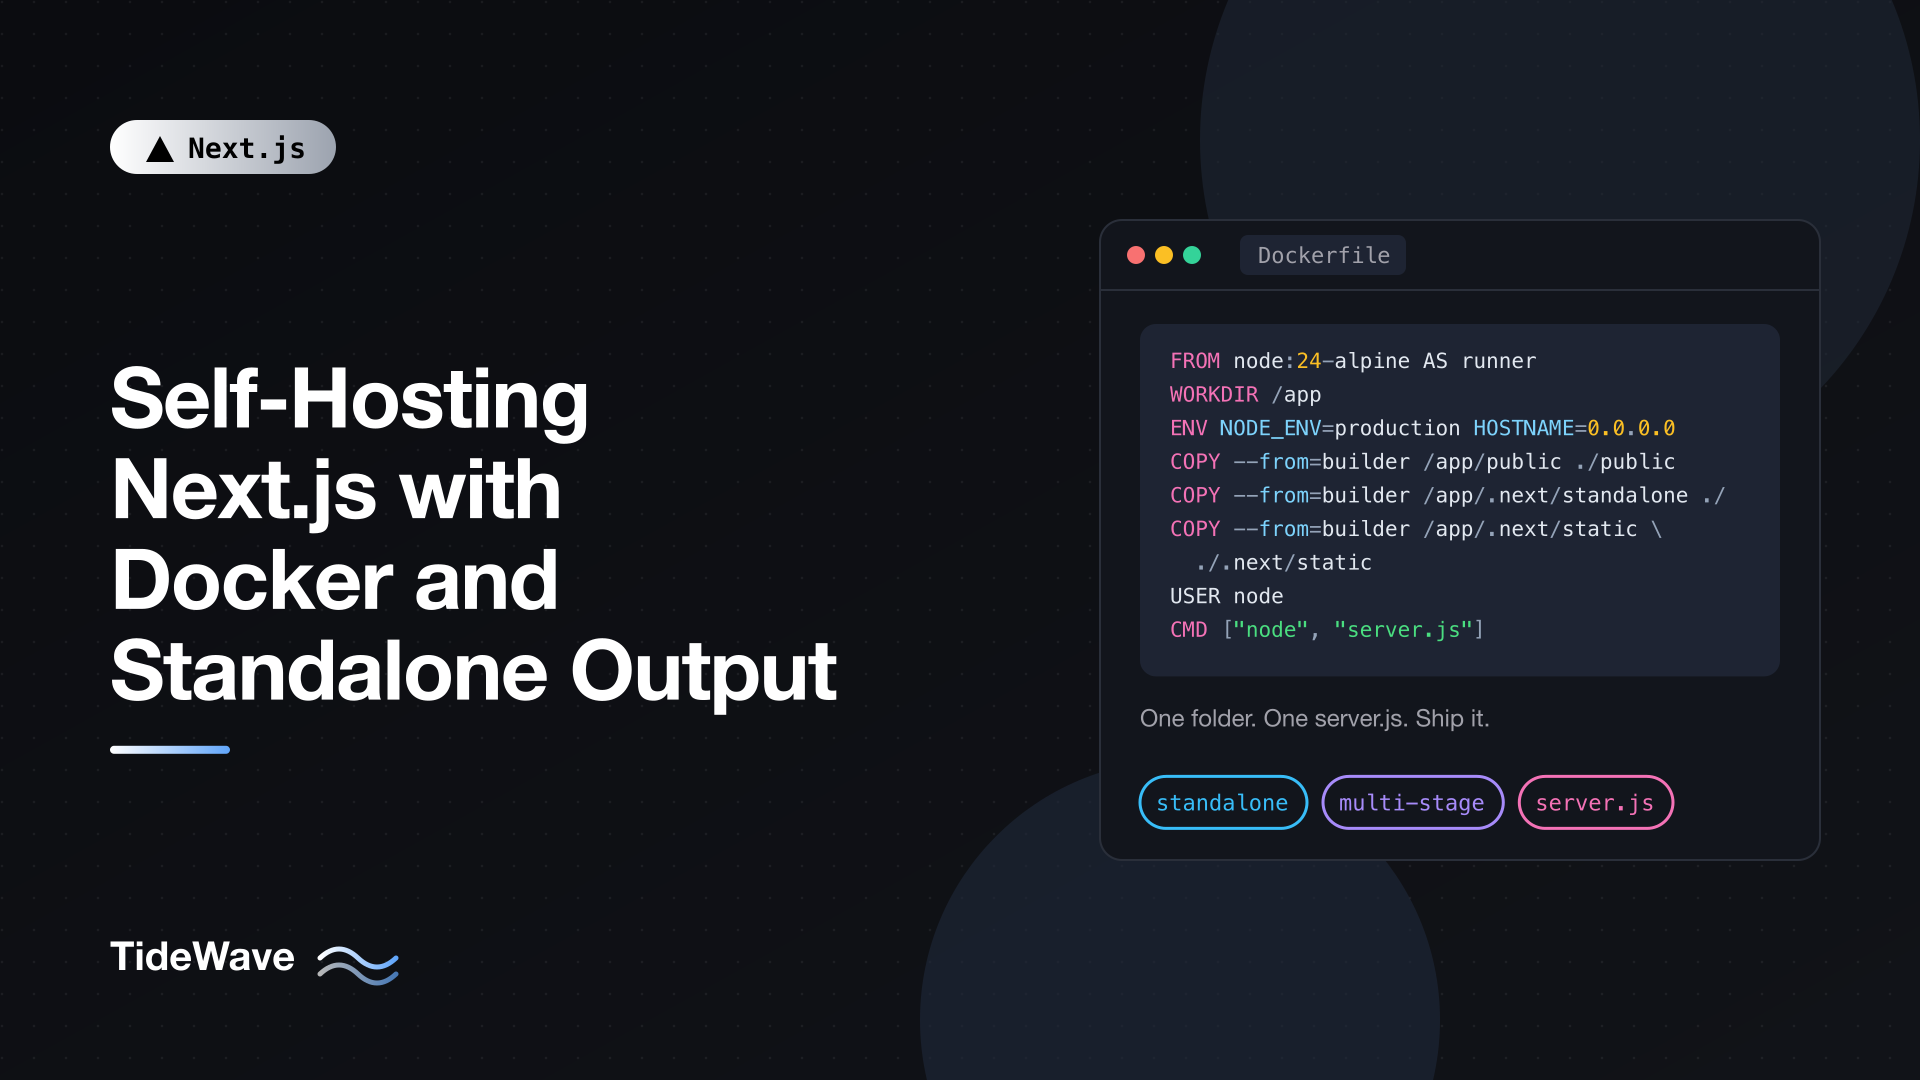
Here's a multi-stage Dockerfile built around standalone output. Each stage does one job, and only the final, small stage ends up in the image you ship.
# syntax=docker/dockerfile:1

ARG NODE_VERSION=24-alpine

# 1. Install dependencies only when the lockfile changes
FROM node:${NODE_VERSION} AS deps
RUN apk add --no-cache libc6-compat
WORKDIR /app
COPY package.json package-lock.json ./
RUN npm ci

# 2. Build the app
FROM node:${NODE_VERSION} AS builder
WORKDIR /app
COPY --from=deps /app/node_modules ./node_modules
COPY . .
ENV NEXT_TELEMETRY_DISABLED=1
RUN npm run build

# 3. Production image: only what the server needs
FROM node:${NODE_VERSION} AS runner
WORKDIR /app

ENV NODE_ENV=production
ENV NEXT_TELEMETRY_DISABLED=1
ENV PORT=3000
ENV HOSTNAME=0.0.0.0

RUN addgroup --system --gid 1001 nodejs \
  && adduser --system --uid 1001 nextjs

COPY --from=builder /app/public ./public
COPY --from=builder --chown=nextjs:nodejs /app/.next/standalone ./
COPY --from=builder --chown=nextjs:nodejs /app/.next/static ./.next/static

USER nextjs
EXPOSE 3000

CMD ["node", "server.js"]
Let's walk through the stages.
Stage 1: deps
This stage copies only package.json and the lockfile, then runs npm ci. Because Docker caches layers, this expensive step is skipped on later builds unless your dependencies actually change. Editing a component won't trigger a reinstall.
libc6-compat is there because some native packages expect glibc, while Alpine uses musl. Many projects don't need it, but it's cheap insurance. If you'd rather avoid musl entirely, use a Debian-based image like node:24-bookworm-slim and drop the apk line.
Stage 2: builder
This stage copies the installed node_modules and the full source, then runs next build. It's the only stage that sees your source code, dev dependencies, and build tooling. None of that reaches the final image.
Setting NEXT_TELEMETRY_DISABLED=1 stops Next.js from sending anonymous usage data from your build servers. It's optional.
Stage 3: runner
The final stage starts from a clean Node.js image and copies in three things:
public/for your static files..next/standaloneas the app root, which includesserver.jsand the tracednode_modules..next/staticinto.next/static, whereserver.jsexpects the hashed bundles.
It runs as a non-root nextjs user, so a compromised process can't modify the filesystem or install packages. The --chown flags give that user ownership of the files it needs. The result is typically a few hundred megabytes or less, most of which is the Node.js base image itself.
Using a Different Package Manager
For pnpm, enable Corepack and swap the install commands:
FROM node:${NODE_VERSION} AS deps
WORKDIR /app
RUN corepack enable
COPY package.json pnpm-lock.yaml ./
RUN pnpm install --frozen-lockfile
And in the builder stage, run corepack enable and then pnpm run build. The runner stage doesn't change at all, since it never calls a package manager.
Keep the Build Context Small
Docker sends everything in your project folder to the build daemon before the first instruction runs. Without a .dockerignore, that includes your local node_modules, .next folder, and .git directory, which slows builds and can leak secrets into intermediate layers.
# .dockerignore
node_modules
.next
.git
.gitignore
Dockerfile
.dockerignore
npm-debug.log*
.env*.local
coverage
README.md
Excluding .env*.local matters: you don't want developer secrets baked into a build layer that gets pushed to a registry.
Build and Run It
docker build -t my-next-app .
docker run --rm -p 3000:3000 --env-file .env.production my-next-app
Open http://localhost:3000 and you're running the same artifact you'll deploy. To check the image size:
docker images my-next-app
Environment Variables in Containers
Containers make the build-time vs runtime distinction very concrete. The docker build step runs next build; the docker run step runs the server. Variables behave differently in each.
Server-only variables (no NEXT_PUBLIC_ prefix) read at request time, in Route Handlers, Server Actions, proxy.ts, or dynamically rendered pages, come from docker run -e or --env-file. One image can serve staging and production with different database URLs.
NEXT_PUBLIC_ variables are inlined into the JavaScript bundle during next build. Setting them at docker run time does nothing. If you need them, pass them as build arguments:
# In the builder stage, before RUN npm run build
ARG NEXT_PUBLIC_SITE_URL
ENV NEXT_PUBLIC_SITE_URL=${NEXT_PUBLIC_SITE_URL}
docker build --build-arg NEXT_PUBLIC_SITE_URL=https://example.com -t my-next-app .
That ties the image to one environment. If you want a single image for every environment, read public config on the server at request time and pass it to the client as props. The post on build-time vs runtime environment variables explains that pattern in detail.
Never pass secrets as build args. Build arguments are visible in the image history (docker history). Secrets needed only at runtime should be supplied at docker run time. If the build itself needs a secret (for example, a private npm token), use BuildKit secret mounts:
RUN --mount=type=secret,id=npmrc,target=/root/.npmrc npm ci
docker build --secret id=npmrc,src=$HOME/.npmrc -t my-next-app .
The file is available only during that RUN step and never written to a layer.
Health Checks
Orchestrators like Kubernetes, ECS, and Docker Compose need to know when your container is ready and whether it's still healthy. Add a lightweight Route Handler:
// app/api/health/route.ts
import { connection } from "next/server";

export async function GET() {
  await connection();
  return Response.json({ status: "ok", uptime: process.uptime() });
}
The connection() call ensures this runs on every request instead of being prerendered once at build time. A static health response would report "ok" even if the server were broken.
Then reference it from the Dockerfile. Alpine includes BusyBox wget, so you don't need to install curl:
HEALTHCHECK --interval=30s --timeout=5s --start-period=10s --retries=3 \
  CMD wget -qO- http://127.0.0.1:3000/api/health || exit 1
Keep the health endpoint cheap. If it checks the database, a brief database outage causes the orchestrator to restart every container, which usually makes things worse. A separate readiness check can verify downstream dependencies if you need that.
Graceful Shutdown
When a container stops, Docker sends SIGTERM, waits (10 seconds by default), and then sends SIGKILL. The Next.js server handles SIGTERM and SIGINT by finishing in-flight requests and running any pending after() callbacks before it exits.
Two things make sure that actually happens:
- Use the exec form of
CMD, as inCMD ["node", "server.js"]. The shell form (CMD node server.js) wraps the process in/bin/sh, which doesn't forward signals, so Node never seesSIGTERMand gets killed after the timeout. - Allow enough drain time. Set
docker stop --time 30or the equivalentterminationGracePeriodSecondsin Kubernetes. A drain window of 10 to 30 seconds is a reasonable default.
If you need to close database pools or flush logs on shutdown, the register function in instrumentation.ts is a good place to set that up, since it runs once when the server starts.
Putting a Reverse Proxy in Front
It's best not to expose the Node.js server directly to the internet. A reverse proxy like nginx, Caddy, or a cloud load balancer can terminate TLS, enforce body size limits, absorb slow-client attacks, and serve static files.
One thing to configure: disable response buffering so streaming works. Without it, nginx collects the whole response before sending it, and your loading.tsx skeletons and Suspense boundaries never show. Next.js can set the header nginx looks for:
// next.config.ts
import type { NextConfig } from "next";

const nextConfig: NextConfig = {
  output: "standalone",
  async headers() {
    return [
      {
        source: "/:path*{/}?",
        headers: [{ key: "X-Accel-Buffering", value: "no" }],
      },
    ];
  },
};

export default nextConfig;
A minimal Docker Compose file with nginx in front:
# compose.yaml
services:
  web:
    build: .
    env_file: .env.production
    restart: unless-stopped
    expose:
      - "3000"

  proxy:
    image: nginx:1.27-alpine
    ports:
      - "80:80"
    volumes:
      - ./nginx.conf:/etc/nginx/conf.d/default.conf:ro
    depends_on:
      - web
# nginx.conf
server {
  listen 80;
  client_max_body_size 10m;

  location / {
    proxy_pass http://web:3000;
    proxy_http_version 1.1;
    proxy_set_header Host $host;
    proxy_set_header X-Forwarded-For $proxy_add_x_forwarded_for;
    proxy_set_header X-Forwarded-Proto $scheme;
  }
}
In a real deployment you'd add TLS (Caddy does this automatically, which is one reason it's popular for single-server setups).
Running Multiple Containers
One container is simple. Once you scale horizontally, a few things that "just work" on one instance need attention.
Consistent Server Action Encryption Key
Next.js encrypts the closure variables of Server Actions with a key generated per build. If you build the image once and run several copies, they share the key automatically. But if you build separately for each instance or region, each build gets a different key, and a form rendered by one container fails with "Failed to find Server Action" when submitted to another. Set the key explicitly at build time:
# Generate once and store it in your secret manager
openssl rand -base64 32
# builder stage
RUN --mount=type=secret,id=sa_key \
  NEXT_SERVER_ACTIONS_ENCRYPTION_KEY="$(cat /run/secrets/sa_key)" npm run build
Deployment ID for Rolling Updates
During a rolling deploy, a user's browser may have loaded the old version while new containers are coming up. Setting deploymentId lets Next.js detect the mismatch and do a full page reload instead of failing to load chunks that no longer exist:
// next.config.ts
import type { NextConfig } from "next";

const nextConfig: NextConfig = {
  output: "standalone",
  deploymentId: process.env.DEPLOYMENT_VERSION,
};

export default nextConfig;
Pass DEPLOYMENT_VERSION (your git SHA works well) as a build argument so it's available during next build.
Shared Cache
By default, each instance caches rendered pages and "use cache" results in its own memory and filesystem. Call revalidateTag() on one container and the others keep serving stale data. For consistent caching across instances, configure a custom cache handler backed by shared storage such as Redis, and use "use cache: remote" for data that should be shared. If your app is mostly dynamic or you can tolerate per-instance staleness, you can skip this.
Static Assets on a CDN
With several containers, it's often cleaner to upload .next/static to a CDN or object storage bucket during CI and set assetPrefix to its URL. Hashed filenames make these files safe to cache forever, and old versions stay available during rolling deploys.
Image Optimization in Containers
next/image optimization works in a standalone build with no extra setup. Next.js uses sharp, and the tracer copies the right native binaries into .next/standalone/node_modules, as long as you build on the same OS and architecture you run on. That's another reason to build inside Docker rather than copying a build from your Mac.
Optimized images are cached in .next/cache/images inside the container. That cache disappears when the container is replaced, so the first request for each image after a deploy is slower. If that matters, mount a volume at /app/.next/cache or move image optimization to a dedicated service with a custom loader.
Troubleshooting
- CSS and JS return 404. You forgot to copy
.next/staticinto.next/standalone/.next/static. - Images in
public/return 404. You forgot to copypublic/. - Container starts but you can't connect.
HOSTNAMEisn't0.0.0.0, so the server listens only inside the container's loopback. - A file read at runtime is missing. Dynamic paths (like
fs.readFile(path.join(dir, name))) can't be traced. Add them withoutputFileTracingIncludes. - Monorepo packages are missing. Set
outputFileTracingRootto the repo root so tracing can see files outside the app folder. - Build fails on
linux/arm64vsamd64. Build with--platformmatching your target, for exampledocker build --platform linux/amd64.
Conclusion
Standalone output turns a Next.js app into a self-contained folder: a server.js, a trimmed node_modules, and your compiled code. Pair it with a multi-stage Dockerfile, copy in public/ and .next/static, run as a non-root user, and you have a small image that supports every Next.js feature.
From there, the operational details matter more than the Dockerfile: decide which variables are build-time and which are runtime, give orchestrators a real health check, let the server drain on shutdown, disable proxy buffering for streaming, and set a shared encryption key and deployment ID once you run more than one instance. To automate building and pushing this image, see setting up CI/CD for Next.js with GitHub Actions.