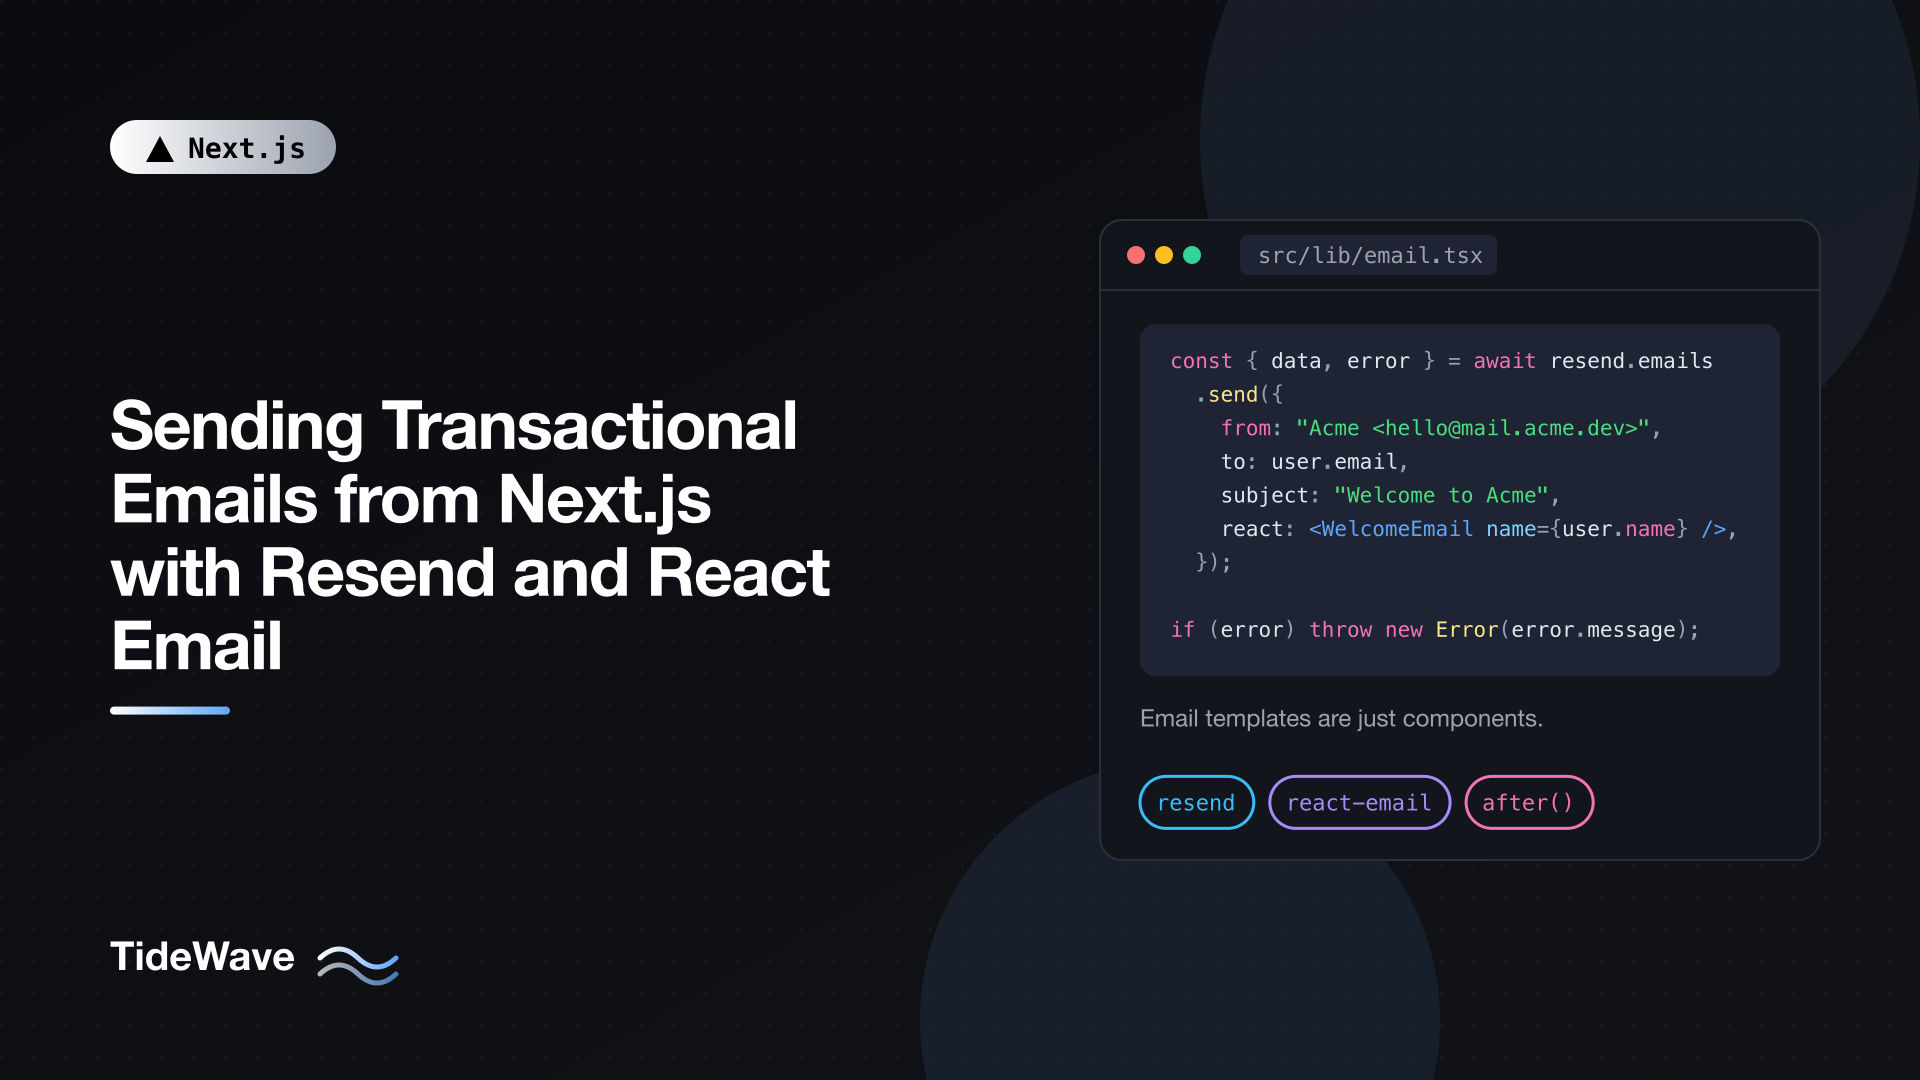
Sending Transactional Emails from Next.js with Resend and React Email
Almost every app sends email: welcome messages, password resets, receipts, invitations, "someone replied to your comment". These transactional emails are triggered by something the user did, and people expect them to arrive within seconds and look right in every inbox.
Historically, the template was the painful part. Email clients support a strange subset of HTML and CSS, so you ended up with nested tables and inline styles in string templates that nobody wanted to touch. React Email fixes that by letting you write templates as React components that compile to email-safe HTML. Resend is an email API built by the same team, and it accepts those components directly.
In this post I'll set up both in a Next.js 16 project: building a template, previewing it in the browser, sending it from a Server Action, handling errors and retries, verifying your domain so messages land in the inbox, and a few patterns for real apps.
Installing the Packages
npm install resend @react-email/components
npm install -D react-email
resendis the API client.@react-email/componentsprovides email-safe building blocks likeButton,Container, andText, plus therenderfunction.react-emailis the CLI that runs a local preview server for your templates. It's a dev dependency.
Create an API key in the Resend dashboard and add it to .env.local:
# .env.local
RESEND_API_KEY="re_..."
EMAIL_FROM="Acme <hello@mail.acme.dev>"
NEXT_PUBLIC_SITE_URL="http://localhost:3000"
Until you verify a domain, Resend lets you send from onboarding@resend.dev to your own account's email address, which is enough to try everything in this post.
Building Your First Template
Templates are regular React components. Put them in their own folder so the preview server can find them:
// src/emails/welcome-email.tsx
import {
  Body,
  Button,
  Container,
  Head,
  Heading,
  Hr,
  Html,
  Preview,
  Section,
  Text,
} from "@react-email/components";

type WelcomeEmailProps = {
  name: string;
  dashboardUrl: string;
};

export default function WelcomeEmail({
  name,
  dashboardUrl,
}: WelcomeEmailProps) {
  return (
    <Html lang="en">
      <Head />
      <Preview>Your Acme account is ready</Preview>
      <Body style={styles.body}>
        <Container style={styles.container}>
          <Heading style={styles.heading}>Welcome, {name}</Heading>
          <Text style={styles.text}>
            Thanks for signing up. Your account is ready, and you can start your
            first project right away.
          </Text>
          <Section style={styles.buttonSection}>
            <Button href={dashboardUrl} style={styles.button}>
              Open your dashboard
            </Button>
          </Section>
          <Hr style={styles.hr} />
          <Text style={styles.footer}>
            You received this email because you created an Acme account.
          </Text>
        </Container>
      </Body>
    </Html>
  );
}

WelcomeEmail.PreviewProps = {
  name: "Ada",
  dashboardUrl: "http://localhost:3000/dashboard",
} satisfies WelcomeEmailProps;

const styles = {
  body: {
    backgroundColor: "#f4f4f5",
    fontFamily: "-apple-system, 'Segoe UI', Helvetica, Arial, sans-serif",
  },
  container: {
    backgroundColor: "#ffffff",
    margin: "40px auto",
    padding: "32px",
    borderRadius: "8px",
    maxWidth: "520px",
  },
  heading: { fontSize: "24px", color: "#18181b", margin: "0 0 16px" },
  text: { fontSize: "16px", lineHeight: "26px", color: "#3f3f46" },
  buttonSection: { textAlign: "center" as const, margin: "24px 0" },
  button: {
    backgroundColor: "#2563eb",
    color: "#ffffff",
    padding: "12px 20px",
    borderRadius: "6px",
    fontSize: "16px",
    textDecoration: "none",
  },
  hr: { borderColor: "#e4e4e7", margin: "24px 0" },
  footer: { fontSize: "13px", color: "#71717a" },
};
A few things that differ from regular web React:
Previewsets the preview text that inboxes show next to the subject line. It's hidden in the email body. Treat it like a second subject line.- Styles are inline objects. Many email clients strip
styletags and ignore external stylesheets, so React Email inlines everything. Stick to well-supported properties: no flexbox or grid for layout, and no CSS variables. Buttonrenders a link styled as a button, with workarounds for older Outlook versions built in.PreviewPropsgives the preview server sample data. It has no effect when sending.
If you prefer utility classes, React Email ships a Tailwind component that wraps your template and converts classes to inline styles at render time. It's convenient, but it adds work on every render, so the plain style objects above are a good default for high-volume emails.
Previewing Templates Locally
Add a script to package.json:
{
  "scripts": {
    "email": "email dev --dir src/emails --port 3001"
  }
}
Run npm run email and open http://localhost:3001. You get a list of templates, a live preview that reloads when you save, toggles for desktop and mobile widths, and views of the rendered HTML and plain text. It uses PreviewProps as the data.
Running it on a separate port keeps it out of the way of next dev. You never deploy the preview server; it's purely a development tool.
Creating a Send Helper
Wrap Resend in a small server-only module so the API key and sender address live in one place:
// src/lib/email.tsx
import "server-only";
import { Resend } from "resend";
import WelcomeEmail from "@/emails/welcome-email";

const resend = new Resend(process.env.RESEND_API_KEY);
const from = process.env.EMAIL_FROM ?? "Acme <onboarding@resend.dev>";

export async function sendWelcomeEmail(params: {
  to: string;
  name: string;
  userId: string;
}) {
  const { data, error } = await resend.emails.send(
    {
      from,
      to: params.to,
      subject: "Welcome to Acme",
      react: (
        <WelcomeEmail
          name={params.name}
          dashboardUrl={`${process.env.NEXT_PUBLIC_SITE_URL}/dashboard`}
        />
      ),
      tags: [{ name: "category", value: "welcome" }],
    },
    { idempotencyKey: `welcome/${params.userId}` },
  );

  if (error) {
    console.error("Failed to send welcome email", error);
    throw new Error(error.message);
  }

  return data.id;
}
What each part does:
- The file is
.tsxbecause it contains JSX.server-onlykeeps it, and your API key, out of client bundles. reactaccepts a React element. Resend renders it to HTML for you. You can passhtmlandtextstrings instead if you render templates yourself.- The SDK doesn't throw on API errors. It returns
{ data, error }, so you must checkerrorexplicitly. Forgetting this is the most common reason emails "silently" don't send. tagsare key/value labels that show up in the Resend dashboard and in webhook events, which helps when filtering logs by email type.idempotencyKeytells Resend to treat retries with the same key as the same request, so a retried Server Action or a double-clicked button doesn't send two welcome emails. Base it on something stable, like the user ID and email type.
Sending from a Server Action
With the helper in place, sending an email from a form is a normal Server Action:
// src/app/signup/actions.ts
"use server";

import { redirect } from "next/navigation";
import { createUser } from "@/lib/users";
import { sendWelcomeEmail } from "@/lib/email";

export type SignupState = { error?: string };

export async function signup(
  _prev: SignupState,
  formData: FormData,
): Promise<SignupState> {
  const email = String(formData.get("email") ?? "")
    .trim()
    .toLowerCase();
  const name = String(formData.get("name") ?? "").trim();

  if (!email.includes("@") || name.length === 0) {
    return { error: "Please enter your name and a valid email." };
  }

  const user = await createUser({ email, name });

  try {
    await sendWelcomeEmail({
      to: user.email,
      name: user.name,
      userId: user.id,
    });
  } catch {
    // The account exists; don't fail the signup because of email.
    // Log it and let a retry job or the user re-trigger it.
  }

  redirect("/dashboard");
}
createUser stands in for your own data layer. The important decision is what happens if the email fails. For a welcome email, the signup should still succeed. For a magic-link login, the email is the whole point, so you'd surface the error to the user instead.
Sending After the Response with after
Sending an email takes a network round trip to Resend, typically a few hundred milliseconds. If the user doesn't need to wait for it, Next.js lets you schedule work after the response is sent with after from next/server:
// src/app/contact/actions.ts
"use server";

import { after } from "next/server";
import { sendContactNotification } from "@/lib/email";

export async function submitContactForm(formData: FormData) {
  const message = {
    name: String(formData.get("name") ?? ""),
    email: String(formData.get("email") ?? ""),
    body: String(formData.get("message") ?? ""),
  };

  // Save the message to your database here so nothing is lost.

  after(async () => {
    try {
      await sendContactNotification(message);
    } catch (error) {
      console.error("Contact notification failed", error);
    }
  });

  return { ok: true };
}
sendContactNotification is another helper in src/lib/email.tsx, built the same way as sendWelcomeEmail. The user sees the success state immediately, and the email goes out in the background. The trade-off is that you can't report a failure back to the user, so save the data first and treat the email as a notification, not the only record. On serverless platforms, after keeps the function alive until the callback finishes, within the function's maximum duration.
Rendering HTML Yourself
Sometimes you need the HTML string, for example to send through a different provider, store a copy of what was sent, or attach a plain-text version you control. render handles that:
// src/lib/render-email.tsx
import "server-only";
import { render } from "@react-email/components";
import WelcomeEmail from "@/emails/welcome-email";

export async function renderWelcome(name: string, dashboardUrl: string) {
  const element = <WelcomeEmail name={name} dashboardUrl={dashboardUrl} />;

  const html = await render(element);
  const text = await render(element, { plainText: true });

  return { html, text };
}
render is async, so remember the await. The plain-text version strips markup and keeps link URLs, which helps deliverability and accessibility; some spam filters treat HTML-only messages with suspicion.
A Password Reset Email
Password resets show a few more details worth getting right:
// src/emails/reset-password-email.tsx
import {
Body,
Container,
Head,
Html,
Link,
Preview,
Text,
} from "@react-email/components";
type ResetPasswordEmailProps = { resetUrl: string; expiresInMinutes: number };
export default function ResetPasswordEmail({
resetUrl,
expiresInMinutes,
}: ResetPasswordEmailProps) {
return (
<Html lang="en">
<Head />
<Preview>Reset your Acme password</Preview>
<Body style={{ fontFamily: "Helvetica, Arial, sans-serif" }}>
<Container style={{ maxWidth: "520px", padding: "24px" }}>
<Text>Someone asked to reset the password for your account.</Text>
<Text>
<Link href={resetUrl}>Choose a new password</Link>. This link
expires in {expiresInMinutes} minutes and can be used once.
</Text>
<Text style={{ color: "#71717a", fontSize: "13px" }}>
If you didn't request this, you can ignore this email. Your
password won't change.
</Text>
</Container>
</Body>
</Html>
);
}
ResetPasswordEmail.PreviewProps = {
resetUrl: "http://localhost:3000/reset?token=example",
expiresInMinutes: 30,
} satisfies ResetPasswordEmailProps;
On the server side, the action that sends it should:
- Respond with the same message ("If an account exists, we've sent a link") whether or not the email is registered, so the form can't be used to discover accounts.
- Generate a random token, store only its hash with an expiry, and put the raw token in the URL.
- Rate-limit requests per email address and per IP, so the form can't be used to flood someone's inbox.
These are auth concerns rather than email concerns, but the email template is where they become visible, so it's worth stating the expiry and the "ignore if you didn't ask" line clearly.
Verifying Your Domain
To send from your own address, add your domain in the Resend dashboard. It gives you DNS records to add at your DNS provider:
| Record | Purpose |
|---|---|
| SPF (TXT) | Lists which servers may send mail for your domain |
| DKIM (TXT) | Publishes the public key used to sign your messages |
| MX (for the bounce subdomain) | Lets bounces and complaints flow back to Resend |
| DMARC (TXT, recommended) | Tells inboxes what to do with mail that fails SPF/DKIM |
A few practical tips:
- Use a subdomain such as
mail.acme.devfor transactional email. It separates its reputation from your main domain and from any marketing email you send elsewhere. - Start DMARC in monitoring mode (
p=none) so you can confirm everything passes before moving toquarantineorreject. - Gmail and Yahoo require authentication (SPF, DKIM, and DMARC) for bulk senders, and unauthenticated mail increasingly lands in spam even at low volume. Don't skip this step.
Once verification passes, update EMAIL_FROM to use your domain.
Testing Without Hurting Your Reputation
Sending lots of test mail to made-up addresses produces bounces, and bounces damage your sender reputation. Resend provides test addresses that simulate outcomes without real delivery:
delivered@resend.devsimulates a successful delivery.bounced@resend.devsimulates a hard bounce.complained@resend.devsimulates a spam complaint.
Use them in development and automated tests. For local development, it's also common to swap in a guard that only sends to an allowlist of internal addresses, so seeded test users never get real mail.
Tracking Delivery with Webhooks
resend.emails.send returning an ID means Resend accepted the email, not that it reached the inbox. To know what happened afterward, configure a webhook in the Resend dashboard pointing to a Route Handler such as app/api/webhooks/resend/route.ts. Resend posts events like email.delivered, email.bounced, and email.complained.
Two things to do with those events:
- Stop sending to addresses that hard-bounce or complain. Mark them in your database and skip them in your send helper. Repeatedly mailing bad addresses is one of the fastest ways to ruin deliverability.
- Verify the webhook signature. Resend signs webhooks using Svix headers. Read the raw body with
request.text()and verify it with the signing secret from the dashboard before trusting the payload, the same principle as verifying Stripe webhooks in Integrating Stripe Payments into a Next.js Application.
Organizing Emails in a Larger App
As the number of emails grows, a little structure helps:
- One template per file in
src/emails, each withPreviewProps, so every email is previewable. - Shared layout pieces (header, footer, brand colors) in
src/emails/components, imported by each template. - One
send*function per email type insrc/lib/email.tsx, each with its own subject, tags, and idempotency key scheme. - An
unsubscribedorsuppressedcheck in a single place before any send. - Environment-specific sender addresses, so staging mail is obviously staging.
Keep transactional and marketing email separate. Newsletters and product announcements need unsubscribe links, consent tracking, and different sending patterns. Mixing them with password resets puts your most important messages at risk.
Conclusion
React Email turns email templates into components you can read, reuse, and preview like the rest of your UI. Resend accepts those components directly and returns a simple { data, error } result. In Next.js, the natural place to send is a Server Action or Route Handler, behind a server-only helper that owns the API key, sender address, and idempotency keys.
Check the error on every send, decide per email whether a failure should block the user, use after for notifications that shouldn't slow the response, and verify your domain with SPF, DKIM, and DMARC before you go live. Those few habits are the difference between emails that work in development and emails that reliably reach people.