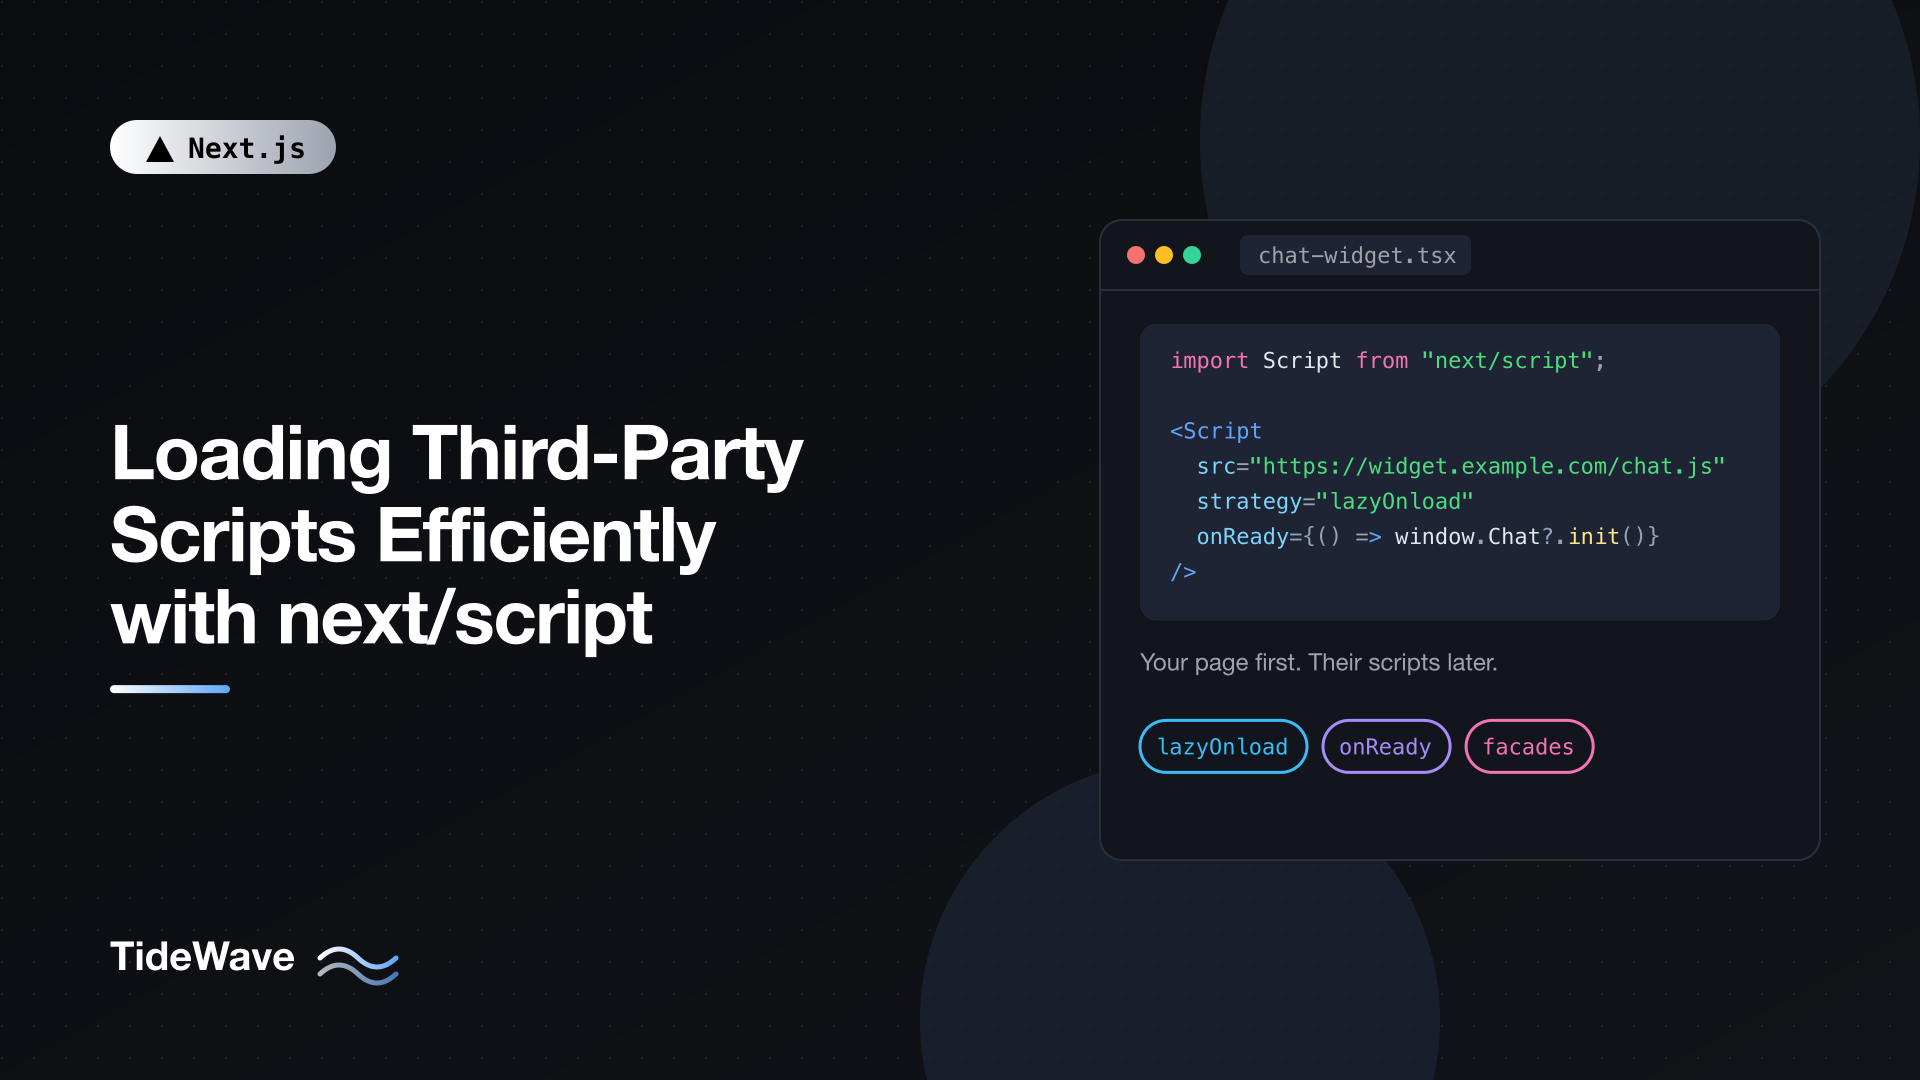
Loading Third-Party Scripts Efficiently with next/script
You can spend weeks shaving kilobytes off your own JavaScript and then lose all of it to a single chat widget. Third-party scripts (analytics, tag managers, A/B testing tools, support chat, maps, video embeds, ad tags) are often the largest and slowest code on a page, and you don't control what's in them. What you do control is when and how they load.
Next.js gives you the Script component from next/script for exactly this. It lets you pick a loading strategy per script, guarantees a script loads only once across client-side navigations, and gives you callbacks for running setup code at the right moment. This post covers the four strategies and when to use each, where to place scripts in the App Router, inline scripts, the onLoad/onReady/onError callbacks, loading scripts only when users actually need them, gating scripts behind cookie consent, and the @next/third-parties package for common Google services.
Why Third-Party Scripts Hurt
A third-party script costs you in three ways:
- Network. Another origin means a DNS lookup, a TLS handshake, and a download that competes with your own critical resources, like the hero image and fonts.
- Main thread. Once downloaded, the script has to be parsed and executed on the same thread that handles user input. A long-running script during page load delays hydration and makes the page feel frozen, which shows up as poor Interaction to Next Paint (INP).
- Cascades. Tag managers and widgets frequently load more scripts, which load more scripts. One tag can turn into a dozen requests.
The goal isn't to avoid third-party scripts; the business usually needs them. The goal is to make sure they load after the things users care about, and not at all on pages that don't need them.
Basic Usage
// app/layout.tsx
import Script from "next/script";

export default function RootLayout({
  children,
}: {
  children: React.ReactNode;
}) {
  return (
    <html lang="en">
      <body>
        {children}
        <Script src="https://analytics.example.com/script.js" />
      </body>
    </html>
  );
}
With no strategy, the script uses the default, afterInteractive: Next.js injects it on the client once the page has started hydrating, so it never blocks the initial render. Script also deduplicates: if two components render a Script with the same src (or id), it's only loaded once.
The Four Loading Strategies
| Strategy | When it loads | Where you can use it | Typical use |
|---|---|---|---|
beforeInteractive | Before any Next.js code, injected into the server HTML head | Root layout only | Bot detection, consent managers that must run first |
afterInteractive (default) | Early, after some hydration has happened | Any layout or page | Tag managers, analytics |
lazyOnload | During browser idle time, after all other resources | Any layout or page | Chat widgets, social embeds, feedback tools |
worker | In a web worker via Partytown | Pages Router only, experimental | Not available in the App Router |
beforeInteractive
// app/layout.tsx
import Script from "next/script";

export default function RootLayout({
  children,
}: {
  children: React.ReactNode;
}) {
  return (
    <html lang="en">
      <body>
        {children}
        <Script
          src="https://consent.example.com/cmp.js"
          strategy="beforeInteractive"
        />
      </body>
    </html>
  );
}
beforeInteractive scripts are included in the server-rendered HTML and always placed in the document head, wherever you put them in the tree. They're downloaded before your app's own JavaScript and run in the order they appear. Their execution doesn't block hydration, but they do compete with your critical resources, so this strategy is only for scripts that genuinely must run before anything else, such as a consent manager that needs to block other tags until the user decides. It must be used in the root layout, and it runs once per full document load, not on client-side navigations.
afterInteractive
The default, and the right choice for most scripts that should run on every page view, like analytics and tag managers. The script is added on the client shortly after hydration starts, so your page renders and becomes interactive first.
lazyOnload
// app/(marketing)/layout.tsx
import Script from "next/script";

export default function MarketingLayout({
  children,
}: {
  children: React.ReactNode;
}) {
  return (
    <>
      {children}
      <Script
        src="https://widget.example-chat.com/loader.js"
        strategy="lazyOnload"
      />
    </>
  );
}
lazyOnload waits until the page has finished loading and the browser is idle. This is the strategy most teams should be using far more often. A support chat bubble that appears two seconds after the page loads costs users nothing; one that loads alongside the hero image costs everyone.
worker
The worker strategy offloads scripts to a web worker with Partytown. It's experimental and currently only works in the Pages Router, so for App Router projects, treat it as unavailable.
Where to Put Scripts
In the App Router, where you render a Script decides which routes load it:
- Root layout: every route.
- A nested layout: every route in that segment, for example only under
/dashboard. - A page: only that route.
Next.js loads the script the first time the user visits a route that renders it, and only once: navigating between routes in the same layout doesn't load it again. Scoping matters. If the map library is only used on /contact, put its Script on that page, and the other twenty pages of your site never download it. Route groups make this easy: a (marketing) group with its own layout can load marketing tags without touching your app's routes.
Inline Scripts
Sometimes a vendor gives you a snippet rather than a URL. Script accepts inline code as children or through dangerouslySetInnerHTML. Either way, it needs an id so Next.js can track and deduplicate it:
// app/layout.tsx
import Script from "next/script";

export default function RootLayout({
  children,
}: {
  children: React.ReactNode;
}) {
  return (
    <html lang="en">
      <body>
        {children}
        <Script id="analytics-queue" strategy="afterInteractive">
          {`
            window.analyticsQueue = window.analyticsQueue || [];
            window.analyticsQueue.push(["init", "site-123"]);
          `}
        </Script>
        <Script
          src="https://analytics.example.com/script.js"
          strategy="afterInteractive"
        />
      </body>
    </html>
  );
}
The inline script sets up a queue the vendor script will read, a common pattern that lets your code record events before the library has loaded.
Extra Attributes and CSP
Any attribute Script doesn't use itself is forwarded to the final script element. That includes nonce for a Content Security Policy and custom data-* attributes that some vendors read their configuration from:
<Script
  src="https://widget.example.com/embed.js"
  strategy="lazyOnload"
  data-site-id="abc123"
  nonce={nonce}
/>
Here nonce is the per-request value your CSP setup generates (typically in proxy.ts) and passes down, for example through a request header you read with headers().
Running Code After a Script Loads
Many libraries need setup code once they're available. Script has three callbacks for this. They take functions, so they only work in Client Components.
onLoadruns once, after the script first finishes loading.onReadyruns after the script loads and again every time the component mounts (for example, after navigating away and back).onErrorruns if the script fails to load.
The difference between onLoad and onReady matters for anything that attaches to the DOM. Take a map: the script only loads once per session, but the map div is a new element every time the user visits the page. With onLoad, the second visit shows an empty box, because the script was already loaded and onLoad doesn't fire again. onReady handles both cases:
// app/contact/store-map.tsx
"use client";

import Script from "next/script";
import { useRef } from "react";

declare global {
  interface Window {
    ExampleMaps?: {
      createMap: (
        el: HTMLElement,
        options: { lat: number; lng: number; zoom: number },
      ) => void;
    };
  }
}

export function StoreMap() {
  const mapRef = useRef<HTMLDivElement>(null);

  return (
    <>
      <div ref={mapRef} className="h-80 w-full rounded-lg bg-gray-100" />
      <Script
        id="example-maps"
        src="https://maps.example.com/sdk.js"
        strategy="lazyOnload"
        onReady={() => {
          if (mapRef.current && window.ExampleMaps) {
            window.ExampleMaps.createMap(mapRef.current, {
              lat: 51.5072,
              lng: -0.1276,
              zoom: 13,
            });
          }
        }}
        onError={() => console.error("Map script failed to load")}
      />
    </>
  );
}
The declare global block types the global the script creates, so TypeScript doesn't complain about window.ExampleMaps. The map container has a fixed height, which reserves space and avoids a layout shift when the map appears. A page can render this Client Component while staying a Server Component itself.
Load Only When Needed: The Facade Pattern
Even lazyOnload downloads the script for every visitor. Most visitors never open the chat widget or play the embedded video. A facade is a lightweight placeholder that looks like the real thing; the heavy script only loads when someone interacts with it.
// app/components/chat-launcher.tsx
"use client";

import Script from "next/script";
import { useState } from "react";

declare global {
  interface Window {
    ExampleChat?: { open: () => void };
  }
}

export function ChatLauncher() {
  const [requested, setRequested] = useState(false);
  const [ready, setReady] = useState(false);

  return (
    <>
      {!ready && (
        <button
          type="button"
          className="fixed bottom-4 right-4 rounded-full bg-blue-600 px-4 py-3 text-white"
          onClick={() => setRequested(true)}
          disabled={requested}
        >
          {requested ? "Loading chat…" : "Chat with us"}
        </button>
      )}

      {requested && (
        <Script
          src="https://widget.example-chat.com/loader.js"
          strategy="afterInteractive"
          onReady={() => {
            setReady(true);
            window.ExampleChat?.open();
          }}
          onError={() => setRequested(false)}
        />
      )}
    </>
  );
}
Until the user clicks, the only cost is a button. On click, the Script is rendered for the first time, the vendor code loads, and onReady hides the placeholder and opens the real widget. If the script fails, the button resets so the user can try again. The trade-off is a short delay on first open, which users tolerate far better than a slow page for everyone. The same idea works for video embeds, maps behind a "Show map" button, and social media embeds.
Gating Scripts Behind Consent
In many regions you can't load analytics or advertising scripts until the user agrees. Since Script only loads when it's rendered, consent gating is just conditional rendering:
// app/components/consent-scripts.tsx
"use client";

import Script from "next/script";
import { useEffect, useState } from "react";

const CONSENT_KEY = "analytics-consent";

export function ConsentScripts() {
  const [consent, setConsent] = useState<"granted" | "denied" | null>(null);

  useEffect(() => {
    const stored = localStorage.getItem(CONSENT_KEY);
    if (stored === "granted" || stored === "denied") setConsent(stored);
  }, []);

  function choose(value: "granted" | "denied") {
    localStorage.setItem(CONSENT_KEY, value);
    setConsent(value);
  }

  return (
    <>
      {consent === "granted" && (
        <Script
          src="https://analytics.example.com/script.js"
          strategy="afterInteractive"
        />
      )}

      {consent === null && (
        <div
          role="dialog"
          aria-label="Cookie consent"
          className="fixed inset-x-0 bottom-0 bg-white p-4 shadow"
        >
          <p>We use analytics cookies to improve the site.</p>
          <button type="button" onClick={() => choose("granted")}>
            Accept
          </button>{" "}
          <button type="button" onClick={() => choose("denied")}>
            Decline
          </button>
        </div>
      )}
    </>
  );
}
Render ConsentScripts once in the root layout. Nothing loads until the stored choice is read on the client, and the analytics script only renders after consent is "granted". If you use a commercial consent management platform, it usually takes the beforeInteractive slot and controls the other tags itself, often through Google Tag Manager's consent mode.
@next/third-parties for Google Services
For a few very common services, the Next.js team maintains wrappers in @next/third-parties that already follow these practices. The package is marked experimental, but it's widely used.
npm install @next/third-parties
// app/layout.tsx
import { GoogleTagManager } from "@next/third-parties/google";

export default function RootLayout({
  children,
}: {
  children: React.ReactNode;
}) {
  return (
    <html lang="en">
      <GoogleTagManager gtmId="GTM-XXXXXXX" />
      <body>{children}</body>
    </html>
  );
}
Send events from Client Components with sendGTMEvent:
// app/pricing/upgrade-button.tsx
"use client";

import { sendGTMEvent } from "@next/third-parties/google";

export function UpgradeButton() {
  return (
    <button
      type="button"
      onClick={() => sendGTMEvent({ event: "upgrade_clicked", plan: "pro" })}
    >
      Upgrade to Pro
    </button>
  );
}
The package also includes GoogleAnalytics (with sendGAEvent), GoogleMapsEmbed, and YouTubeEmbed. The YouTube component uses lite-youtube-embed, a facade that shows a thumbnail and only loads the full player when clicked, saving several hundred kilobytes per video:
// app/tutorials/page.tsx
import { YouTubeEmbed } from "@next/third-parties/google";

export default function TutorialsPage() {
  return (
    <YouTubeEmbed
      videoid="ogfYd705cRs"
      height={400}
      playlabel="Play the intro video"
    />
  );
}
If you already use Google Tag Manager, configure Google Analytics inside GTM rather than adding the GoogleAnalytics component as well, or you'll load gtag twice.
Auditing What You Load
Before optimizing, find out what you're actually paying for:
- Lighthouse has a "Reduce the impact of third-party code" audit that lists each third party with its transfer size and main-thread time.
- The Chrome DevTools Performance panel shows long tasks during page load. Third-party scripts are labeled by origin, so you can see which ones block the main thread.
- The Network panel filtered by domain shows the cascade: which tag loaded which other scripts.
Then work through the list: remove what nobody uses (old A/B tools and abandoned pixels are common), scope the rest to the routes that need them, move anything non-essential to lazyOnload, and put interaction-only widgets behind a facade. For tracking the effect on real users, see improving Core Web Vitals in a Next.js application.
Common Mistakes
- Raw
scripttags in layouts. A plainscriptelement bypasses the strategy system and deduplication. UseScript. beforeInteractivefor analytics. Analytics doesn't need to run before your app. Use the default.- Everything in the root layout. Scope scripts to the layouts and pages that use them.
onLoadfor DOM setup. It doesn't re-run when the component remounts after navigation. UseonReady.- Callbacks in a Server Component.
onLoad,onReady, andonErrorneed a Client Component; wrap theScriptin a small"use client"component. - Inline scripts without an
id. Next.js can't track them reliably. - Loading the same vendor twice, for example GA4 both directly and through GTM.
Conclusion
Third-party scripts are one of the biggest performance risks on most sites, and next/script gives you the controls to manage them. Use the default afterInteractive for analytics and tag managers, lazyOnload for widgets that can wait, and beforeInteractive only for the rare script that must run first. Place scripts in the layout or page that needs them, use onReady for setup code that touches the DOM, render scripts conditionally for consent, and load interaction-only widgets with a facade. Combined with a regular audit of what's actually on the page, that keeps your own careful optimization work from being undone by someone else's code.