useLayoutEffect vs useEffect: Timing Differences That Matter
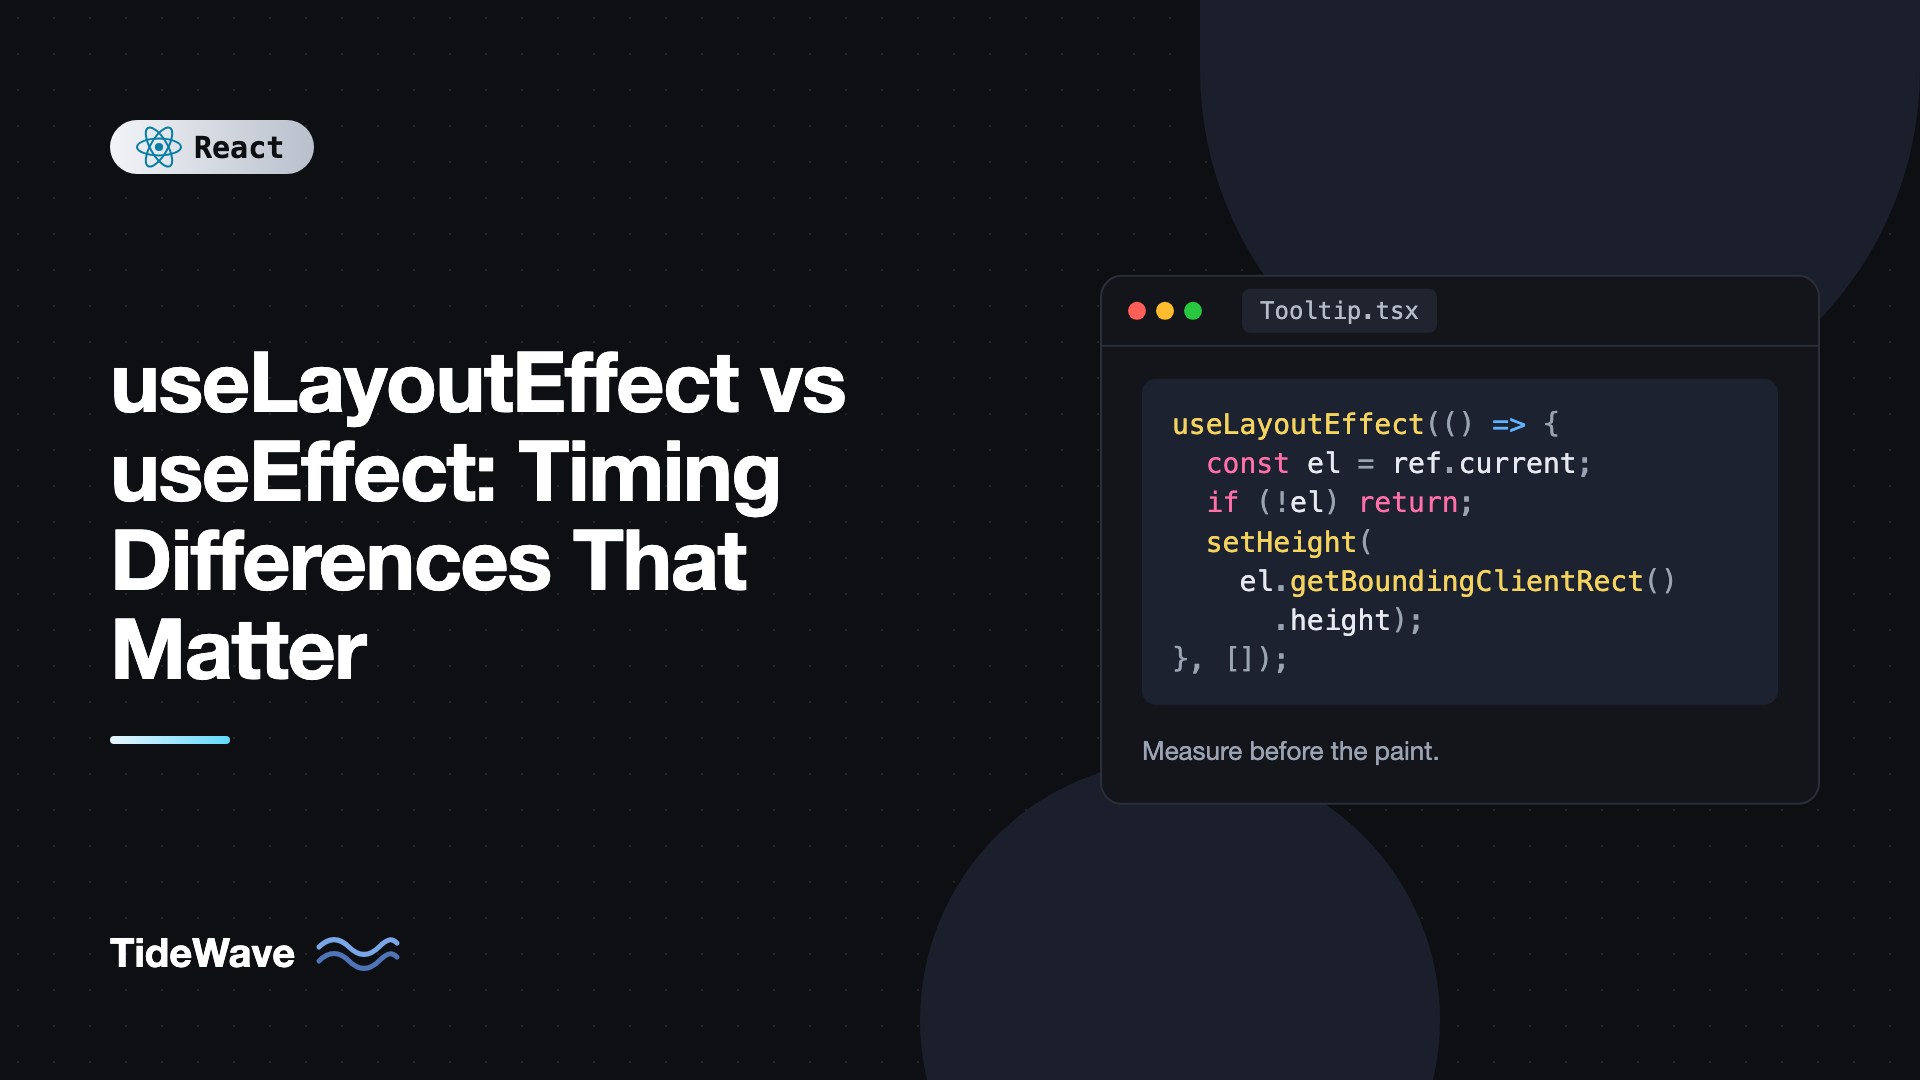
You build a tooltip that measures its own height and flips above the trigger if there isn't room below. It works, but every time it opens, there's a one-frame flash where the tooltip appears in the wrong spot and then jumps. You switch useEffect to useLayoutEffect and the flash disappears.
That's the main reason useLayoutEffect exists. Both hooks have the same signature and the same dependency array rules. The only difference is when they run relative to the browser painting the screen, and that timing difference is what separates a smooth UI from a flickering one. It's also why useLayoutEffect can make your app slower if you use it everywhere.
This post explains the exact order of events in a React commit, shows the flicker problem and its fix, walks through realistic layout effect use cases like tooltips, auto-sizing text areas, and scroll restoration, and covers server rendering, performance costs, and useInsertionEffect.
The Timeline of a React Update
When state changes, React goes through these steps:
- Render. React calls your components to compute the new UI.
- Commit. React applies changes to the DOM.
- Layout effects. React runs
useLayoutEffectcleanups and setups, synchronously. - Browser paint. The browser calculates layout and draws pixels to the screen.
- Passive effects. React runs
useEffectcleanups and setups.
The key line is between 3 and 4. A layout effect runs after the DOM is updated but before the user sees anything. If it reads layout (sizes, positions) and sets state, React re-renders synchronously and the browser paints only the final result. A regular effect usually runs after the paint, so if it changes something visible, the user sees the intermediate frame first.
You can see the order with a small experiment:
import { useEffect, useLayoutEffect, useState } from "react";

export function TimingDemo() {
  const [n, setN] = useState(0);

  useLayoutEffect(() => {
    console.log("layout effect", n);
  }, [n]);

  useEffect(() => {
    console.log("effect", n);
  }, [n]);

  console.log("render", n);

  return <button onClick={() => setN(n + 1)}>Clicked {n}</button>;
}
render 0
layout effect 0
effect 0
render 1
layout effect 1
effect 1
The log order is always render, layout effect, then effect.
A Nuance About Discrete Events
React 18 and later flush passive effects synchronously before paint when the update was caused by a discrete user input, like a click or key press. So in some cases useEffect also runs before paint. But you can't rely on that for updates from timers, network responses, or effects themselves. If correctness depends on running before paint, use useLayoutEffect.
The Flicker Problem
Here's a tooltip that positions itself based on its measured height, using useEffect:
import { useEffect, useRef, useState, type ReactNode } from "react";

type Rect = { top: number; left: number; bottom: number };

export function Tooltip({ target, children }: { target: Rect; children: ReactNode }) {
  const ref = useRef<HTMLDivElement>(null);
  const [height, setHeight] = useState(0);

  useEffect(() => {
    if (ref.current) {
      setHeight(ref.current.getBoundingClientRect().height);
    }
  }, []);

  const fitsAbove = target.top - height >= 0;
  const top = fitsAbove ? target.top - height : target.bottom;

  return (
    <div
      ref={ref}
      role="tooltip"
      style={{ position: "fixed", top, left: target.left }}
    >
      {children}
    </div>
  );
}
What happens on the first open:
- First render with
height = 0. The tooltip is placed attarget.top - 0, overlapping the trigger. - The browser paints this wrong position.
- The effect measures the real height and sets state.
- Second render with the correct
top. The browser paints again.
On fast machines, step 2 is a brief flash. On slower devices, it's a clearly visible jump.
Fixing It With useLayoutEffect
Change one word:
import { useLayoutEffect, useRef, useState, type ReactNode } from "react";

type Rect = { top: number; left: number; bottom: number };

export function Tooltip({ target, children }: { target: Rect; children: ReactNode }) {
  const ref = useRef<HTMLDivElement>(null);
  const [height, setHeight] = useState(0);

  useLayoutEffect(() => {
    if (ref.current) {
      setHeight(ref.current.getBoundingClientRect().height);
    }
  }, []);

  const fitsAbove = target.top - height >= 0;
  const top = fitsAbove ? target.top - height : target.bottom;

  return (
    <div
      ref={ref}
      role="tooltip"
      style={{ position: "fixed", top, left: target.left }}
    >
      {children}
    </div>
  );
}
Now the sequence is: render with height = 0, commit, layout effect measures and sets state, React re-renders synchronously before paint, browser paints once in the correct position. The wrong frame is never shown.
For production tooltips and popovers, a positioning library like Floating UI handles edge cases such as scrolling, collisions, and resizing. It uses layout effects internally for exactly this reason. To render the tooltip outside overflow containers, combine it with a portal, as shown in portals in React for modals, tooltips, and toasts.
Real Use Case: Auto-Growing Textarea
A textarea that grows with its content needs to measure scrollHeight after each change and set its height before paint:
import { useLayoutEffect, useRef, useState } from "react";

export function AutoTextarea() {
  const [value, setValue] = useState("");
  const ref = useRef<HTMLTextAreaElement>(null);

  useLayoutEffect(() => {
    const el = ref.current;
    if (!el) return;
    el.style.height = "auto";
    el.style.height = `${el.scrollHeight}px`;
  }, [value]);

  return (
    <textarea
      ref={ref}
      rows={1}
      value={value}
      onChange={(e) => setValue(e.target.value)}
      style={{ resize: "none", overflow: "hidden" }}
    />
  );
}
Setting height to auto first lets the element shrink when text is deleted. With useEffect, you might see the textarea briefly scroll or clip a line before resizing. Modern browsers also support the CSS field-sizing: content property, which does this without JavaScript; use it where your browser support allows.
Real Use Case: Scroll Position
Keeping a chat log pinned to the bottom when new messages arrive:
import { useLayoutEffect, useRef } from "react";

type Message = { id: string; text: string };

export function MessageList({ messages }: { messages: Message[] }) {
  const listRef = useRef<HTMLDivElement>(null);
  const wasAtBottom = useRef(true);

  function handleScroll() {
    const el = listRef.current;
    if (!el) return;
    wasAtBottom.current = el.scrollHeight - el.scrollTop - el.clientHeight < 40;
  }

  useLayoutEffect(() => {
    const el = listRef.current;
    if (el && wasAtBottom.current) {
      el.scrollTop = el.scrollHeight;
    }
  }, [messages]);

  return (
    <div
      ref={listRef}
      onScroll={handleScroll}
      style={{ height: 400, overflowY: "auto" }}
    >
      {messages.map((m) => (
        <p key={m.id}>{m.text}</p>
      ))}
    </div>
  );
}
With a passive effect, the new message would paint at the bottom edge for a frame, then the list would jump. The layout effect scrolls before the frame is shown, so the list appears to grow smoothly. The wasAtBottom ref keeps the user's position if they've scrolled up to read older messages. A full chat UI built this way is covered in building a chat UI with React and AI streaming responses.
When to Stick With useEffect
useLayoutEffect blocks painting. Everything it does, plus any synchronous re-render it triggers, delays the frame. Use useEffect for anything that doesn't need to be visible in the first frame:
- Data fetching.
- Subscriptions to stores, sockets, or browser events.
- Logging and analytics.
- Timers.
- Updating
document.title. - Any work that doesn't read layout and then change what's on screen.
The rule is simple: start with useEffect. Switch to useLayoutEffect only when you can see a flicker caused by measuring or adjusting layout. The broader guidance on effects is in a practical guide to useEffect and its dependency array.
Performance Costs
Reading layout properties like getBoundingClientRect(), offsetHeight, or scrollHeight forces the browser to calculate layout synchronously. Doing it in a layout effect is fine once per commit. Doing it in a loop, alternating reads and writes, causes layout thrashing:
// Slow: read, write, read, write...
items.forEach((el) => {
  const h = el.offsetHeight; // forces layout
  el.style.height = `${h + 10}px`; // invalidates layout
});

// Better: read everything, then write everything
const heights = items.map((el) => el.offsetHeight);
items.forEach((el, i) => {
  el.style.height = `${heights[i] + 10}px`;
});
Also keep layout effects narrow. A layout effect in a component rendered hundreds of times, like a table row, adds up quickly. Measure once at the container level when possible, or use a ResizeObserver, which batches notifications efficiently.
useLayoutEffect and Server Rendering
Layout effects don't run on the server, because there's no layout there. Older React versions printed a warning when a component using useLayoutEffect rendered on the server. React 19 removed that warning, but the underlying fact hasn't changed: the server-rendered HTML is produced without the measurement, so the first paint after hydration still uses the initial value.
Options when you server-render:
- Accept the initial value and design it to look reasonable (for example, render the tooltip hidden until measured).
- Render the measured component only on the client, after hydration.
- Use CSS for anything CSS can solve, such as positioning with
anchor-positioningor sizing with flexbox and grid.
A Note on useInsertionEffect
React also has useInsertionEffect, which runs before any layout effects fire. It exists for CSS-in-JS libraries that need to inject style tags before anything measures the DOM. It can't access refs or schedule updates. Unless you're writing a styling library, you won't need it.
| Hook | Runs | Blocks paint | Typical use |
|---|---|---|---|
useInsertionEffect | Before any layout effects | Yes | Injecting styles in CSS-in-JS libraries |
useLayoutEffect | After DOM mutations, before paint | Yes | Measuring and adjusting layout |
useEffect | Usually after paint | No | Everything else |
Common Mistakes With useLayoutEffect
- Using it by default "to be safe." It delays every frame it runs in. Default to
useEffect. - Fetching data in a layout effect. The fetch is async anyway, so you get no benefit and only block the paint while it starts.
- Reading layout in a loop interleaved with writes. Batch reads, then writes.
- Expecting it to run on the server. It doesn't. Plan for the initial, unmeasured render.
- Forgetting dependencies. Layout effects follow the same dependency rules. A missing dependency means measurements go stale.
Frequently Asked Questions (FAQ) About useLayoutEffect vs useEffect
Timing. useLayoutEffect runs synchronously after React updates the DOM but before the browser paints. useEffect usually runs after the paint. Use the layout version only when you need to measure or change layout without the user seeing an intermediate frame.
The hook itself isn't slower, but it blocks painting until it finishes, along with any re-render it triggers. Heavy work in a layout effect makes the UI feel less responsive, so keep it short.
Yes. For a given commit, all layout effects run before any passive effects. Cleanup functions follow the same order.
You're probably measuring in useEffect, which runs after the browser has painted the unmeasured position. Move the measurement to useLayoutEffect so the corrected position is applied before the first paint.
It won't run on the server, since there's no layout to measure. The server HTML uses the initial value, and the layout effect runs on the client after hydration. Design the initial state to look acceptable, or render the measured part only on the client.
Timing-wise, componentDidMount and componentDidUpdate ran synchronously before paint, like useLayoutEffect. In practice, most code that lived in those methods works better in useEffect, so only reach for the layout version when timing matters.
Conclusion
useEffect and useLayoutEffect differ only in timing. Layout effects run after the DOM is updated and before the browser paints, which lets you measure elements and adjust them without a visible flicker. Passive effects run after paint and keep the UI responsive for everything else.
Default to useEffect. When you see a one-frame jump caused by measuring size, position, or scroll, switch that specific effect to useLayoutEffect, keep the work inside it small, and batch DOM reads before writes. Try the tooltip example above both ways with CPU throttling enabled in DevTools, and the difference becomes impossible to miss.