Building Progressive Web Apps with React
Your React app works great on a fast office connection. Then someone opens it on a train, the signal drops, and they get the browser's offline dinosaur instead of your UI. They also can't add it to their home screen like a native app, so they have to find it in their bookmarks every time.
A Progressive Web App (PWA) fixes both. With a web app manifest and a service worker, your React app can be installed on phones and desktops, launch in its own window, load instantly from cache, and keep working when the network is slow or gone. You don't need to rewrite anything. It's the same app with two extra pieces.
This guide turns a Vite and React 19 app into a PWA using vite-plugin-pwa. You'll configure the manifest, generate a service worker with Workbox, choose caching strategies for API calls, show an "update available" prompt, add an install button, and handle offline state in your UI.
What Makes an App a PWA
There's no single switch. A web app counts as installable when it meets a few requirements:
- It's served over HTTPS (localhost is allowed during development).
- It has a web app manifest, a JSON file describing the app's name, icons, colors, and start URL.
- It registers a service worker, a script that runs separately from your page and can intercept network requests.
The service worker is what gives you offline support. It sits between your app and the network, so when your page requests /index.html or /api/products, the service worker can answer from a cache, go to the network, or do both.
Writing a service worker by hand is fiddly. You have to version caches, precache your hashed build files, clean up old ones, and handle updates. vite-plugin-pwa uses Google's Workbox to generate all of that from your build output.
Setting Up vite-plugin-pwa
Start with a Vite React project (the post on building React apps with Vite covers setup), then install the plugin:
npm install -D vite-plugin-pwa
Add it to your Vite config:
// vite.config.ts
import { defineConfig } from "vite";
import react from "@vitejs/plugin-react";
import { VitePWA } from "vite-plugin-pwa";

export default defineConfig({
  plugins: [
    react(),
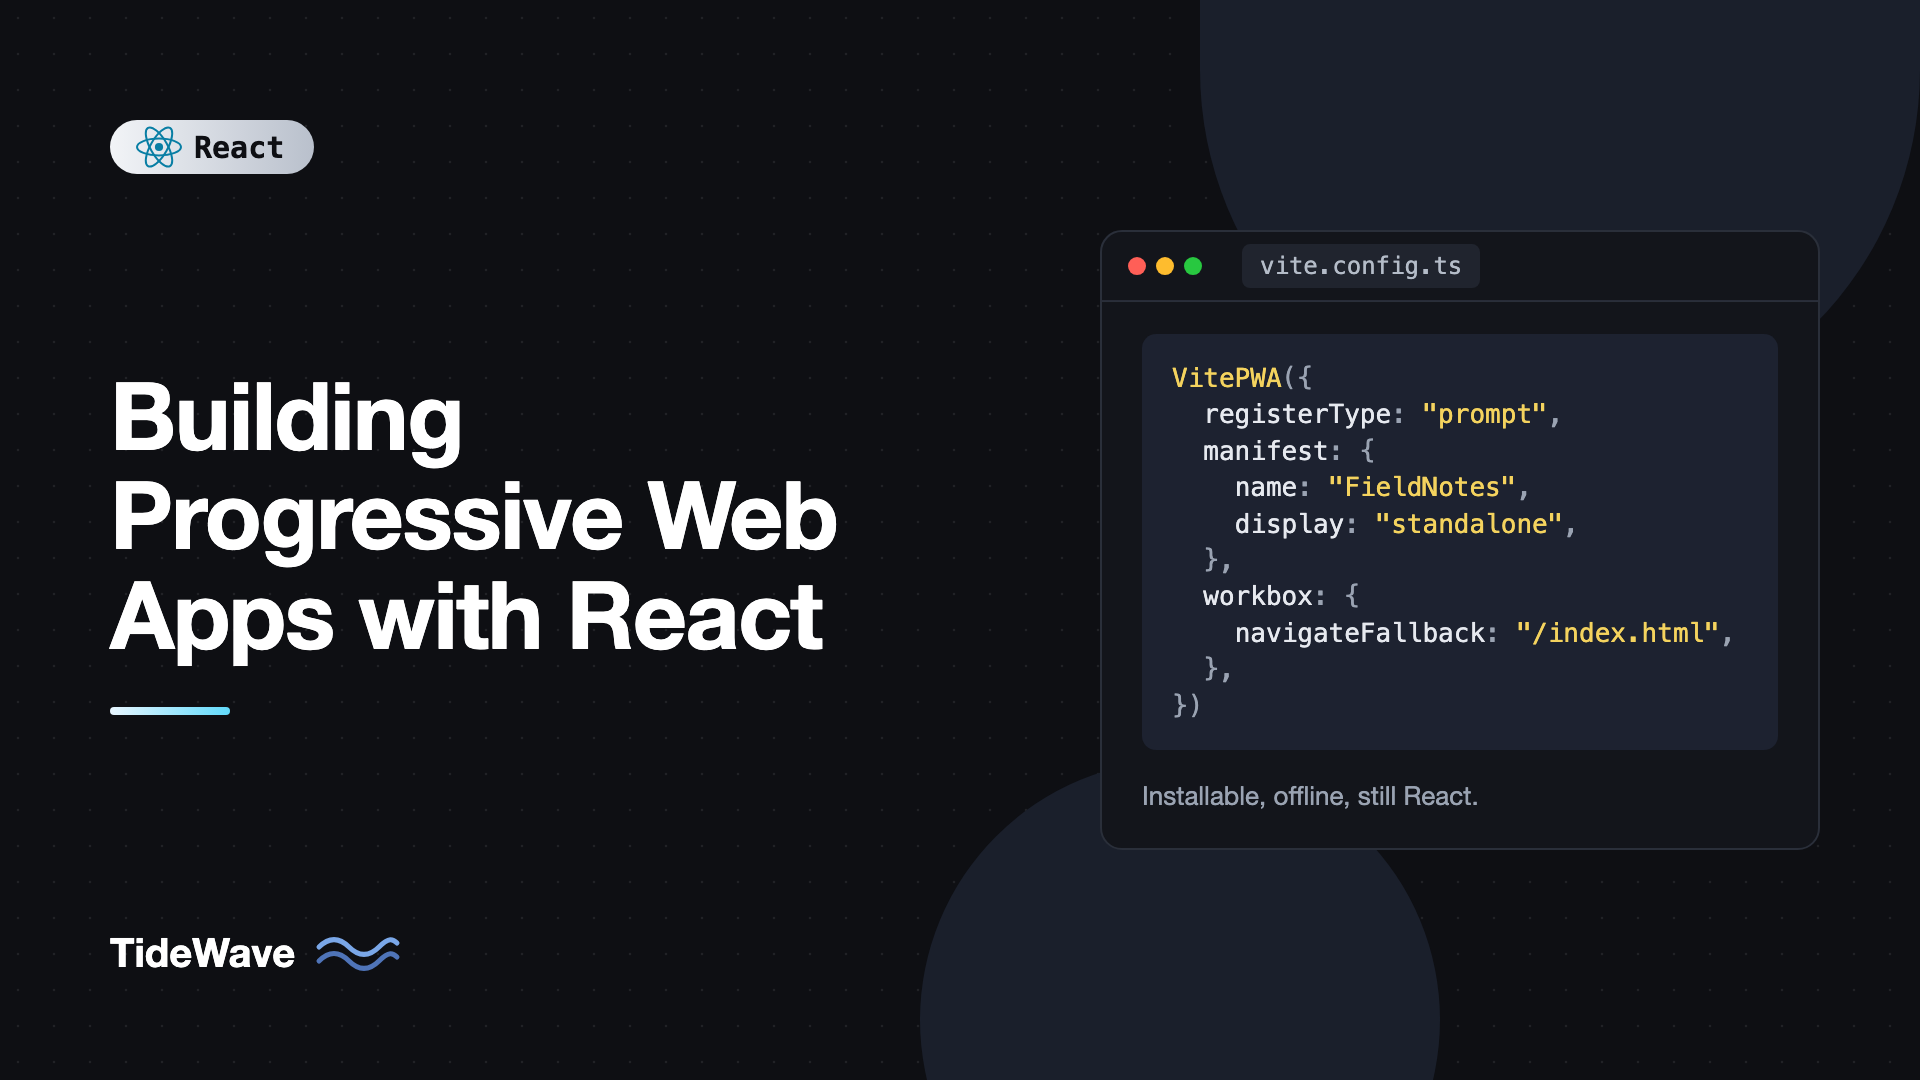
    VitePWA({
      registerType: "prompt",
      includeAssets: ["favicon.ico", "apple-touch-icon.png"],
      manifest: {
        name: "FieldNotes",
        short_name: "FieldNotes",
        description: "Capture notes and photos in the field, even offline.",
        theme_color: "#0f172a",
        background_color: "#ffffff",
        display: "standalone",
        start_url: "/",
        scope: "/",
        icons: [
          { src: "pwa-192x192.png", sizes: "192x192", type: "image/png" },
          { src: "pwa-512x512.png", sizes: "512x512", type: "image/png" },
          {
            src: "pwa-512x512.png",
            sizes: "512x512",
            type: "image/png",
            purpose: "maskable",
          },
        ],
      },
    }),
  ],
});
At build time the plugin writes manifest.webmanifest and sw.js into dist, injects the manifest link into index.html, and generates a precache list of every JS, CSS, and HTML file Vite produced.
Manifest fields that matter
nameandshort_name: the full name appears in install dialogs and the short one under the home screen icon.display: "standalone": launches the app in its own window without browser UI.start_url: the page that opens when someone taps the icon.theme_color: tints the title bar and the Android status bar.icons: at minimum a 192px and a 512px PNG. The maskable icon has extra padding so Android can crop it into a circle or squircle without clipping your logo.
Put the icon files in public/. iOS ignores manifest icons for the home screen and uses apple-touch-icon.png instead, which is why it's listed in includeAssets. Add a matching link tag in index.html:
<link rel="apple-touch-icon" href="/apple-touch-icon.png" sizes="180x180" />
<meta name="theme-color" content="#0f172a" />
Testing the Service Worker
Service workers aren't active during vite dev by default, because aggressive caching during development makes changes appear not to work. Test with a production build:
npm run build
npx vite preview
Open the preview URL in Chrome, then open DevTools and go to the Application tab. Under Manifest you'll see your icons and any errors. Under Service Workers you can see the registered worker, and the Offline checkbox simulates losing the network. Tick it and reload: the app should still load.
If you do want to debug the worker in dev, set devOptions: { enabled: true } in the plugin config, then remember to turn it off.
Handling Updates
This is the part most PWA tutorials skip, and it's the one that bites in production. When you deploy a new version, the browser downloads the new service worker, but it waits until all tabs of the old version are closed before activating. Users can be stuck on an old version for days.
vite-plugin-pwa gives you two choices through registerType:
"autoUpdate": the new worker activates immediately and the page reloads. Simple, but it can reload while someone is typing."prompt": the new worker waits, and you show the user a message so they can reload when it suits them.
For apps with forms or unsaved input, "prompt" is the safer choice. The plugin ships a React hook through a virtual module. First add its types to tsconfig.json (or the tsconfig.app.json Vite generates):
{
  "compilerOptions": {
    "types": ["vite/client", "vite-plugin-pwa/react"]
  }
}
Then build a small update banner:
// src/components/UpdatePrompt.tsx
import { useRegisterSW } from "virtual:pwa-register/react";

export function UpdatePrompt() {
  const {
    needRefresh: [needRefresh, setNeedRefresh],
    offlineReady: [offlineReady, setOfflineReady],
    updateServiceWorker,
  } = useRegisterSW({
    onRegisterError(error) {
      console.error("Service worker registration failed", error);
    },
  });

  const close = () => {
    setNeedRefresh(false);
    setOfflineReady(false);
  };

  if (!needRefresh && !offlineReady) return null;

  return (
    <div role="status" className="fixed bottom-4 right-4 rounded-lg bg-slate-900 p-4 text-white shadow-lg">
      <p className="mb-2 text-sm">
        {needRefresh ? "A new version is available." : "The app is ready to work offline."}
      </p>
      <div className="flex gap-2">
        {needRefresh && (
          <button
            type="button"
            className="rounded bg-white px-3 py-1 text-sm text-slate-900"
            onClick={() => updateServiceWorker(true)}
          >
            Reload
          </button>
        )}
        <button type="button" className="rounded px-3 py-1 text-sm" onClick={close}>
          Dismiss
        </button>
      </div>
    </div>
  );
}
Render UpdatePrompt once near the root of your app. Calling updateServiceWorker(true) tells the waiting worker to activate and reloads the page so it uses the new assets.
Checking for updates periodically
Browsers check for a new service worker on navigation, but a single-page app that stays open all day may not navigate. You can poll from the onRegisteredSW callback:
useRegisterSW({
  onRegisteredSW(swUrl, registration) {
    if (!registration) return;
    setInterval(() => {
      void registration.update();
    }, 60 * 60 * 1000);
  },
});
Once an hour is plenty. The request is small because the browser only compares the worker file.
Caching API Requests at Runtime
The precache handles your app shell: HTML, JS, CSS, and icons. Data from your API is different. It changes, so it needs a runtime caching strategy. Workbox offers several:
- NetworkFirst: try the network, fall back to cache when offline. Best for data that should be fresh but still available offline.
- CacheFirst: use the cache if present, otherwise fetch. Best for things that rarely change, like fonts and images with hashed URLs.
- StaleWhileRevalidate: return the cache immediately, then update it in the background. Best for data where slightly stale is fine, like avatars or a product catalog.
- NetworkOnly: never cache. Use it for authentication and payments.
Configure them in the workbox option:
// vite.config.ts (inside VitePWA({ ... }))
workbox: {
  globPatterns: ["**/*.{js,css,html,svg,png,woff2}"],
  navigateFallback: "/index.html",
  navigateFallbackDenylist: [/^\/api\//],
  runtimeCaching: [
    {
      urlPattern: ({ url }) => url.pathname.startsWith("/api/notes"),
      handler: "NetworkFirst",
      options: {
        cacheName: "api-notes",
        networkTimeoutSeconds: 4,
        expiration: { maxEntries: 100, maxAgeSeconds: 60 * 60 * 24 * 7 },
        cacheableResponse: { statuses: [0, 200] },
      },
    },
    {
      urlPattern: ({ request }) => request.destination === "image",
      handler: "StaleWhileRevalidate",
      options: {
        cacheName: "images",
        expiration: { maxEntries: 200, maxAgeSeconds: 60 * 60 * 24 * 30 },
      },
    },
    {
      urlPattern: ({ url }) => url.pathname.startsWith("/api/auth"),
      handler: "NetworkOnly",
    },
  ],
},
A few details in there are worth calling out. navigateFallback serves index.html for any navigation request, so client-side routes like /notes/42 work offline. The denylist stops it from answering API calls with HTML. And networkTimeoutSeconds makes NetworkFirst give up on a slow connection and use the cache instead of spinning for 30 seconds.
Be careful with caching user data. The service worker cache is shared by everyone who uses that browser profile. If your API returns per-user data and someone logs out, clear the relevant caches:
export async function clearUserCaches() {
  const keys = await caches.keys();
  await Promise.all(keys.filter((key) => key.startsWith("api-")).map((key) => caches.delete(key)));
}
Call it from your logout handler, next to clearing tokens. The post on authentication in React with JWT and refresh tokens covers the rest of a clean logout.
Showing Online and Offline State
Caching makes reads work offline, but your UI should still tell users what's going on, especially before they try to save something. navigator.onLine plus the online and offline events give you that, and useSyncExternalStore is the right hook for subscribing to browser state:
// src/hooks/useOnlineStatus.ts
import { useSyncExternalStore } from "react";

function subscribe(callback: () => void) {
  window.addEventListener("online", callback);
  window.addEventListener("offline", callback);
  return () => {
    window.removeEventListener("online", callback);
    window.removeEventListener("offline", callback);
  };
}

export function useOnlineStatus() {
  return useSyncExternalStore(
    subscribe,
    () => navigator.onLine,
    () => true,
  );
}
import { useOnlineStatus } from "../hooks/useOnlineStatus";

export function OfflineBanner() {
  const online = useOnlineStatus();
  if (online) return null;

  return (
    <div role="status" className="bg-amber-100 px-4 py-2 text-center text-sm text-amber-900">
      You're offline. Changes will be saved when you reconnect.
    </div>
  );
}
navigator.onLine only tells you whether the device has a network connection, not whether your server is reachable. Treat it as a hint, and still handle failed requests. If you're curious why useSyncExternalStore beats a useState plus useEffect combo here, see subscribing to external data sources safely.
Queuing writes while offline
Reading cached data is the easy half. Writes need somewhere to go. A simple approach is to store pending changes locally and replay them when the connection returns:
// src/lib/outbox.ts
type PendingNote = { id: string; title: string; body: string };

const KEY = "outbox";

export function queueNote(note: PendingNote) {
  const pending: PendingNote[] = JSON.parse(localStorage.getItem(KEY) ?? "[]");
  pending.push(note);
  localStorage.setItem(KEY, JSON.stringify(pending));
}

export async function flushOutbox() {
  const pending: PendingNote[] = JSON.parse(localStorage.getItem(KEY) ?? "[]");
  const failed: PendingNote[] = [];

  for (const note of pending) {
    try {
      const res = await fetch("/api/notes", {
        method: "POST",
        headers: { "Content-Type": "application/json" },
        body: JSON.stringify(note),
      });
      if (!res.ok) failed.push(note);
    } catch {
      failed.push(note);
    }
  }

  localStorage.setItem(KEY, JSON.stringify(failed));
}

window.addEventListener("online", () => {
  void flushOutbox();
});
Using a client-generated id makes the replay safe to retry: the server can ignore a note it has already stored. For larger data or binary files, use IndexedDB instead of localStorage. Workbox also has a Background Sync plugin that retries failed requests from inside the service worker, though browser support for the underlying Background Sync API is limited to Chromium.
Adding an Install Button
Chromium browsers fire a beforeinstallprompt event when your app is installable. You can stash that event and trigger the native install dialog from your own button:
// src/components/InstallButton.tsx
import { useEffect, useState } from "react";

type BeforeInstallPromptEvent = Event & {
  prompt: () => Promise<void>;
  userChoice: Promise<{ outcome: "accepted" | "dismissed" }>;
};

export function InstallButton() {
  const [promptEvent, setPromptEvent] = useState<BeforeInstallPromptEvent | null>(null);

  useEffect(() => {
    const onBeforeInstall = (event: Event) => {
      event.preventDefault();
      setPromptEvent(event as BeforeInstallPromptEvent);
    };
    const onInstalled = () => setPromptEvent(null);

    window.addEventListener("beforeinstallprompt", onBeforeInstall);
    window.addEventListener("appinstalled", onInstalled);
    return () => {
      window.removeEventListener("beforeinstallprompt", onBeforeInstall);
      window.removeEventListener("appinstalled", onInstalled);
    };
  }, []);

  if (!promptEvent) return null;

  const install = async () => {
    await promptEvent.prompt();
    await promptEvent.userChoice;
    setPromptEvent(null);
  };

  return (
    <button type="button" onClick={install} className="rounded bg-slate-900 px-3 py-1.5 text-white">
      Install app
    </button>
  );
}
The event can only be used once, so clear it after prompting. Safari and Firefox don't fire beforeinstallprompt. On iOS, users install through Share and then Add to Home Screen, so consider a short hint for iOS visitors instead of the button.
To detect whether the app is currently running as an installed app, check the display mode:
const isStandalone = window.matchMedia("(display-mode: standalone)").matches;
That's useful for hiding the install button or adjusting layout when there's no browser UI.
Platform Differences to Know
PWAs are well supported, but not identically everywhere:
- Chrome and Edge (desktop and Android) support installation, the install prompt event, and most PWA APIs.
- Safari on iOS supports installation from the share menu, service workers, and web push for installed apps, but has no install prompt event, and it may evict cached data for sites that haven't been used for a while.
- Firefox supports service workers fully. Desktop Firefox doesn't offer installation by default.
Design so that the app works in a normal tab first, and treat installation and offline support as enhancements on top.
Common Mistakes When Building a React PWA
- Testing with the dev server. The service worker isn't active there, so nothing seems to cache. Test with
buildandpreview. - Ignoring updates. Without an update prompt or
autoUpdate, users stay on old code long after you deploy. - Caching authenticated API responses carelessly. Shared browsers can leak data across users. Use NetworkOnly for sensitive endpoints and clear caches on logout.
- Serving
index.htmlfor API routes. Add your API prefix tonavigateFallbackDenylist. - Missing the maskable icon. Android crops your icon awkwardly or adds a white background.
- Long cache headers on
sw.js. If your CDN caches the service worker file for a day, update checks can see a stale copy. Servesw.jswithCache-Control: no-cache. - Trusting
navigator.onLinecompletely. It can report online while your API is unreachable. Always handle failed fetches.
Frequently Asked Questions (FAQ) About React Progressive Web Apps
Yes. A PWA is your existing app plus a manifest and a service worker. With Vite, adding vite-plugin-pwa and a manifest config is usually enough to make the app installable and cache its static files. Offline data and update handling are additions you layer on afterward.
Only for what the service worker caches. The app shell, meaning your HTML, JavaScript, and CSS, gets precached at build time. API data only works offline if you add a runtime caching rule for it, and writes need their own queue or sync mechanism.
The new service worker is waiting for old tabs to close. Use registerType: "autoUpdate" or show a prompt that calls updateServiceWorker(true). Also make sure your server doesn't cache sw.js for a long time.
Yes, with the Push API and a service worker, on Chromium browsers, Firefox, and Safari. On iOS, web push only works for apps the user has installed to the home screen. You'll need a backend that stores push subscriptions and sends messages through the browser vendor's push service.
On Android you can wrap a PWA as a Trusted Web Activity and publish it to Google Play. Microsoft Store accepts PWAs directly. The Apple App Store doesn't accept plain PWAs, so you'd need a wrapper like Capacitor, which adds native code to the project.
You can write one by hand, but you'd need to precache hashed build files, version caches, and clean up old ones on every deploy. The plugin generates all of that from your build. If you need custom logic, its injectManifest strategy lets you write your own worker while it still injects the precache list.
Conclusion
Turning a React app into a PWA comes down to three pieces: a manifest that describes the app, a service worker that caches its shell, and runtime caching rules for the data it needs. vite-plugin-pwa handles the first two from a single config block, and Workbox strategies like NetworkFirst and StaleWhileRevalidate cover most data needs. Add an update prompt so users get new versions, an offline banner so they know what's happening, and an install button for browsers that support it.
Start small: get the app installable and the shell cached, then test it with the Offline checkbox in DevTools. Once that works, pick one important screen, make its data available offline, and add a write queue if users need to create content without a connection. Run a Lighthouse audit at each step to catch manifest and caching problems early.