Building React Apps with Vite: A Fast Modern Setup
If you've worked on an older React project, you probably remember waiting for the dev server. Starting it took half a minute, and every save took a few seconds to show up in the browser. The bundler had to rebuild a big chunk of the app before it could serve anything, and the larger the app got, the slower it became.
Vite takes a different approach. In development, it serves your source files as native ES modules and only transforms the file the browser asks for, so the server starts almost instantly and updates appear as soon as you save. For production, it builds an optimized, code-split bundle. It's now the default way to start a client-side React app, and the official React docs recommend it for projects that don't use a full framework.
This post walks through a complete setup: scaffolding a React and TypeScript project, understanding what each generated file does, adding environment variables, path aliases, an API proxy, Tailwind CSS, and Vitest, and building for production.
Creating a Project
You need a current LTS version of Node.js. Then run:
npm create vite@latest my-app -- --template react-ts
cd my-app
npm install
npm run dev
The react-ts template sets up React with TypeScript. Use react for plain JavaScript. The extra -- passes the template flag through npm to the create script. The dev server prints a local URL, usually http://localhost:5173, and opens in well under a second.
If you prefer other package managers, the equivalents are pnpm create vite, yarn create vite, and bun create vite.
What's in the Generated Project
The template creates a small, readable project:
my-app/
  index.html           # the real entry point
  package.json
  vite.config.ts       # Vite configuration
  tsconfig.json        # references the two configs below
  tsconfig.app.json    # TypeScript settings for src/
  tsconfig.node.json   # TypeScript settings for vite.config.ts
  eslint.config.js
  public/              # files copied as-is to the build
  src/
    main.tsx           # mounts React
    App.tsx
    App.css
    index.css
    assets/            # images and files you import from code
index.html Is the Entry Point
Unlike older setups, index.html lives at the project root and is part of your source code, not a template hidden in a public folder:
<!doctype html>
<html lang="en">
  <head>
    <meta charset="UTF-8" />
    <link rel="icon" type="image/svg+xml" href="/vite.svg" />
    <meta name="viewport" content="width=device-width, initial-scale=1.0" />
    <title>My App</title>
  </head>
  <body>
    <div id="root"></div>
    <script type="module" src="/src/main.tsx"></script>
  </body>
</html>
The <script type="module"> tag points straight at a TypeScript file. In development, Vite transforms it on request. In production, Vite follows it to build the dependency graph and rewrites the tag to point at the hashed bundle.
main.tsx Mounts the App
import { StrictMode } from "react";
import { createRoot } from "react-dom/client";
import "./index.css";
import App from "./App.tsx";

createRoot(document.getElementById("root")!).render(
  <StrictMode>
    <App />
  </StrictMode>
);
vite.config.ts
import { defineConfig } from "vite";
import react from "@vitejs/plugin-react";

export default defineConfig({
  plugins: [react()],
});
@vitejs/plugin-react adds JSX support and Fast Refresh, which updates components in place when you save while keeping their state. Edit App.tsx while a counter is at 5 and the counter stays at 5.
The Scripts
The template's package.json includes four scripts:
{
  "scripts": {
    "dev": "vite",
    "build": "tsc -b && vite build",
    "lint": "eslint .",
    "preview": "vite preview"
  }
}
An important detail is in build. Vite strips TypeScript types without checking them, which is a big reason it's fast. Type checking happens separately with tsc -b, and the build fails if there are type errors. During development, rely on your editor for type errors, or run npx tsc -b --watch in a second terminal.
Environment Variables
Vite loads variables from .env files in the project root:
# .env                (all modes)
VITE_APP_NAME=My App

# .env.development    (npm run dev)
VITE_API_URL=http://localhost:3000

# .env.production     (npm run build)
VITE_API_URL=https://api.example.com

# .env.local          (all modes, ignored by git)
Only variables prefixed with VITE_ are exposed to your code, through import.meta.env:
const apiUrl = import.meta.env.VITE_API_URL;
const isDev = import.meta.env.DEV; // true in dev, false in build
const mode = import.meta.env.MODE; // "development" or "production"
The prefix is a safety feature. Anything exposed to client code ends up in the JavaScript bundle where anyone can read it, so the prefix forces you to opt in. Never put secrets like private API keys in VITE_ variables.
Add types for your variables in src/vite-env.d.ts so TypeScript knows they exist:
/// <reference types="vite/client" />

interface ImportMetaEnv {
  readonly VITE_API_URL: string;
  readonly VITE_APP_NAME: string;
}

interface ImportMeta {
  readonly env: ImportMetaEnv;
}
Now import.meta.env.VITE_API_URL is typed as string, and a typo is a compile error. There's a deeper look at patterns like validation and runtime config in Environment Variables in React Apps Done Right.
Path Aliases
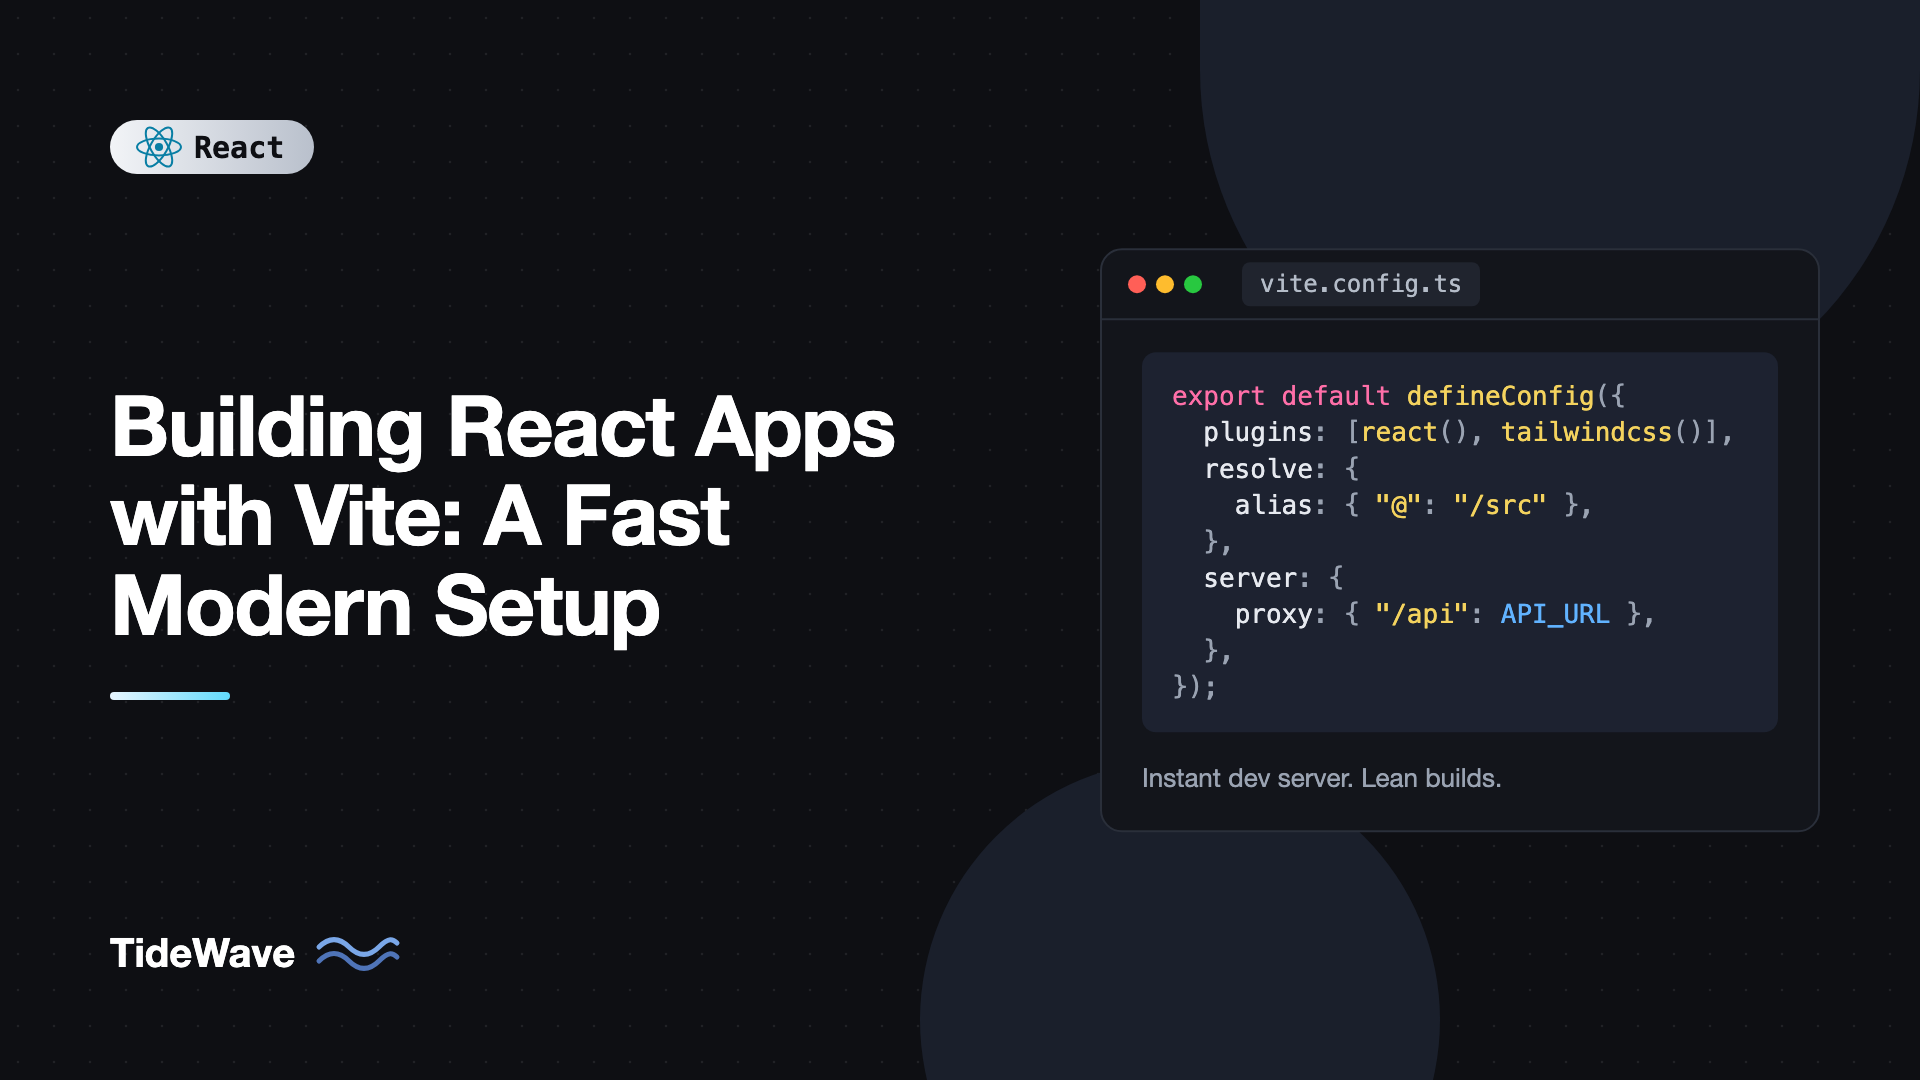
Deep relative imports like ../../../components/Button are hard to read and break when you move files. Set up an @ alias pointing to src. You need to configure it in two places: Vite resolves imports at build time, and TypeScript needs to know about it for type checking and editor support.
// vite.config.ts
import { fileURLToPath, URL } from "node:url";
import { defineConfig } from "vite";
import react from "@vitejs/plugin-react";

export default defineConfig({
  plugins: [react()],
  resolve: {
    alias: {
      "@": fileURLToPath(new URL("./src", import.meta.url)),
    },
  },
});
// tsconfig.app.json (add to compilerOptions)
{
  "compilerOptions": {
    "baseUrl": ".",
    "paths": {
      "@/*": ["./src/*"]
    }
  }
}
Now you can write:
import { Button } from "@/components/Button";
import { useAuth } from "@/features/auth/useAuth";
Aliases pair well with a clear project layout, such as grouping code by feature under src/features and shared UI under src/components.
Proxying API Requests
When your frontend runs on port 5173 and your API on port 3000, browser requests between them are cross-origin, which means CORS configuration on the API. In development, you can avoid that by proxying API calls through the Vite server:
// vite.config.ts
export default defineConfig({
  plugins: [react()],
  server: {
    proxy: {
      "/api": {
        target: "http://localhost:3000",
        changeOrigin: true,
      },
    },
  },
});
Your code calls relative URLs:
const res = await fetch("/api/users");
In development, Vite forwards /api/users to http://localhost:3000/api/users. In production, you serve the API from the same domain or configure your host to route /api to the backend. If your backend doesn't use the /api prefix, add rewrite: (path) => path.replace(/^\/api/, "") to strip it.
Styling: CSS, CSS Modules, and Tailwind
Vite handles CSS without extra setup. Import a .css file and it's injected in development and extracted into a file in production. Files named *.module.css are CSS Modules, with class names scoped to the component:
import styles from "./Card.module.css";

export function Card({ title }: { title: string }) {
  return <div className={styles.card}>{title}</div>;
}
For Tailwind CSS v4, install the official Vite plugin:
npm install tailwindcss @tailwindcss/vite
// vite.config.ts
import { defineConfig } from "vite";
import react from "@vitejs/plugin-react";
import tailwindcss from "@tailwindcss/vite";

export default defineConfig({
  plugins: [react(), tailwindcss()],
});
Then replace the contents of src/index.css with a single import:
@import "tailwindcss";
That's it. Tailwind v4 doesn't need a tailwind.config.js or a content array, because it detects your source files automatically. See Using Tailwind CSS Effectively in React Projects for patterns that keep class lists manageable.
Static Assets
There are two ways to include images, fonts, and other files:
- Import them from code (files in
src/assets). Vite processes them, adds a content hash to the filename for caching, and inlines very small files as data URLs. - Put them in
public/. They're copied to the build output unchanged and referenced by absolute path, like/robots.txtor/favicon.ico.
import logoUrl from "@/assets/logo.svg";

export function Logo() {
  return <img src={logoUrl} alt="Acme" width={120} height={32} />;
}
Prefer imports for anything your components use. You get cache-busting filenames and a build error if the file is missing. Use public/ for files that need a fixed URL.
Adding Vitest
Vitest is a test runner built on Vite, so it reuses your config, aliases, and plugins. Install it with Testing Library and a DOM environment:
npm install -D vitest jsdom @testing-library/react @testing-library/jest-dom @testing-library/user-event
Add a test section to the config. The triple-slash reference gives TypeScript the types for the test key:
/// <reference types="vitest/config" />
import { fileURLToPath, URL } from "node:url";
import { defineConfig } from "vite";
import react from "@vitejs/plugin-react";

export default defineConfig({
  plugins: [react()],
  resolve: {
    alias: { "@": fileURLToPath(new URL("./src", import.meta.url)) },
  },
  test: {
    environment: "jsdom",
    globals: true,
    setupFiles: "./src/test/setup.ts",
  },
});
// src/test/setup.ts
import "@testing-library/jest-dom/vitest";
// src/App.test.tsx
import { render, screen } from "@testing-library/react";
import userEvent from "@testing-library/user-event";
import App from "./App";

test("increments the counter", async () => {
  render(<App />);
  const button = screen.getByRole("button", { name: /count is/i });
  await userEvent.click(button);
  expect(button).toHaveTextContent("count is 1");
});
Add "test": "vitest" to your scripts and run npm test. To use the global test and expect without imports in TypeScript, add "vitest/globals" to the types array in tsconfig.app.json. The full testing workflow is in Testing React Components with Vitest and Testing Library.
Building for Production
npm run build
npm run preview
vite build type-checks (through the tsc -b step), bundles your app into dist/, minifies it, splits shared code and dynamic imports into separate chunks, and adds content hashes to filenames. vite preview serves dist/ locally so you can check the production build before deploying.
The dist folder is plain static files. Deploy it to any static host: Netlify, Vercel, Cloudflare Pages, GitHub Pages, S3 with CloudFront, or an Nginx server.
Single-Page App Routing on the Server
If you use client-side routing with React Router, a URL like /settings doesn't exist as a file in dist. Reloading that page returns a 404 unless the host is configured to serve index.html for unknown paths. Most hosts have a setting or file for this. For Nginx:
location / {
  try_files $uri /index.html;
}
Deploying to a Subpath
If the app is served from a subfolder, such as https://example.com/dashboard/, set base so asset URLs are correct:
export default defineConfig({
  base: "/dashboard/",
  plugins: [react()],
});
Common Mistakes When Setting Up Vite
- Expecting
process.envto work. Vite usesimport.meta.env, and onlyVITE_prefixed variables reach client code. - Putting secrets in
VITE_variables. They're embedded in the bundle and visible to anyone. Keep secrets on a server. - Configuring an alias in only one place. Vite and TypeScript each need the alias, or you'll get either build errors or red squiggles.
- Assuming the dev server type-checks. It doesn't. Run
tsc -bin CI or as part ofbuild. - Forgetting SPA fallback on the host. Deep links return 404 after deployment without a rewrite to
index.html. - Referencing
srcfiles by absolute URL. Import assets from code so Vite can process them. Only files inpublic/have fixed URLs.
Frequently Asked Questions (FAQ) About Building React Apps with Vite
In development, Vite serves source files as native ES modules and only transforms the files the browser requests, instead of bundling the whole app before starting. Dependencies are pre-bundled once and cached. Updates through Fast Refresh only touch the changed module, so they stay fast as the project grows.
Yes, Vite has low-level SSR APIs, but most teams get SSR through a framework built on Vite, such as React Router in framework mode. For a client-rendered single-page app, the standard template is all you need.
Yes. Use the react template instead of react-ts. You can also add TypeScript later by renaming files to .tsx, adding a tsconfig, and installing typescript, since Vite already understands TypeScript syntax.
Vite strips types without checking them to keep the dev server fast. Type errors appear in your editor and when you run tsc. The template's build script runs tsc -b before vite build, so type errors still block production builds.
Set server.port in vite.config.ts, or pass --port to the vite command. Vite automatically picks the next free port if the configured one is taken, unless you also set server.strictPort to true.
Yes, and the steps are mostly mechanical: move index.html to the root, add the module script tag, rename REACT_APP_ variables to VITE_, replace process.env with import.meta.env, and swap Jest for Vitest if you want to share the Vite config with tests.
Conclusion
Vite gives you a React development setup that starts instantly and updates in milliseconds, plus an optimized production build with sensible defaults. The generated project is small enough to understand completely: index.html as the entry, main.tsx mounting the app, and a short vite.config.ts where you add aliases, a proxy, Tailwind, and Vitest as you need them.
Scaffold a project with the react-ts template, add the @ alias and typed environment variables first, and set up Vitest before you write many components so testing becomes a habit. If you're moving an existing app over, the Create React App to Vite migration guide walks through each step in order.