Code Splitting in React with React.lazy and Suspense
A single-page app usually ships as one big JavaScript file. Every route, every chart library, every rich text editor, and every admin screen gets downloaded, parsed, and executed before the user sees anything, even if they only came to read the landing page. On a fast laptop you barely notice. On a mid-range phone over a mobile connection, it's seconds of blank screen.
Code splitting fixes this by breaking the bundle into smaller chunks that load on demand. React has built-in support through React.lazy and Suspense: you mark a component as lazy, the bundler puts it in its own file, and React loads that file the first time the component renders.
In this post you'll learn how dynamic imports and React.lazy work, where to place Suspense boundaries, how to split by route and by component, how to preload chunks before the user needs them, how to avoid jarring loading states with transitions, and how to recover when a chunk fails to download.
Dynamic Imports: The Foundation
Code splitting starts with the dynamic import() expression. A static import is resolved at build time and bundled together:
import { formatReport } from "./report-utils";
A dynamic import returns a promise and tells the bundler to create a separate chunk:
async function exportReport(data: unknown[]) {
  const { formatReport } = await import("./report-utils");
  return formatReport(data);
}
Vite, webpack, Rollup, and esbuild all understand this syntax. When you build, report-utils and anything only it imports end up in their own file, which is fetched the first time exportReport runs. This works for any code, not just components. Heavy libraries used in one function, like a CSV parser or PDF generator, are great candidates.
React.lazy Basics
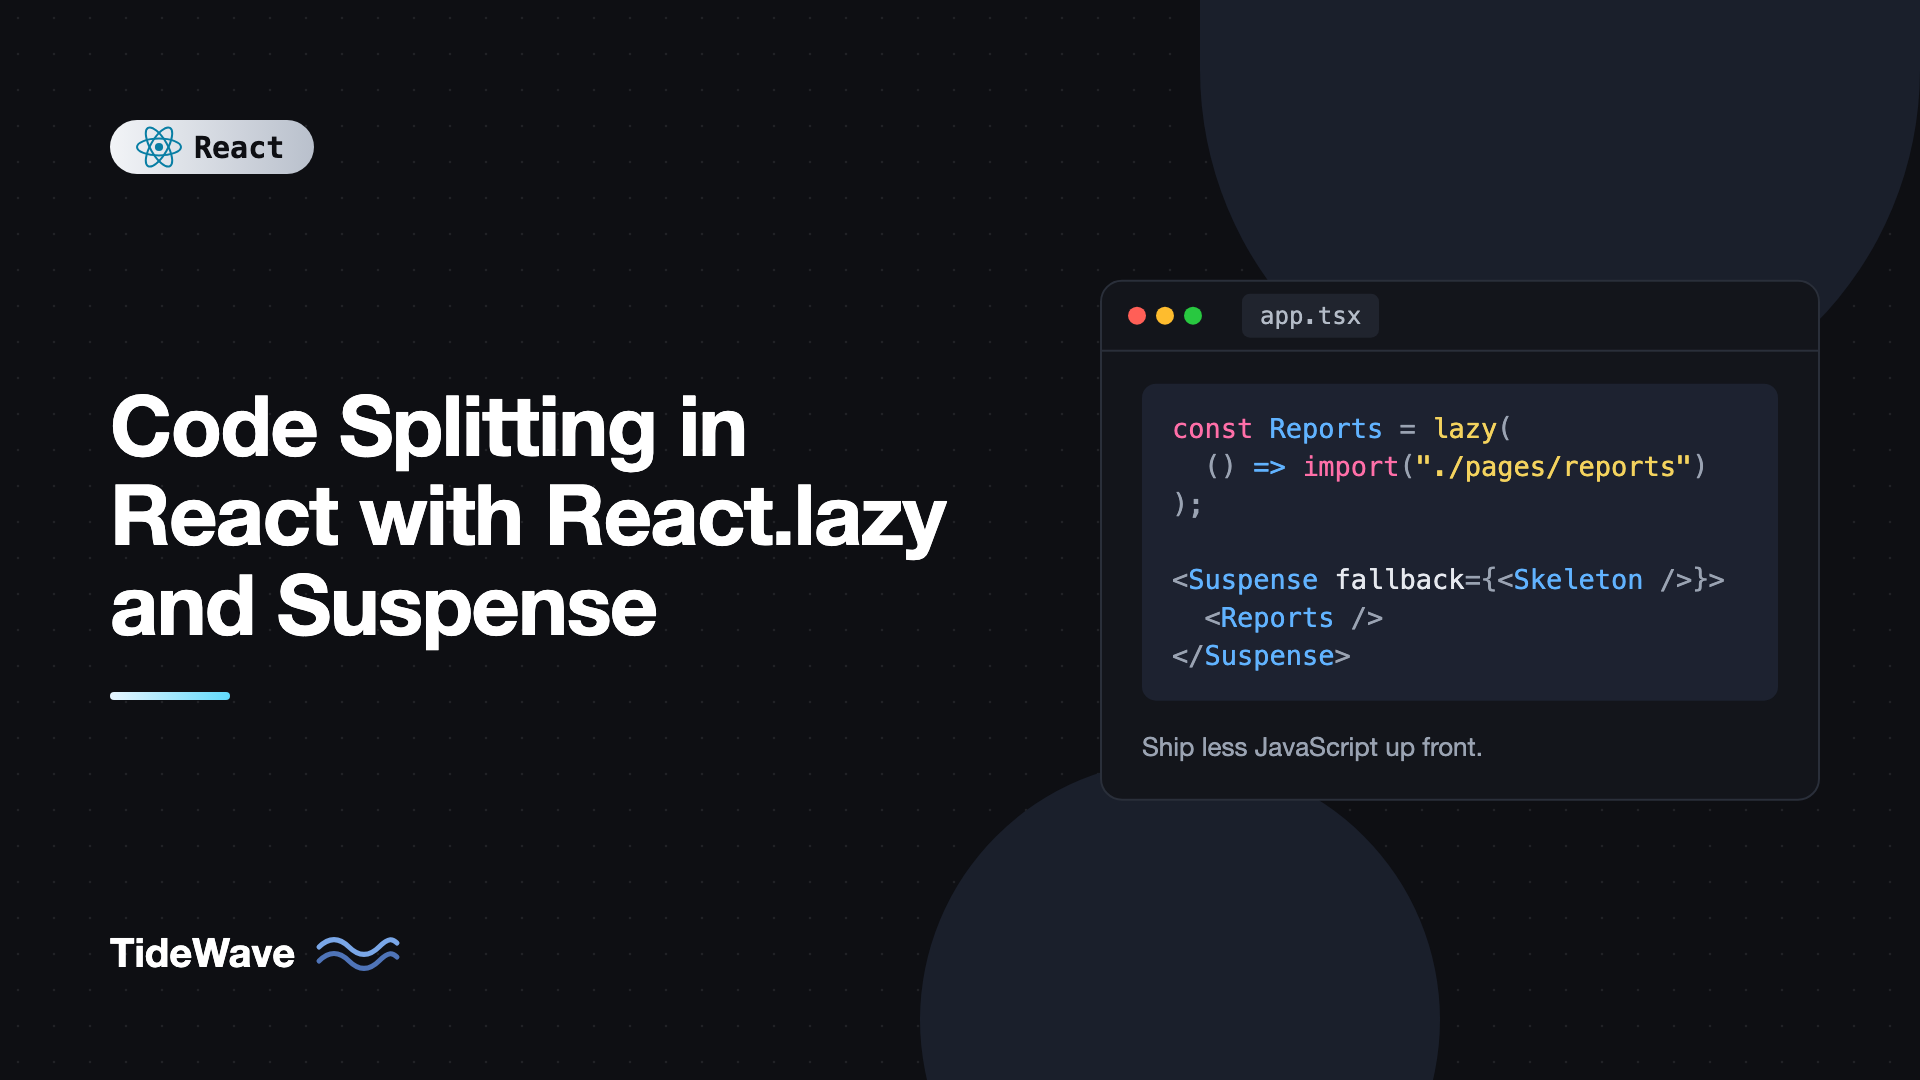
React.lazy wraps a dynamic import so you can render the result as a component:
import { lazy, Suspense } from "react";

const SettingsPanel = lazy(() => import("./settings-panel"));

export function App() {
  return (
    <Suspense fallback={<p>Loading settings...</p>}>
      <SettingsPanel />
    </Suspense>
  );
}
Here's what happens at runtime:
- The first time
SettingsPanelrenders, React calls the import function and starts downloading the chunk. - While the promise is pending, the component suspends. React looks up the tree for the nearest
Suspenseboundary and shows itsfallback. - When the chunk arrives, React renders
SettingsPanelin place of the fallback. - On later renders the module is already loaded, so it renders immediately with no fallback.
If you're curious how suspending works internally, Suspense for data fetching under the hood walks through the mechanism.
The Default Export Requirement
lazy expects the promise to resolve to a module with a default export that is a component. If your component uses a named export, map it in the import function:
const Chart = lazy(() =>
  import("./charts").then((module) => ({ default: module.RevenueChart })),
);
Declare Lazy Components at Module Level
Always call lazy at the top level of a module, never inside a component:
// Wrong: creates a new lazy component on every render
function Page() {
  const Editor = lazy(() => import("./editor"));
  return <Editor />;
}
Each render would create a brand new component type, so React would unmount the old one, lose all its state, and suspend again. Define it once outside the component.
Placing Suspense Boundaries
A Suspense boundary can wrap any number of lazy components, and it can be placed anywhere above them. Where you put it decides what the user sees while loading.
<Suspense fallback={<FullPageSpinner />}>
  <Header />
  <Sidebar />
  <LazyDashboard />
</Suspense>
With this placement, the header and sidebar are hidden too while LazyDashboard loads, because the whole boundary shows the fallback. Usually you want the boundary as close to the lazy content as possible:
<>
  <Header />
  <Sidebar />
  <Suspense fallback={<DashboardSkeleton />}>
    <LazyDashboard />
  </Suspense>
</>
Now the shell stays visible and only the content area shows a skeleton. A good rule: place boundaries around regions that make sense to load as a unit, and make fallbacks match the size and shape of the real content so the layout doesn't jump.
Boundaries can also nest. An outer boundary for the page and inner boundaries for slow widgets let the page appear first and fill in the rest as chunks arrive.
Route-Based Code Splitting
Routes are the most natural split points. Users visit one page at a time, and many never visit the settings or admin pages at all. Splitting per route gives the biggest win for the least effort.
With React.lazy in Declarative Routes
// src/app.tsx
import { lazy, Suspense } from "react";
import { BrowserRouter, Route, Routes } from "react-router";
import { AppLayout } from "./app-layout";
import Home from "./pages/home";

const Dashboard = lazy(() => import("./pages/dashboard"));
const Reports = lazy(() => import("./pages/reports"));
const Settings = lazy(() => import("./pages/settings"));

export function App() {
  return (
    <BrowserRouter>
      <Routes>
        <Route element={<AppLayout />}>
          <Route index element={<Home />} />
          <Route path="dashboard" element={<Dashboard />} />
          <Route path="reports" element={<Reports />} />
          <Route path="settings" element={<Settings />} />
        </Route>
      </Routes>
    </BrowserRouter>
  );
}
The home page stays in the main bundle because it's the most common entry point. Put the Suspense boundary in AppLayout around the Outlet, so the navigation stays visible while a page chunk loads:
// src/app-layout.tsx
import { Suspense } from "react";
import { Outlet } from "react-router";
import { Nav } from "./nav";

export function AppLayout() {
  return (
    <div className="layout">
      <Nav />
      <main>
        <Suspense fallback={<div className="page-skeleton" aria-busy="true" />}>
          <Outlet />
        </Suspense>
      </main>
    </div>
  );
}
With the Route lazy Property in Data Mode
If you use createBrowserRouter, React Router has its own lazy option on route objects. It loads the route module, including its loader and action, before rendering, so you don't need React.lazy or a Suspense boundary for it:
// src/router.tsx
import { createBrowserRouter } from "react-router";
import { AppLayout } from "./app-layout";
import Home from "./pages/home";

export const router = createBrowserRouter([
  {
    path: "/",
    Component: AppLayout,
    children: [
      { index: true, Component: Home },
      { path: "reports", lazy: () => import("./pages/reports") },
      { path: "settings", lazy: () => import("./pages/settings") },
    ],
  },
]);
// src/pages/reports.tsx
import { useLoaderData } from "react-router";

export async function loader() {
  const res = await fetch("/api/reports");
  return (await res.json()) as { id: string; title: string }[];
}

export function Component() {
  const reports = useLoaderData<typeof loader>();
  return (
    <ul>
      {reports.map((r) => (
        <li key={r.id}>{r.title}</li>
      ))}
    </ul>
  );
}
The module exports Component and loader by name, and React Router picks them up. The chunk download and the loader both happen during navigation, and the current page stays on screen until everything is ready. Use useNavigation to show a pending indicator, as covered in the React Router v7 beginner's guide.
Component-Level Code Splitting
Some components are heavy and only appear after user interaction: modals, rich text editors, charts, map widgets, emoji pickers. These are perfect for lazy loading even inside a page that's already loaded.
// src/pages/post-editor.tsx
import { lazy, Suspense, useState } from "react";

const MarkdownPreview = lazy(() => import("../components/markdown-preview"));

export default function PostEditor() {
  const [text, setText] = useState("");
  const [showPreview, setShowPreview] = useState(false);

  return (
    <div>
      <textarea value={text} onChange={(e) => setText(e.target.value)} />
      <button onClick={() => setShowPreview((v) => !v)}>
        {showPreview ? "Hide preview" : "Show preview"}
      </button>
      {showPreview && (
        <Suspense fallback={<p>Loading preview...</p>}>
          <MarkdownPreview source={text} />
        </Suspense>
      )}
    </div>
  );
}
If MarkdownPreview pulls in a Markdown parser and syntax highlighter, users who never click "Show preview" never download them.
Don't go overboard, though. Every chunk is an extra HTTP request, and splitting a 2 KB button into its own file costs more than it saves. Split at boundaries where the code is large and not needed for the first render.
Preloading Chunks Before They're Needed
Lazy loading trades bundle size for a delay at the moment of use. You can hide most of that delay by starting the download a little earlier, when the user shows intent.
The trick is that dynamic imports are cached by the module system. Calling the same import function twice only downloads the file once. So you can keep a reference to the import function and call it early:
// src/components/lazy-with-preload.ts
import { lazy, type ComponentType } from "react";

export function lazyWithPreload<T extends ComponentType<any>>(
  factory: () => Promise<{ default: T }>,
) {
  const Component = lazy(factory);
  return Object.assign(Component, { preload: factory });
}
import { Link } from "react-router";
import { lazyWithPreload } from "./components/lazy-with-preload";

export const Reports = lazyWithPreload(() => import("./pages/reports"));

export function ReportsLink() {
  return (
    <Link
      to="/reports"
      onMouseEnter={() => Reports.preload()}
      onFocus={() => Reports.preload()}
    >
      Reports
    </Link>
  );
}
Hovering or focusing the link usually gives you a few hundred milliseconds of head start, which is often enough for the chunk to be ready by the time the click happens. You can also preload likely next steps after the main page has finished loading, for example with requestIdleCallback.
In data mode, React Router's Link supports prefetch only in framework mode, so the manual approach above is the way to go for route modules in a plain SPA. Call the same import("./pages/reports") used by the route's lazy and the module is shared.
Avoiding Fallback Flashes With Transitions
When a lazy component is already on screen and something causes a new lazy component to render in the same boundary, React normally replaces the visible content with the fallback. Switching tabs in a lazily loaded tab panel, for example, would flash a spinner.
Wrapping the state update in startTransition tells React the update can wait. React keeps showing the old UI until the new chunk is ready instead of falling back:
import { lazy, Suspense, useState, useTransition } from "react";

const tabs = {
  overview: lazy(() => import("./tabs/overview")),
  activity: lazy(() => import("./tabs/activity")),
  billing: lazy(() => import("./tabs/billing")),
};

type TabName = keyof typeof tabs;

export function AccountTabs() {
  const [tab, setTab] = useState<TabName>("overview");
  const [isPending, startTransition] = useTransition();
  const ActiveTab = tabs[tab];

  return (
    <div>
      <div role="tablist">
        {(Object.keys(tabs) as TabName[]).map((name) => (
          <button
            key={name}
            role="tab"
            aria-selected={tab === name}
            onClick={() => startTransition(() => setTab(name))}
          >
            {name}
          </button>
        ))}
      </div>
      <div style={{ opacity: isPending ? 0.6 : 1 }}>
        <Suspense fallback={<p>Loading tab...</p>}>
          <ActiveTab />
        </Suspense>
      </div>
    </div>
  );
}
The first load still shows the fallback, since there's nothing to keep on screen. After that, tab switches dim the current content briefly instead of flashing. React Router already wraps navigations in transitions, which is why route changes keep the old page visible. More on this in useTransition and useDeferredValue for smoother UIs.
Handling Failed Chunk Loads
Chunks can fail to load. The network drops, or, very commonly, you deploy a new version and the old chunk filenames no longer exist on the server while a user still has the old app open. When import() rejects, the lazy component throws, and you need an error boundary to catch it.
// src/components/chunk-error-boundary.tsx
import { Component, type ErrorInfo, type ReactNode } from "react";

type Props = { children: ReactNode };
type State = { error: Error | null };

export class ChunkErrorBoundary extends Component<Props, State> {
  state: State = { error: null };

  static getDerivedStateFromError(error: Error): State {
    return { error };
  }

  componentDidCatch(error: Error, info: ErrorInfo) {
    console.error("Chunk failed to load", error, info.componentStack);
  }

  render() {
    if (this.state.error) {
      return (
        <div role="alert">
          <p>This part of the app failed to load. You may be offline, or a new version is available.</p>
          <button onClick={() => window.location.reload()}>Reload</button>
        </div>
      );
    }
    return this.props.children;
  }
}
Wrap your Suspense boundaries with it. A full reload is the right fix for stale deployments, because it fetches the new index.html with the new chunk names. React caches a rejected lazy import, so retrying without a reload won't help. Error boundaries in React covers boundaries in more depth.
Vite also fires a vite:preloadError event on window when a dynamic import fails, which you can use to trigger a reload globally:
// src/main.tsx
window.addEventListener("vite:preloadError", () => {
  window.location.reload();
});
Guard against reload loops in production, for example by storing a timestamp in sessionStorage and only reloading once per minute.
Measuring the Result
Code splitting is only worth it if it shrinks what loads first. Check your build output:
npm run build
Vite prints each chunk with its size and gzip size. For a visual breakdown, add rollup-plugin-visualizer:
npm install -D rollup-plugin-visualizer
// vite.config.ts
import { defineConfig } from "vite";
import react from "@vitejs/plugin-react";
import { visualizer } from "rollup-plugin-visualizer";

export default defineConfig({
  plugins: [react(), visualizer({ open: true, gzipSize: true })],
});
Look for large libraries in the main chunk that are only used on one page. Those are your next split points. The post on optimizing bundle size in React applications goes further with tree shaking and dependency auditing.
Common Mistakes With React.lazy
- Calling
lazyinside a component. It creates a new component type every render and resets state. Declare it at module level. - One giant boundary at the root. The whole app turns into a spinner whenever any chunk loads. Put boundaries close to the lazy content.
- No error boundary. A failed chunk load crashes the tree. Wrap lazy content and offer a reload.
- Lazy loading the landing page. The first page should be in the main bundle, or users wait for two requests instead of one.
- Splitting tiny components. The request overhead outweighs the savings. Split big, rarely used code.
- Statically importing the same module elsewhere. If any file imports
./pages/reportsnormally, the bundler keeps it in the main chunk and the split does nothing.
Frequently Asked Questions (FAQ) About Code Splitting in React
Yes, in React 18 and later lazy works with streaming server rendering and Suspense. Frameworks like Next.js and React Router framework mode also do route-level splitting automatically, so you rarely need lazy for routes there.
Not directly. lazy expects a module with a default export. Map the named export in the import function by returning an object with default set to the component you want.
No. One boundary can cover several lazy components, and it shows its fallback until all of them inside it are ready. Use separate boundaries when parts of the UI should appear independently.
Usually because lazy is called inside a component, which creates a new component type on each render. Move the lazy call to the top level of the module so the loaded module is reused.
Wrap the state change that renders new lazy content in startTransition, so React keeps the old UI until the chunk is ready. Preloading on hover or focus also helps, since the chunk often finishes before the click.
Users with the old app open still reference old chunk filenames. If your server deleted them, those imports fail. Catch the error with an error boundary or Vite's preload error event and reload the page, and consider keeping old assets around for a while after deploys.
Conclusion
Code splitting lets you ship only the JavaScript a user needs for the screen in front of them. Dynamic import() creates the chunks, React.lazy turns them into components, and Suspense decides what to show while they load. Start with routes, where splits are natural and big, then move to heavy components like editors, charts, and modals that appear only after an interaction.
Polish the experience by placing boundaries close to the content, preloading on hover or focus, and using transitions to avoid fallback flashes. Wrap lazy content in an error boundary so a failed download offers a reload instead of a blank screen. Then run a build, check the chunk sizes, and keep splitting where the numbers tell you it matters.