React Router v7: A Complete Beginner's Guide
A React app without a router is a single screen. As soon as you need a home page, a product page, and a settings page that each have their own URL, work with the back button, and can be bookmarked or shared, you need client-side routing. React Router is the most widely used library for that, and version 7 is a big step forward.
React Router v7 merged the old react-router-dom package into react-router, absorbed most of what Remix used to do, and now supports three ways of working: a simple declarative mode, a data mode with loaders and actions, and a full framework mode. That flexibility is great, but it also makes the docs confusing when you're just starting.
This guide focuses on what a beginner needs. You'll install React Router v7 in a Vite project, define routes, navigate with links, read URL and search params, load data with loaders, handle form submissions with actions, and show useful errors. By the end you'll have a small but realistic app structure you can grow from.
The Three Modes in React Router v7
Before writing code, it helps to know which mode you're using:
- Declarative mode uses
<BrowserRouter>,<Routes>, and<Route>as JSX. It handles URL matching and navigation, and nothing else. This is closest to React Router v6's classic API. - Data mode uses
createBrowserRouterand route objects. It adds loaders, actions, pending states, and error boundaries per route. - Framework mode uses the React Router Vite plugin with file-based route config, type generation, server rendering, and code splitting built in. It's what Remix became.
This guide uses data mode. It gives you loaders and actions, which are the most useful features in v7, while still being a plain Vite single-page app you fully control. Everything you learn transfers to framework mode later.
Installing React Router
Create a Vite project with the React and TypeScript template, then install the router:
npm create vite@latest router-demo -- --template react-ts
cd router-demo
npm install react-router
That's the only package you need. In v7, everything is imported from react-router. The old react-router-dom package still exists as a re-export to ease upgrades, but new projects shouldn't use it.
Defining Your First Routes
Routes are plain objects with a path and the component to render. Create the router once, outside any component, and hand it to RouterProvider:
// src/main.tsx
import { StrictMode } from "react";
import { createRoot } from "react-dom/client";
import { createBrowserRouter, RouterProvider } from "react-router";
import RootLayout from "./routes/root-layout";
import Home from "./routes/home";
import About from "./routes/about";
import NotFound from "./routes/not-found";

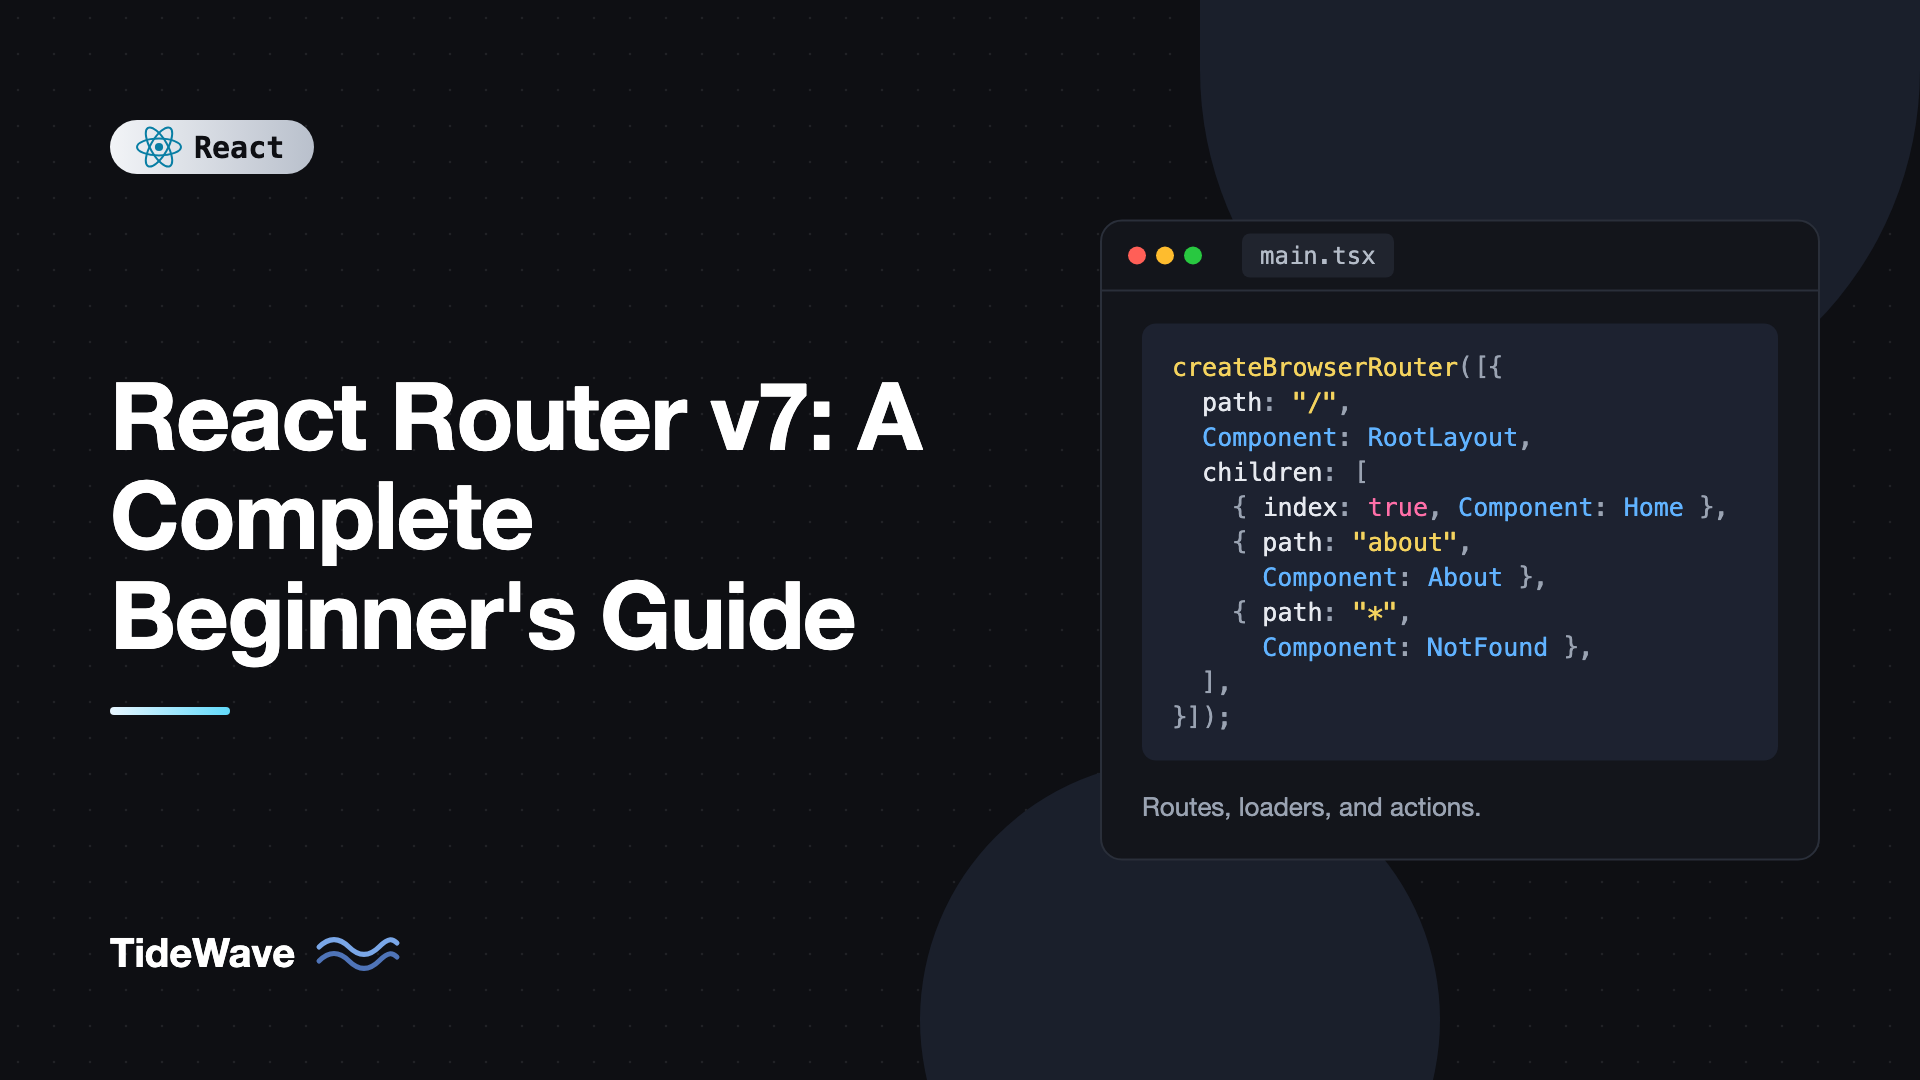
const router = createBrowserRouter([
  {
    path: "/",
    Component: RootLayout,
    children: [
      { index: true, Component: Home },
      { path: "about", Component: About },
      { path: "*", Component: NotFound },
    ],
  },
]);

createRoot(document.getElementById("root")!).render(
  <StrictMode>
    <RouterProvider router={router} />
  </StrictMode>,
);
A few things to notice:
Componenttakes the component itself. You can also useelement: <Home />if you prefer, butComponentis shorter.index: truemarks the route that renders at the parent's exact path, here/.- Child paths are relative.
"about"under"/"matches/about. "*"is a splat route that catches anything that didn't match, which makes a simple 404 page.
Layouts and the Outlet
The RootLayout above is a parent route. It renders shared UI like a header, and an <Outlet /> where the matching child route appears:
// src/routes/root-layout.tsx
import { NavLink, Outlet } from "react-router";

export default function RootLayout() {
  return (
    <>
      <header>
        <nav>
          <NavLink to="/" end>
            Home
          </NavLink>
          <NavLink to="/about">About</NavLink>
          <NavLink to="/products">Products</NavLink>
        </nav>
      </header>
      <main>
        <Outlet />
      </main>
    </>
  );
}
When you visit /about, React Router renders RootLayout and puts About in place of the Outlet. The header stays mounted while you navigate between children, so it doesn't flash or lose state. Layouts can nest as deep as you need, which is covered in detail in nested routes and layouts with React Router.
Navigating Between Pages
Never use a plain <a href> for internal links in a single-page app. It triggers a full page reload. Use React Router's link components instead.
Link and NavLink
<Link to="/about"> renders an anchor that navigates on the client. <NavLink> does the same but knows whether it's active, which is perfect for navigation menus. By default it adds an active class, and you can pass a function to className or style for custom styling:
<NavLink
  to="/products"
  className={({ isActive, isPending }) =>
    isActive ? "nav-link active" : isPending ? "nav-link pending" : "nav-link"
  }
>
  Products
</NavLink>
The end prop on the Home link matters. Without it, / would count as active on every page, since every path starts with /.
Navigating in Code
Sometimes you need to navigate after an event, like a successful login. Use the useNavigate hook:
import { useNavigate } from "react-router";

export function LogoutButton() {
  const navigate = useNavigate();

  async function handleLogout() {
    await fetch("/api/logout", { method: "POST" });
    navigate("/", { replace: true });
  }

  return <button onClick={handleLogout}>Log out</button>;
}
replace: true replaces the current history entry, so pressing Back doesn't return to a page the user can no longer see. You can also call navigate(-1) to go back one step.
Dynamic Segments and URL Params
Most apps have pages for individual items: /products/42, /users/sajjad. Define a dynamic segment with a colon:
{
  path: "products/:productId",
  Component: ProductPage,
}
Read the value with useParams:
// src/routes/product-page.tsx
import { useParams } from "react-router";

export default function ProductPage() {
  const { productId } = useParams();
  return <h1>Product {productId}</h1>;
}
Params are always strings (or undefined), so convert them with Number() when you need a number. You can make a segment optional with a question mark, like ":lang?/about".
Search Params for Filters and Sorting
Query strings like ?sort=price&page=2 are ideal for UI state that should survive a refresh or be shareable: filters, sorting, pagination, and search terms. useSearchParams works like useState, but the state lives in the URL:
// src/routes/products.tsx
import { useSearchParams } from "react-router";

export default function ProductFilters() {
  const [searchParams, setSearchParams] = useSearchParams();
  const sort = searchParams.get("sort") ?? "name";

  return (
    <select
      value={sort}
      onChange={(event) =>
        setSearchParams((prev) => {
          prev.set("sort", event.target.value);
          prev.delete("page");
          return prev;
        })
      }
    >
      <option value="name">Name</option>
      <option value="price">Price</option>
    </select>
  );
}
The functional form of setSearchParams keeps other params intact, and resetting page when the sort changes avoids showing page 5 of a freshly sorted list.
Loading Data With Loaders
Here's where data mode shines. Instead of fetching in a useEffect after the component renders, you attach a loader to the route. React Router calls it before rendering the route, in parallel with loaders of other matched routes, and gives the result to the component through useLoaderData.
// src/routes/product-page.tsx
import { useLoaderData, type LoaderFunctionArgs } from "react-router";

type Product = { id: number; title: string; price: number; description: string };

export async function loader({ params }: LoaderFunctionArgs) {
  const res = await fetch(`https://dummyjson.com/products/${params.productId}`);
  if (res.status === 404) {
    throw new Response("Product not found", { status: 404 });
  }
  if (!res.ok) throw new Error("Failed to load product");
  return (await res.json()) as Product;
}

export default function ProductPage() {
  const product = useLoaderData<typeof loader>();

  return (
    <article>
      <h1>{product.title}</h1>
      <p>${product.price}</p>
      <p>{product.description}</p>
    </article>
  );
}
Register the loader on the route:
import ProductPage, { loader as productLoader } from "./routes/product-page";

// inside children
{ path: "products/:productId", Component: ProductPage, loader: productLoader },
Loaders remove a whole class of bugs. There's no loading flag to manage inside the component, no race when the user clicks through products quickly (React Router cancels stale loads), and no request waterfall between parent and child routes. Loaders also receive a request with an AbortSignal at request.signal, which you can pass to fetch.
Showing Pending UI
While a loader runs, React Router keeps the current page on screen. Use useNavigation in your layout to show that something is happening:
import { Outlet, useNavigation } from "react-router";

export function MainContent() {
  const navigation = useNavigation();
  const isLoading = navigation.state === "loading";

  return (
    <main style={{ opacity: isLoading ? 0.6 : 1 }}>
      <Outlet />
    </main>
  );
}
navigation.state is "idle", "loading", or "submitting". A dimmed page or a slim progress bar at the top usually feels better than replacing the page with a spinner.
Handling Forms With Actions
Actions are the write side of loaders. A <Form> from React Router submits to the route's action instead of the server, and after the action finishes, React Router automatically re-runs the loaders on the page so the UI shows fresh data.
// src/routes/new-product.tsx
import {
  Form,
  redirect,
  useActionData,
  useNavigation,
  type ActionFunctionArgs,
} from "react-router";

export async function action({ request }: ActionFunctionArgs) {
  const formData = await request.formData();
  const title = String(formData.get("title") ?? "").trim();

  if (title.length < 3) {
    return { error: "Title must be at least 3 characters" };
  }

  const res = await fetch("https://dummyjson.com/products/add", {
    method: "POST",
    headers: { "Content-Type": "application/json" },
    body: JSON.stringify({ title }),
  });
  const created: { id: number } = await res.json();

  return redirect(`/products/${created.id}`);
}

export default function NewProduct() {
  const actionData = useActionData<typeof action>();
  const navigation = useNavigation();
  const isSubmitting = navigation.state === "submitting";

  return (
    <Form method="post">
      <label>
        Title <input name="title" required />
      </label>
      {actionData?.error && <p role="alert">{actionData.error}</p>}
      <button type="submit" disabled={isSubmitting}>
        {isSubmitting ? "Saving..." : "Create product"}
      </button>
    </Form>
  );
}
Returning an object makes it available through useActionData, which is how you show validation errors. Returning redirect() sends the user to a new page. The form works with regular FormData, so you don't need controlled inputs for every field. If you want to go further on validation, see client-side form validation patterns in React.
For submissions that shouldn't navigate, like a "like" button or toggling a todo, use useFetcher. It gives you a fetcher.Form that calls an action without changing the URL.
Handling Errors
Things go wrong: a product doesn't exist, an API is down, a component throws. Each route can define an ErrorBoundary that renders in place of the route when its loader, action, or component throws:
// src/routes/root-error.tsx
import { isRouteErrorResponse, Link, useRouteError } from "react-router";

export default function RootError() {
  const error = useRouteError();

  if (isRouteErrorResponse(error)) {
    return (
      <div>
        <h1>
          {error.status} {error.statusText}
        </h1>
        <p>{error.data}</p>
        <Link to="/">Go home</Link>
      </div>
    );
  }

  return (
    <div>
      <h1>Something went wrong</h1>
      <p>{error instanceof Error ? error.message : "Unknown error"}</p>
    </div>
  );
}
Attach it with ErrorBoundary: RootError on the root route. When the product loader throws a 404 Response, isRouteErrorResponse is true and you get the status and message. Errors bubble up to the nearest route that has an ErrorBoundary, so you can add one to a child route to keep the layout visible while only the broken section shows an error. For errors outside routing, React's own error boundaries still apply.
Putting the Route Tree Together
Here's the full router for the small app built in this guide:
const router = createBrowserRouter([
  {
    path: "/",
    Component: RootLayout,
    ErrorBoundary: RootError,
    children: [
      { index: true, Component: Home },
      { path: "about", Component: About },
      {
        path: "products",
        children: [
          { index: true, Component: ProductList, loader: productListLoader },
          { path: "new", Component: NewProduct, action: newProductAction },
          { path: ":productId", Component: ProductPage, loader: productLoader },
        ],
      },
      { path: "*", Component: NotFound },
    ],
  },
]);
The products route has no component of its own, so it only groups paths. React Router ranks routes by specificity, so products/new wins over products/:productId regardless of order.
Common Mistakes When Learning React Router
- Importing from
react-router-dom. It works for now, but in v7 everything lives inreact-router. Use one package consistently. - Creating the router inside a component.
createBrowserRoutershould run once at module level. Creating it during render resets routing state on every render. - Using
<a href>for internal links. It reloads the whole app. UseLinkorNavLink. - Fetching in
useEffectwhen a loader would do. In data mode, loaders avoid waterfalls, race conditions, and loading-state boilerplate. - Forgetting the
endprop on the homeNavLink. Otherwise the home link looks active on every page. - Forgetting the server fallback. In production, your host must serve
index.htmlfor unknown paths, or refreshing/products/42returns a 404 from the server.
Frequently Asked Questions (FAQ) About React Router v7
In v7 the packages were merged, and react-router contains everything, including the browser-specific components. react-router-dom is kept only as a thin re-export so v6 apps can upgrade gradually. New projects should install and import from react-router.
Use declarative mode if you only need URL matching and already handle data another way, for example with TanStack Query. Use data mode for a client-side app that benefits from loaders, actions, and route error boundaries. Use framework mode for new full-stack apps that want server rendering, file-based routes, and type generation.
Usually not. If you enabled the v6 future flags, v7 is close to a drop-in upgrade. The main steps are switching imports to react-router and checking the few behaviors the future flags changed, like relative paths in splat routes.
Yes. A common pattern is to call queryClient.ensureQueryData inside a loader so data starts loading before render, then read it with useQuery in the component. You get early fetching from the router and caching from TanStack Query.
The server looks for a file at that path and doesn't find one. Configure your host to fall back to index.html for all unknown routes, so the React app can load and let React Router handle the URL.
In data mode, check the session in a loader and throw redirect to the login page when the user isn't authenticated. Put that check in a parent layout route so every child page is covered at once.
Conclusion
React Router v7 gives you everything you need to turn a single-screen React app into a real multi-page application. You define route objects with createBrowserRouter, render shared layouts with Outlet, navigate with Link, NavLink, and useNavigate, and read state from the URL with useParams and useSearchParams. Loaders fetch data before a page renders, actions handle form submissions and revalidate automatically, and route error boundaries keep failures contained.
From here, try adding a second level of layouts, a useFetcher for an inline action, and a protected section that redirects to login. Once you're comfortable with loaders and actions in data mode, framework mode is a natural next step, because it uses the same route concepts with file-based configuration and server rendering on top.