Nested Routes and Layouts with React Router
Look at almost any dashboard app and you'll see layers. There's an outer shell with a top bar. Inside it, a settings section with its own sidebar. Inside that, tabs for profile, billing, and notifications. Each layer stays put while the layer inside it changes, and the URL reflects every level: /settings/billing/invoices.
If you build that by hand, you end up repeating the header and sidebar in every page component, or passing layout props around until nobody remembers where the sidebar comes from. React Router solves this with nested routes: the route tree mirrors the UI tree, and each parent renders an <Outlet /> where its matching child goes.
This post walks through nested routes and layouts in React Router v7 using data mode. You'll see how the route tree maps to components, how index routes and pathless layout routes work, how to share data between levels with outlet context and useRouteLoaderData, how to build breadcrumbs from route matches, and how to contain errors to one section of the page.
How Nested Routes Map to the UI
The key idea is simple: when a URL matches a route, React Router also matches every parent of that route, from the root down. It renders the outermost component first, then renders the next match inside that component's <Outlet />, and so on.
Take this URL: /settings/billing. With the route tree below, three routes match:
// src/router.tsx
import { createBrowserRouter } from "react-router";
import AppLayout from "./routes/app-layout";
import Dashboard from "./routes/dashboard";
import SettingsLayout from "./routes/settings-layout";
import ProfileSettings from "./routes/profile-settings";
import BillingSettings from "./routes/billing-settings";

export const router = createBrowserRouter([
  {
    path: "/",
    Component: AppLayout,
    children: [
      { index: true, Component: Dashboard },
      {
        path: "settings",
        Component: SettingsLayout,
        children: [
          { index: true, Component: ProfileSettings },
          { path: "billing", Component: BillingSettings },
        ],
      },
    ],
  },
]);
The matched chain is AppLayout -> SettingsLayout -> BillingSettings. The rendered output is equivalent to:
<AppLayout>
  <SettingsLayout>
    <BillingSettings />
  </SettingsLayout>
</AppLayout>
Except you never write that nesting yourself. Each layout just renders an <Outlet />, and React Router fills it in.
Writing Layout Components With Outlet
The app shell renders the top bar and an outlet:
// src/routes/app-layout.tsx
import { Link, NavLink, Outlet } from "react-router";

export default function AppLayout() {
  return (
    <div className="app">
      <header className="topbar">
        <Link to="/" className="logo">
          Acme
        </Link>
        <nav>
          <NavLink to="/" end>
            Dashboard
          </NavLink>
          <NavLink to="/settings">Settings</NavLink>
        </nav>
      </header>
      <main className="content">
        <Outlet />
      </main>
    </div>
  );
}
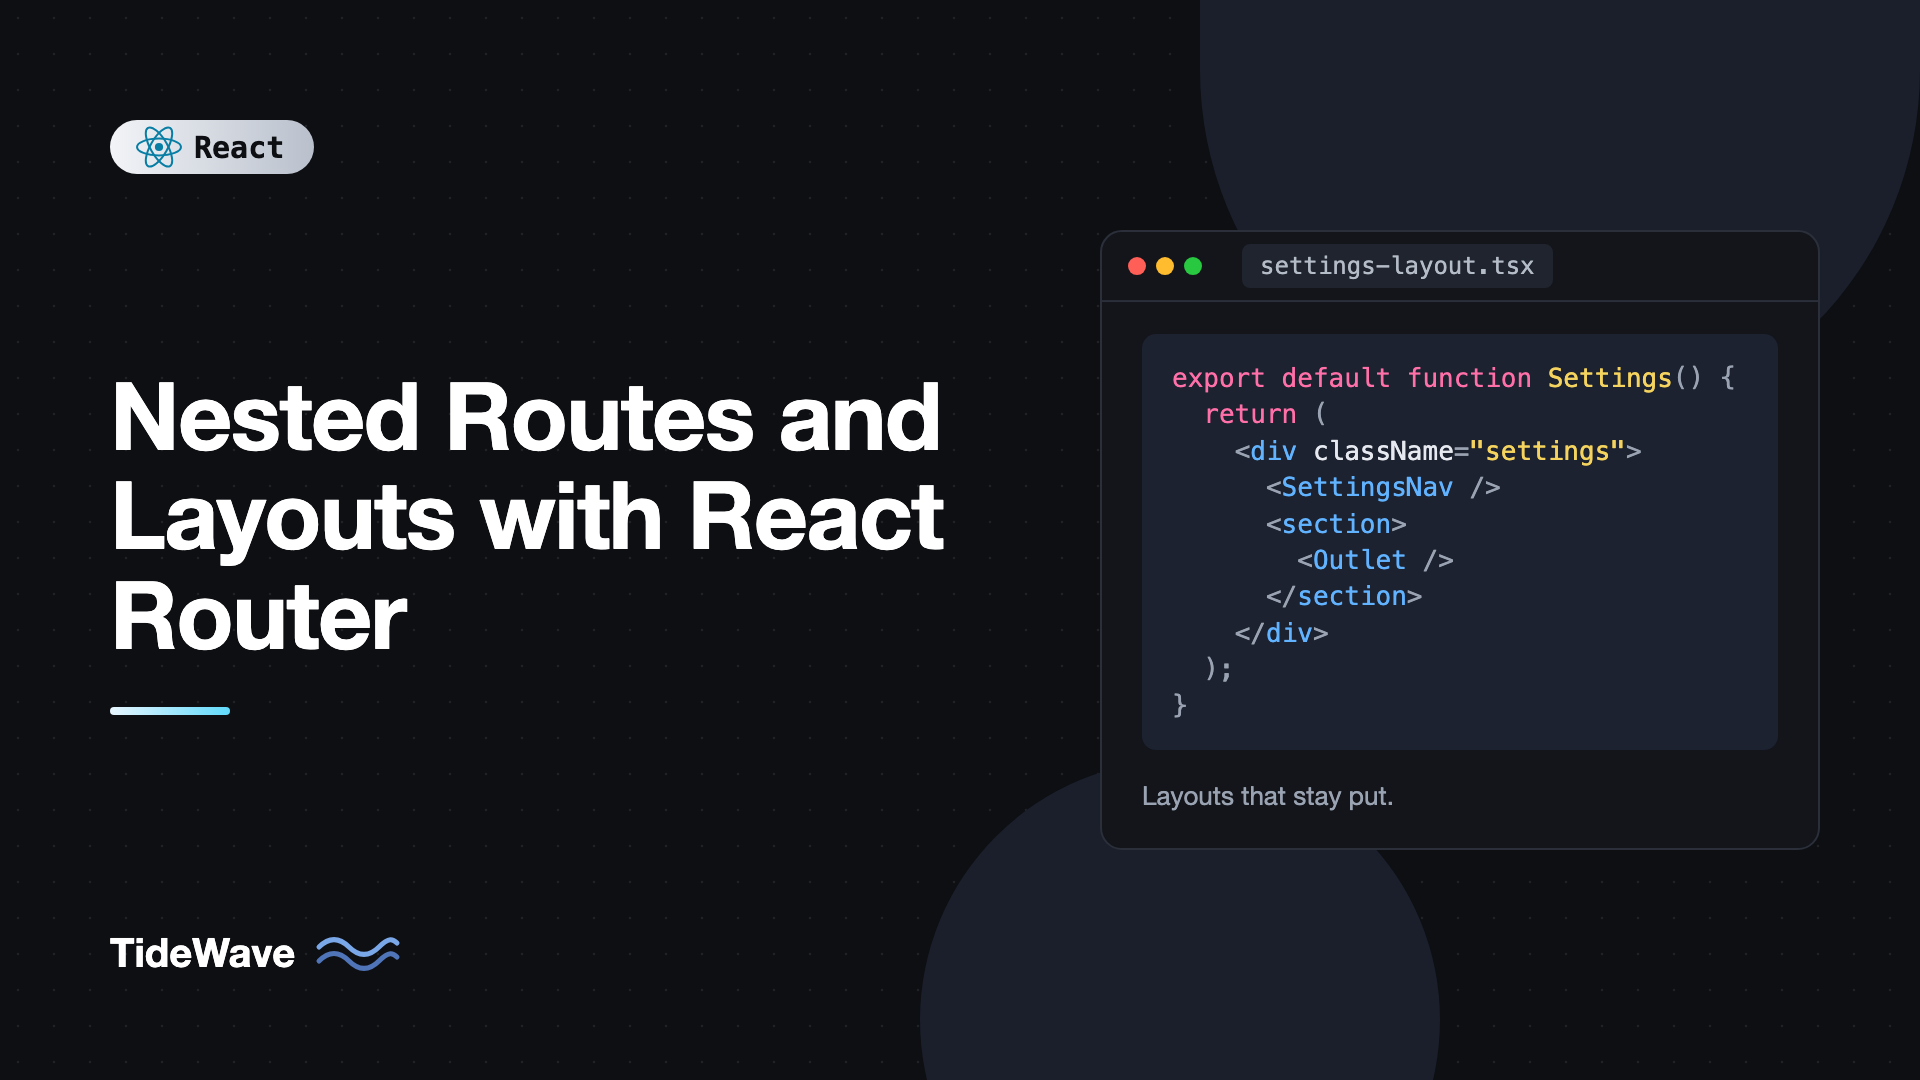
The settings section adds its own sidebar and another outlet:
// src/routes/settings-layout.tsx
import { NavLink, Outlet } from "react-router";

export default function SettingsLayout() {
  return (
    <div className="settings">
      <aside className="settings-nav">
        <NavLink to="." end>
          Profile
        </NavLink>
        <NavLink to="billing">Billing</NavLink>
        <NavLink to="notifications">Notifications</NavLink>
      </aside>
      <section className="settings-body">
        <Outlet />
      </section>
    </div>
  );
}
When you click from Profile to Billing, only the content inside settings-body changes. AppLayout and SettingsLayout stay mounted, which means any state they hold, like a collapsed sidebar or an open dropdown, survives navigation. That's a real UX win over re-rendering the whole page.
Relative Links
Notice the links in the settings sidebar: ".", "billing", "notifications". Links without a leading slash resolve relative to the route that renders them, not the current URL. Since SettingsLayout is the settings route, to="billing" always goes to /settings/billing, even when you're already on /settings/notifications.
That makes sections portable. If you later move settings under /account/settings, you change one path in the router and every relative link inside the section still works. You can also use ".." to go up one route level, for example a "Back to list" link from a detail page.
Index Routes
An index route renders at its parent's exact path. In the tree above, /settings shows ProfileSettings in the settings outlet. Without an index route, visiting /settings would render the sidebar with an empty outlet.
You can think of an index route as the default child. Some common uses:
- A dashboard overview at
/. - The first tab of a tabbed section, like profile at
/settings. - A "select an item" placeholder in a list-detail layout, shown until an item is chosen.
Index routes can't have children, since they're always the leaf of their branch.
Pathless Layout Routes
Sometimes you want a shared layout without adding a URL segment. For example, your login and signup pages share a centered card layout, but you want their URLs to be /login and /signup, not /auth/login.
Leave out the path and the route becomes a pathless layout route:
export const router = createBrowserRouter([
  {
    // Pathless: wraps children in a layout without changing URLs
    Component: AuthLayout,
    children: [
      { path: "login", Component: Login },
      { path: "signup", Component: Signup },
    ],
  },
  {
    path: "/",
    Component: AppLayout,
    children: [
      { index: true, Component: Dashboard },
      // ...
    ],
  },
]);
// src/routes/auth-layout.tsx
import { Outlet } from "react-router";

export default function AuthLayout() {
  return (
    <div className="auth-page">
      <div className="auth-card">
        <img src="/logo.svg" alt="Acme" width={48} height={48} />
        <Outlet />
      </div>
    </div>
  );
}
Pathless routes are also the cleanest way to protect a group of pages. Put an auth check in the pathless route's loader and every child is covered, which is the approach used in protected routes and authentication flows in React.
Grouping Without a Layout
The opposite case also exists: a route with a path but no Component. It adds a URL prefix without any layout UI. When a route has no component, React Router renders an Outlet for it automatically.
{
  path: "projects",
  children: [
    { index: true, Component: ProjectList },
    { path: ":projectId", Component: ProjectDetail },
  ],
}
Loading Data at Each Level
Every route in the chain can have its own loader. When you navigate to /projects/7/tasks, React Router runs the loaders for all matched routes in parallel, then renders once the data is ready. A parent layout doesn't have to finish fetching before the child starts, so there's no waterfall.
// src/routes/project-layout.tsx
import {
  NavLink,
  Outlet,
  useLoaderData,
  type LoaderFunctionArgs,
} from "react-router";

type Project = { id: string; name: string; owner: string };

export async function loader({ params, request }: LoaderFunctionArgs) {
  const res = await fetch(`/api/projects/${params.projectId}`, {
    signal: request.signal,
  });
  if (res.status === 404) throw new Response("Project not found", { status: 404 });
  return (await res.json()) as Project;
}

export default function ProjectLayout() {
  const project = useLoaderData<typeof loader>();

  return (
    <div>
      <h1>{project.name}</h1>
      <nav className="tabs">
        <NavLink to="." end>
          Overview
        </NavLink>
        <NavLink to="tasks">Tasks</NavLink>
        <NavLink to="members">Members</NavLink>
      </nav>
      <Outlet />
    </div>
  );
}
When the user switches between tabs inside the same project, React Router only re-runs loaders whose params or URL changed. Moving from /projects/7/tasks to /projects/7/members doesn't refetch the project, because the parent's params are the same.
Sharing Data Between Levels
Child routes often need data their parent already loaded. You have two good options.
useRouteLoaderData
Give the parent route an id, then read its loader data from any descendant:
// router config
{
  id: "project",
  path: "projects/:projectId",
  Component: ProjectLayout,
  loader: projectLoader,
  children: [
    { index: true, Component: ProjectOverview },
    { path: "tasks", Component: ProjectTasks, loader: tasksLoader },
  ],
}
// src/routes/project-tasks.tsx
import {
  useLoaderData,
  useRouteLoaderData,
  type LoaderFunctionArgs,
} from "react-router";
import type { loader as projectLoader } from "./project-layout";

type Task = { id: string; title: string };

export async function loader({ params, request }: LoaderFunctionArgs) {
  const res = await fetch(`/api/projects/${params.projectId}/tasks`, {
    signal: request.signal,
  });
  return (await res.json()) as Task[];
}

export default function ProjectTasks() {
  const project = useRouteLoaderData<typeof projectLoader>("project");
  const tasks = useLoaderData<typeof loader>();

  return (
    <section>
      <h2>Tasks for {project?.name}</h2>
      <ul>
        {tasks.map((task) => (
          <li key={task.id}>{task.title}</li>
        ))}
      </ul>
    </section>
  );
}
useRouteLoaderData returns undefined if that route isn't currently matched, so the type includes undefined. This is the best choice for data that came from a loader, because it stays in sync when the router revalidates after an action.
Outlet Context
For UI state owned by the layout, like a selected filter or a callback, pass it through the outlet with context:
// src/routes/inbox-layout.tsx
import { useState } from "react";
import { Outlet, useOutletContext } from "react-router";

type InboxContext = {
  density: "compact" | "comfortable";
  setDensity: (d: "compact" | "comfortable") => void;
};

export default function InboxLayout() {
  const [density, setDensity] = useState<InboxContext["density"]>("comfortable");

  return (
    <div className={`inbox inbox--${density}`}>
      <Outlet context={{ density, setDensity } satisfies InboxContext} />
    </div>
  );
}

export function useInbox() {
  return useOutletContext<InboxContext>();
}
Children call useInbox() to read and update the density. Exporting a typed hook from the layout file keeps the context type in one place. Outlet context only reaches the direct child route rendered by that outlet, so for deeper or app-wide state, regular React context is a better fit.
Breadcrumbs With useMatches and handle
Nested routes give you a free data structure for breadcrumbs: the list of matched routes. Add a handle object to any route with whatever metadata you want, then read it with useMatches:
// router config (excerpt)
{
  path: "settings",
  Component: SettingsLayout,
  handle: { crumb: () => "Settings" },
  children: [
    { index: true, Component: ProfileSettings },
    {
      path: "billing",
      Component: BillingSettings,
      handle: { crumb: () => "Billing" },
    },
  ],
}
// src/components/breadcrumbs.tsx
import { Link, useMatches } from "react-router";

type CrumbHandle = { crumb: (data: unknown) => string };

function hasCrumb(handle: unknown): handle is CrumbHandle {
  return typeof handle === "object" && handle !== null && "crumb" in handle;
}

export function Breadcrumbs() {
  const matches = useMatches();
  const crumbs = matches.filter((m) => hasCrumb(m.handle));

  return (
    <nav aria-label="Breadcrumb">
      <ol className="breadcrumbs">
        {crumbs.map((match, i) => {
          const label = (match.handle as CrumbHandle).crumb(match.loaderData);
          const isLast = i === crumbs.length - 1;
          return (
            <li key={match.id}>
              {isLast ? (
                <span aria-current="page">{label}</span>
              ) : (
                <Link to={match.pathname}>{label}</Link>
              )}
            </li>
          );
        })}
      </ol>
    </nav>
  );
}
Because crumb receives the route's loaderData, a project route can return project.name as its label. Render Breadcrumbs in the app layout and it updates automatically on every navigation.
Containing Errors to One Section
In a nested layout, you don't want one broken widget to replace the whole app with an error page. Add an ErrorBoundary to the route where the error should be caught:
{
  path: "settings",
  Component: SettingsLayout,
  children: [
    { index: true, Component: ProfileSettings },
    {
      path: "billing",
      Component: BillingSettings,
      loader: billingLoader,
      ErrorBoundary: BillingError,
    },
  ],
}
If billingLoader throws, BillingError renders inside the settings outlet. The top bar and the settings sidebar stay on screen, so the user can simply click to another tab. Errors bubble up to the nearest ancestor with an ErrorBoundary, so a single one on the root route acts as the catch-all.
Declarative Mode Equivalent
If you're using declarative mode with <BrowserRouter>, nesting works the same way with JSX:
import { BrowserRouter, Route, Routes } from "react-router";

export function App() {
  return (
    <BrowserRouter>
      <Routes>
        <Route element={<AuthLayout />}>
          <Route path="login" element={<Login />} />
        </Route>
        <Route path="/" element={<AppLayout />}>
          <Route index element={<Dashboard />} />
          <Route path="settings" element={<SettingsLayout />}>
            <Route index element={<ProfileSettings />} />
            <Route path="billing" element={<BillingSettings />} />
          </Route>
        </Route>
      </Routes>
    </BrowserRouter>
  );
}
Outlet, index routes, pathless layouts, relative links, and outlet context all behave identically. Loaders, handle with useMatches, and route error boundaries need data mode.
Best Practices for Nested Routes
- Let the route tree mirror the UI tree. If a piece of UI stays on screen while something inside it changes, it's probably a layout route.
- Use relative links inside sections. They survive refactors when a section moves to a new path.
- Always add an index route to layouts that can be visited directly. An empty outlet looks like a bug.
- Load data where it's used. A parent loader for the project, a child loader for its tasks. Parallel loading keeps it fast.
- Prefer
useRouteLoaderDataover outlet context for loader data. It revalidates automatically and works at any depth. - Add error boundaries at section boundaries. Users can recover by navigating instead of reloading.
Frequently Asked Questions (FAQ) About Nested Routes and Layouts
Outlet is a placeholder in a parent route's component where the matching child route renders. If no child matches, it renders the index route, or nothing if there isn't one. Every layout route needs exactly one outlet for its children to appear.
An index route is a child that renders at its parent's exact URL, like a default tab. A pathless route has no path segment and wraps its children in a layout without changing their URLs. Index routes can't have children, while pathless routes exist only to have them.
No. In data mode, React Router runs the loaders for every matched route in parallel. A child can't read the parent's loader result inside its own loader, so if both need the same data, fetch it in both or use a shared cache.
The layout stays mounted, so its state is preserved. It may re-render if something it reads changes, such as useLocation or its own loader data after revalidation, but it won't unmount and remount.
There's no practical limit. Each level should represent a real layer of UI, though. If a level adds no layout and no shared data, a flat path like projects/:id/settings is often simpler than an extra nested route.
Not directly. Use the context prop on Outlet and read it with useOutletContext in the child. For data from a loader, use useRouteLoaderData with the parent route's id instead.
Conclusion
Nested routes let you describe your UI as layers: an app shell, sections, and pages, with each parent rendering an Outlet for the next level. Index routes give each layout a sensible default, pathless routes share layouts without touching URLs, and relative links keep sections portable. With data mode, every level can load its own data in parallel, share it with useRouteLoaderData, expose metadata through handle for breadcrumbs, and catch its own errors.
If you're new to the router itself, start with the React Router v7 beginner's guide. Then take an existing app and look for repeated headers and sidebars in your page components. Each one is a candidate for a layout route, and moving them into the route tree usually removes a surprising amount of code.