Protected Routes and Authentication Flows in React
Every app with accounts eventually needs the same flow. A visitor opens /dashboard, gets sent to the login page, signs in, and lands back on the dashboard they were trying to reach. An admin page should be off-limits to regular users. Logging out should actually log out, not leave stale data behind the back button.
It sounds simple, but the details trip people up: a flash of protected content before the redirect, a login page that always sends users to / instead of where they came from, auth checks duplicated in every page, and the dangerous assumption that hiding a route in React makes the data behind it safe.
This post builds a complete authentication flow with React Router v7. You'll create an auth context backed by a session cookie, protect routes with a guard component in declarative mode, protect routes with loaders in data mode, redirect users back after login, add role-based access, and handle logout cleanly. Along the way you'll see what client-side protection can and can't do.
What a Protected Route Really Protects
Start with the most important point: protected routes are a UX feature, not a security boundary. Your React bundle is downloaded to the browser, and anyone can read it or flip a boolean in dev tools. What keeps data safe is the server refusing to return it without a valid session.
So a protected route has two jobs:
- Don't show screens that won't work for the current user.
- Send them somewhere useful instead, usually the login page, and bring them back afterward.
Every API endpoint behind those screens must check the session independently. With that settled, let's build the client side.
The Auth API
The examples assume a backend with these endpoints, using an httpOnly session cookie that JavaScript can't read:
GET /api/mereturns the current user, or 401 if not logged in.POST /api/loginwith email and password sets the cookie and returns the user.POST /api/logoutclears the cookie.
httpOnly cookies are the safest default for browser apps because an XSS bug can't steal them. If your API uses access and refresh tokens instead, the routing patterns are the same. The token handling is covered in authentication in React with JWT and refresh tokens.
A small client module wraps these calls:
// src/auth/api.ts
export type User = {
  id: string;
  name: string;
  email: string;
  role: "user" | "admin";
};

export async function fetchCurrentUser(): Promise<User | null> {
  const res = await fetch("/api/me", { credentials: "include" });
  if (res.status === 401) return null;
  if (!res.ok) throw new Error(`Failed to load session: ${res.status}`);
  return res.json();
}

export async function login(email: string, password: string): Promise<User> {
  const res = await fetch("/api/login", {
    method: "POST",
    credentials: "include",
    headers: { "Content-Type": "application/json" },
    body: JSON.stringify({ email, password }),
  });
  if (!res.ok) throw new Error("Invalid email or password");
  return res.json();
}

export async function logout(): Promise<void> {
  await fetch("/api/logout", { method: "POST", credentials: "include" });
}
Approach 1: Auth Context and a Guard Component
This approach works with declarative mode (<BrowserRouter> and <Routes>) and is the most common pattern in existing apps.
The Auth Provider
The provider loads the session once on startup and exposes the user plus login and logout functions:
// src/auth/auth-context.tsx
import { createContext, use, useEffect, useState, type ReactNode } from "react";
import * as api from "./api";

type AuthState = {
  user: api.User | null;
  status: "loading" | "ready";
  signIn: (email: string, password: string) => Promise<void>;
  signOut: () => Promise<void>;
};

const AuthContext = createContext<AuthState | null>(null);

export function AuthProvider({ children }: { children: ReactNode }) {
  const [user, setUser] = useState<api.User | null>(null);
  const [status, setStatus] = useState<AuthState["status"]>("loading");

  useEffect(() => {
    let ignore = false;
    api
      .fetchCurrentUser()
      .then((u) => {
        if (!ignore) setUser(u);
      })
      .catch(() => {
        if (!ignore) setUser(null);
      })
      .finally(() => {
        if (!ignore) setStatus("ready");
      });
    return () => {
      ignore = true;
    };
  }, []);

  async function signIn(email: string, password: string) {
    setUser(await api.login(email, password));
  }

  async function signOut() {
    await api.logout();
    setUser(null);
  }

  return (
    <AuthContext value={{ user, status, signIn, signOut }}>
      {children}
    </AuthContext>
  );
}

export function useAuth() {
  const ctx = use(AuthContext);
  if (!ctx) throw new Error("useAuth must be used inside AuthProvider");
  return ctx;
}
In React 19 you can render the context directly as a provider (<AuthContext value=...>) and read it with use. On React 18, use AuthContext.Provider and useContext. The ignore flag prevents a state update if the effect is cleaned up, which matters in Strict Mode where effects run twice in development.
The Guard Component
The guard is a layout route. It decides whether to render the child routes through an Outlet or redirect:
// src/auth/require-auth.tsx
import { Navigate, Outlet, useLocation } from "react-router";
import { useAuth } from "./auth-context";

export function RequireAuth() {
  const { user, status } = useAuth();
  const location = useLocation();

  if (status === "loading") {
    return <p className="page-loading">Checking your session...</p>;
  }

  if (!user) {
    const from = location.pathname + location.search;
    return <Navigate to={`/login?redirectTo=${encodeURIComponent(from)}`} replace />;
  }

  return <Outlet />;
}
Three details matter here:
- The loading state. Without it, the first render has
user === nulland you'd redirect logged-in users to the login page on every refresh. Waiting for the session check prevents that. replace. It replaces the protected URL in history, so pressing Back on the login page doesn't bounce the user into another redirect.- The return path. The original URL travels in a
redirectToquery param. A query param survives a page refresh on the login page, unlikelocation.state.
Wiring Up the Routes
Because RequireAuth renders an Outlet, you can wrap any group of routes with it as a pathless layout:
// src/app.tsx
import { BrowserRouter, Route, Routes } from "react-router";
import { AuthProvider } from "./auth/auth-context";
import { RequireAuth } from "./auth/require-auth";
import { AppLayout } from "./app-layout";
import { Home, Login, Dashboard, Settings } from "./pages";

export function App() {
  return (
    <AuthProvider>
      <BrowserRouter>
        <Routes>
          <Route path="/" element={<Home />} />
          <Route path="/login" element={<Login />} />
          <Route element={<RequireAuth />}>
            <Route element={<AppLayout />}>
              <Route path="/dashboard" element={<Dashboard />} />
              <Route path="/settings" element={<Settings />} />
            </Route>
          </Route>
        </Routes>
      </BrowserRouter>
    </AuthProvider>
  );
}
One guard protects every route inside it. Adding a new protected page means adding one line inside the group. If pathless layouts are new to you, see nested routes and layouts with React Router.
The Login Page
The login page reads redirectTo, validates it, and navigates there after a successful sign-in:
// src/pages/login.tsx
import { useState, type FormEvent } from "react";
import { Navigate, useNavigate, useSearchParams } from "react-router";
import { useAuth } from "../auth/auth-context";

function safeRedirect(target: string | null, fallback = "/dashboard") {
  if (!target || !target.startsWith("/") || target.startsWith("//")) {
    return fallback;
  }
  return target;
}

export function Login() {
  const { user, signIn } = useAuth();
  const navigate = useNavigate();
  const [searchParams] = useSearchParams();
  const [error, setError] = useState<string | null>(null);
  const [pending, setPending] = useState(false);

  const redirectTo = safeRedirect(searchParams.get("redirectTo"));

  if (user) return <Navigate to={redirectTo} replace />;

  async function handleSubmit(event: FormEvent<HTMLFormElement>) {
    event.preventDefault();
    const data = new FormData(event.currentTarget);
    setPending(true);
    setError(null);
    try {
      await signIn(String(data.get("email")), String(data.get("password")));
      navigate(redirectTo, { replace: true });
    } catch (err) {
      setError((err as Error).message);
    } finally {
      setPending(false);
    }
  }

  return (
    <form onSubmit={handleSubmit}>
      <h1>Sign in</h1>
      <label>
        Email <input name="email" type="email" autoComplete="email" required />
      </label>
      <label>
        Password{" "}
        <input name="password" type="password" autoComplete="current-password" required />
      </label>
      {error && <p role="alert">{error}</p>}
      <button disabled={pending}>{pending ? "Signing in..." : "Sign in"}</button>
    </form>
  );
}
safeRedirect prevents an open redirect. Without it, an attacker could send a link like /login?redirectTo=https://evil.example and your app would forward users there after they log in. Only allowing paths that start with a single / keeps redirects on your own site.
Approach 2: Protecting Routes With Loaders
In data mode (createBrowserRouter), loaders run before a route renders. That's a better place for auth checks: there's no flash of protected UI, no loading state inside the guard, and the redirect happens before any child loader fetches protected data.
// src/auth/session.ts
import { redirect } from "react-router";
import { fetchCurrentUser, type User } from "./api";

let cachedUser: Promise<User | null> | null = null;

export function getUser() {
  cachedUser ??= fetchCurrentUser();
  return cachedUser;
}

export function clearUserCache() {
  cachedUser = null;
}

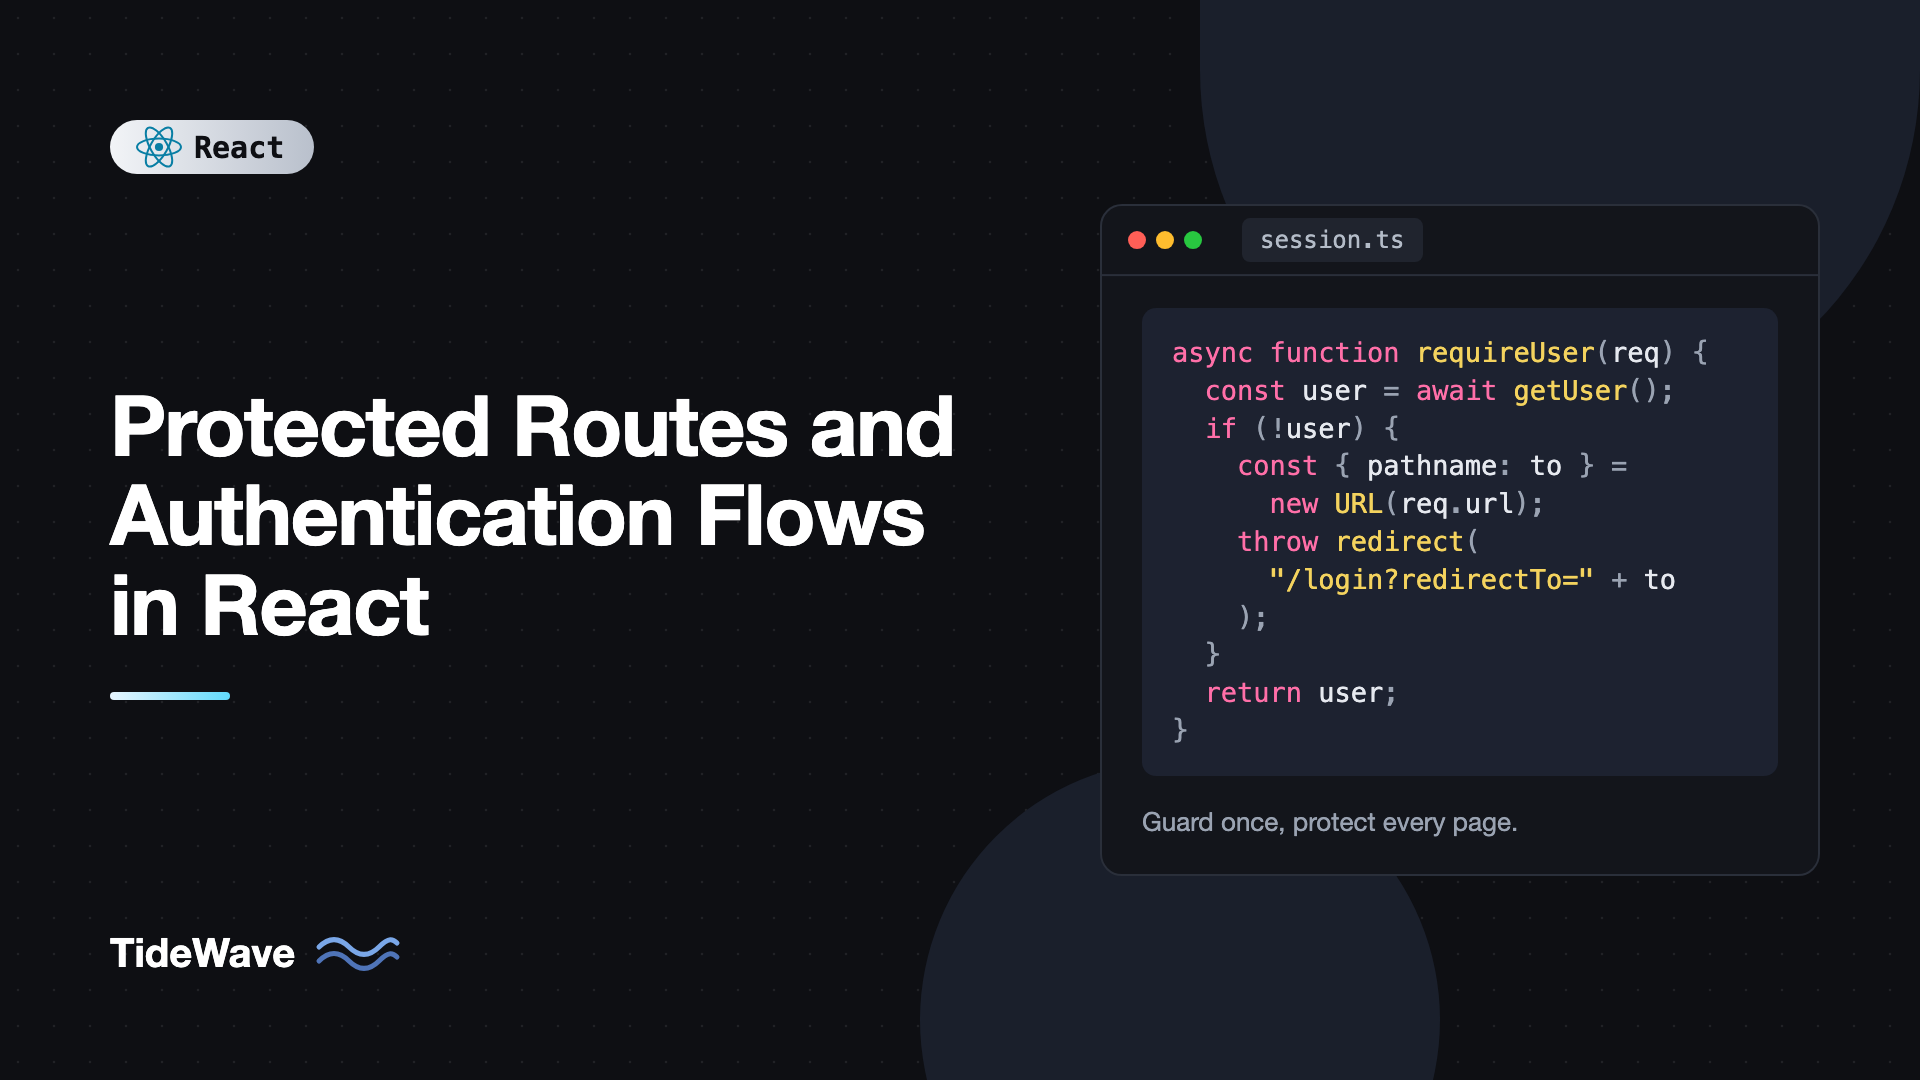
export async function requireUser(request: Request): Promise<User> {
  const user = await getUser();
  if (!user) {
    const url = new URL(request.url);
    const redirectTo = url.pathname + url.search;
    throw redirect(`/login?redirectTo=${encodeURIComponent(redirectTo)}`);
  }
  return user;
}
The module-level promise means the session is fetched once and shared by every loader, instead of calling /api/me on each navigation. Clear it on login and logout.
Throwing a redirect from a loader stops the navigation and sends the user elsewhere. Put it in a pathless layout route and the whole branch is protected:
// src/router.tsx
import { createBrowserRouter, redirect } from "react-router";
import { clearUserCache, getUser, requireUser } from "./auth/session";
import * as api from "./auth/api";
import { AppLayout, Dashboard, Login, Settings, Home } from "./pages";

export const router = createBrowserRouter([
  { path: "/", Component: Home },
  {
    path: "/login",
    Component: Login,
    async loader() {
      if (await getUser()) return redirect("/dashboard");
      return null;
    },
    async action({ request }) {
      const form = await request.formData();
      try {
        await api.login(String(form.get("email")), String(form.get("password")));
      } catch {
        return { error: "Invalid email or password" };
      }
      clearUserCache();
      const target = new URL(request.url).searchParams.get("redirectTo");
      return redirect(target?.startsWith("/") && !target.startsWith("//") ? target : "/dashboard");
    },
  },
  {
    id: "protected",
    Component: AppLayout,
    loader: async ({ request }) => ({ user: await requireUser(request) }),
    children: [
      { path: "/dashboard", Component: Dashboard },
      { path: "/settings", Component: Settings },
    ],
  },
  {
    path: "/logout",
    async action() {
      await api.logout();
      clearUserCache();
      return redirect("/login");
    },
  },
]);
In this setup, the Login component no longer needs the auth context. It renders a React Router <Form method="post"> with email and password fields and shows useActionData()?.error when sign-in fails. The action handles the request, clears the cached session, and redirects.
There's one subtlety. Loaders of matched routes run in parallel, so a child loader starts at the same time as the parent's requireUser check. The redirect still wins, and the server rejects the child's request anyway, but if a child loader must never start without a user, call requireUser(request) at the top of that loader too. Because the session is cached, the extra call costs nothing.
Inside protected pages, read the user with useRouteLoaderData("protected"). Logging out is a Form that posts to the logout route:
import { Form } from "react-router";

export function LogoutButton() {
  return (
    <Form method="post" action="/logout">
      <button type="submit">Log out</button>
    </Form>
  );
}
Using an action for logout means React Router revalidates loaders afterward, so no protected data lingers on screen.
Role-Based Access
Some routes need more than "logged in". An admin area should check the user's role. Build it on top of requireUser:
// src/auth/session.ts (continued)
import { data } from "react-router";

export async function requireRole(request: Request, role: User["role"]) {
  const user = await requireUser(request);
  if (user.role !== role) {
    throw data("You don't have access to this page", { status: 403 });
  }
  return user;
}
{
  path: "/admin",
  Component: AdminLayout,
  ErrorBoundary: AdminError,
  loader: async ({ request }) => ({ user: await requireRole(request, "admin") }),
  children: [{ index: true, Component: AdminHome }],
}
A non-admin gets a 403 rendered by the route's error boundary, which can explain the situation instead of silently redirecting. Logged-out visitors are still sent to login, because requireUser runs first.
For the declarative approach, the same idea is a RequireRole guard that checks user.role and renders a "Not authorized" page or redirects.
Hiding UI per role, like an "Edit" button only admins see, is fine as a convenience. Just remember it's cosmetic. The API must reject the edit for non-admins.
Handling Expired Sessions
Sessions expire while users are on the page. When an API call returns 401, send the user to login with the current URL so they can continue afterward:
// src/lib/api-fetch.ts
export async function apiFetch(input: string, init?: RequestInit) {
  const res = await fetch(input, { ...init, credentials: "include" });
  if (res.status === 401) {
    const here = window.location.pathname + window.location.search;
    window.location.assign(`/login?redirectTo=${encodeURIComponent(here)}`);
    throw new Error("Session expired");
  }
  return res;
}
A full page navigation here is intentional. It resets in-memory state, including any cached data that belonged to the old session.
Common Mistakes With Protected Routes
- Trusting the client. Hiding a route doesn't secure the API behind it. The server must verify every request.
- Redirecting before the session check finishes. Logged-in users get kicked to the login page on refresh. Wait for a "ready" status, or use loaders.
- Storing tokens in localStorage. Any XSS bug can read them. Prefer httpOnly cookies.
- Unvalidated
redirectTo. This creates an open redirect. Only allow same-site paths. - Forgetting
replaceon redirects. Users get stuck in redirect loops when pressing Back. - Not clearing cached data on logout. The next user on a shared computer may see the previous user's data. Clear caches like TanStack Query's
queryClient.clear()when signing out. - Checking auth in every page component. Use one guard or one parent loader for the whole group.
Frequently Asked Questions (FAQ) About Protected Routes in React
They aren't a security boundary by themselves. They only control what the UI shows. Real protection comes from the server checking the session on every API request and refusing to return data to unauthorized users.
Use loaders if you're on React Router data mode or framework mode. They run before render, avoid a flash of protected UI, and stop protected data from loading. Guard components are the right choice in declarative mode or when auth state comes from a client SDK.
Put the original path in a query parameter like redirectTo when redirecting to login. After a successful sign-in, read it, check that it's a same-site path starting with a single slash, and navigate there with replace.
The guard runs before the session request finishes, when the user is still null. Track a loading status and render a placeholder until the session check completes, or move the check into a loader that awaits it.
For browser apps talking to your own backend, an httpOnly, Secure, SameSite cookie is the safest option because JavaScript can't read it. If you must handle tokens in JavaScript, keep the access token in memory and use a cookie for the refresh token.
Load the user with their role, then check it in the guard or loader. Throw a 403 response from a loader to render an error boundary, or redirect to a safe page. Always enforce the same role check on the server.
Conclusion
A solid auth flow in React comes down to a few pieces: a single source of truth for the current user, one guard or parent loader protecting a whole group of routes, a login page that returns users to where they started, and a logout that clears both the session and any cached data. Add a loading state or use loaders so logged-in users never get bounced, validate redirectTo to avoid open redirects, and layer role checks on top of the basic user check.
Start by moving whatever auth checks you have scattered across pages into one pathless layout route. Then make sure every API behind those pages verifies the session on the server. If you're new to the router APIs used here, the React Router v7 beginner's guide covers loaders, actions, and forms from the ground up.