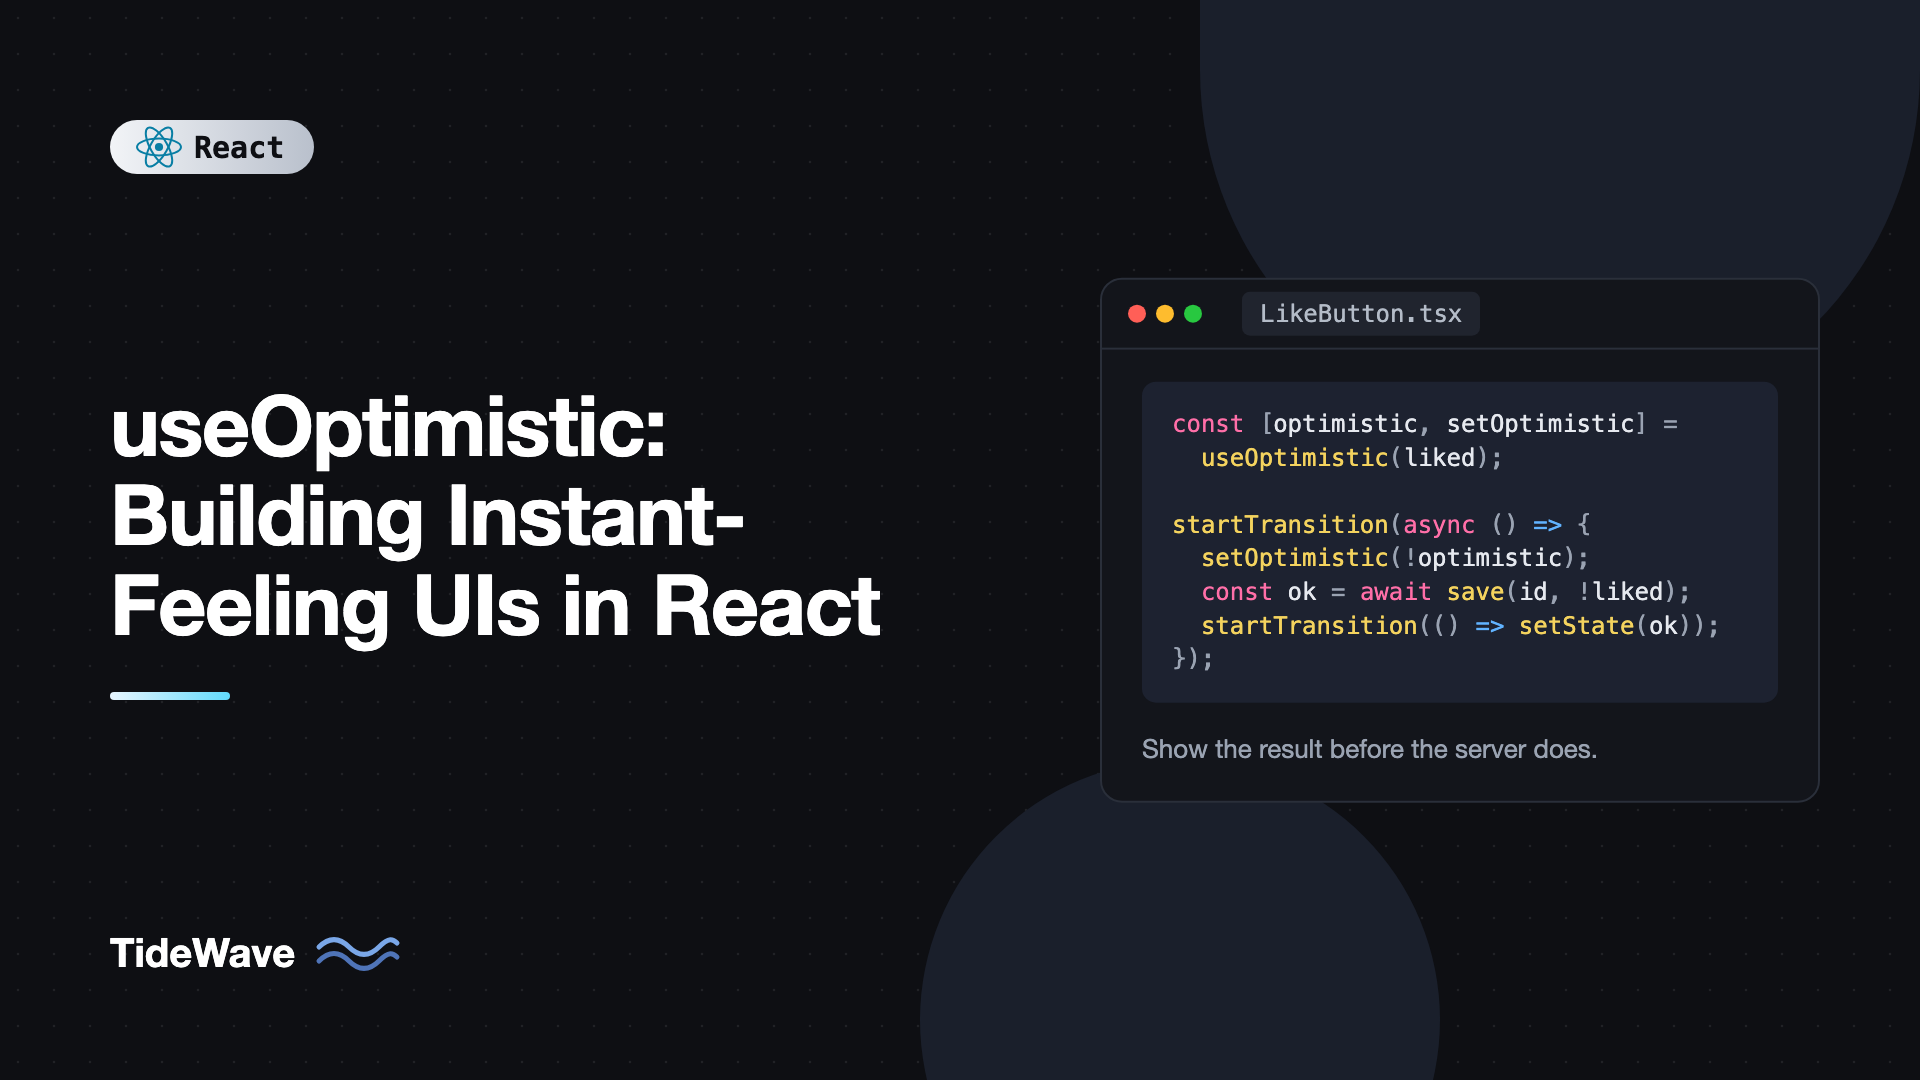
useOptimistic: Building Instant-Feeling UIs in React
You click a heart icon and nothing happens for 400 milliseconds. Then it fills in. The request succeeded, but the app felt sluggish, and some users clicked twice. Most interactions like this succeed almost every time, so making the user wait for the server to confirm something you already know is going to happen is wasted time.
Optimistic updates fix this by showing the expected result immediately and reconciling with the server afterward. Doing it by hand means juggling temporary state, remembering to roll back on failure, and avoiding race conditions when the real data arrives. React 19 adds a hook for exactly this: useOptimistic.
This post covers how useOptimistic works, why it must run inside a transition or action, and how to use it for a like button, a chat input, and a todo list. It also covers error handling, combining it with server state libraries, and the mistakes that cause flicker or warnings.
How useOptimistic Works
const [optimisticState, addOptimistic] = useOptimistic(state, updateFn);
stateis the real, confirmed value, usually fromuseState, props, or a data library.updateFn(currentState, optimisticValue)is a pure function that returns the optimistic version of the state. It's optional. Without it, the value you pass toaddOptimisticsimply replaces the state.optimisticStateis what you render. When no action is pending, it equalsstate.addOptimistic(value)applies an optimistic update.
The key behavior: optimistic values only live while an action (async transition) is pending. As soon as the action finishes, React throws away the optimistic layer and renders the real state again. If you updated state with the server's response before the action ended, the user sees the confirmed value with no flicker. If the request failed and you didn't update state, the UI quietly reverts to what it was before.
That's why you never write rollback code with useOptimistic. Reverting is the default.
Why It Needs a Transition
addOptimistic must be called inside an Action: a function passed to startTransition, or a function passed to a form's action prop (which React wraps in a transition for you). If you call it from a plain event handler, React logs a warning that an optimistic update occurred outside a transition or action, and the update is discarded right away.
The reason is simple. React needs to know when the operation ends so it can drop the optimistic value. A transition gives it that boundary. If you haven't used async transitions yet, useTransition and useDeferredValue covers the basics.
Example 1: A Like Button
Start with a fake API so the examples are self-contained:
// api.ts
const wait = (ms: number) => new Promise((r) => setTimeout(r, ms));

export async function setLiked(postId: string, liked: boolean): Promise<boolean> {
  await wait(800);
  if (Math.random() < 0.1) throw new Error("Network error");
  return liked;
}
Now the button:
// LikeButton.tsx
import { startTransition, useOptimistic, useState } from "react";
import { setLiked } from "./api";

export function LikeButton({ postId, initialLiked }: { postId: string; initialLiked: boolean }) {
  const [liked, setLikedState] = useState(initialLiked);
  const [optimisticLiked, setOptimisticLiked] = useOptimistic(liked);
  const [error, setError] = useState<string | null>(null);

  function handleClick() {
    const next = !optimisticLiked;
    setError(null);

    startTransition(async () => {
      setOptimisticLiked(next);
      try {
        const confirmed = await setLiked(postId, next);
        startTransition(() => setLikedState(confirmed));
      } catch {
        setError("Couldn't save your like. Try again.");
      }
    });
  }

  return (
    <>
      <button onClick={handleClick} aria-pressed={optimisticLiked}>
        {optimisticLiked ? "♥ Liked" : "♡ Like"}
      </button>
      {error && <p role="alert">{error}</p>}
    </>
  );
}
Walk through a click:
setOptimisticLiked(true)runs inside the transition. The button shows "Liked" immediately.- The request runs for 800ms.
likedis stillfalse, but the UI shows the optimistic value. - On success,
setLikedState(true)updates the real state. When the action finishes, the optimistic layer is dropped and the real value, alsotrue, is shown. No flicker. - On failure, the real state stays
false. When the action ends, the button reverts to "Like" and the error appears.
The second startTransition around setLikedState is there because state updates after an await aren't automatically part of the surrounding transition. Wrapping them keeps the update in the same batch as the end of the action.
Note that next is computed from optimisticLiked, not liked. If the user clicks twice quickly, the second click should toggle what they see, not the stale confirmed value.
Example 2: Chat Messages With a Form Action
useOptimistic fits naturally with form actions. React 19 lets you pass a function to a form's action prop, and it runs inside a transition automatically:
// Chat.tsx
import { startTransition, useOptimistic, useRef, useState } from "react";

type Message = { id: string; text: string; sending?: boolean };

async function deliverMessage(text: string): Promise<Message> {
  await new Promise((r) => setTimeout(r, 1000));
  return { id: crypto.randomUUID(), text };
}

export function Chat() {
  const [messages, setMessages] = useState<Message[]>([]);
  const formRef = useRef<HTMLFormElement>(null);

  const [optimisticMessages, addOptimisticMessage] = useOptimistic(
    messages,
    (current: Message[], text: string) => [
      ...current,
      { id: `temp-${current.length}`, text, sending: true },
    ],
  );

  async function sendAction(formData: FormData) {
    const text = String(formData.get("message") ?? "").trim();
    if (!text) return;

    addOptimisticMessage(text);
    formRef.current?.reset();

    const saved = await deliverMessage(text);
    startTransition(() => {
      setMessages((prev) => [...prev, saved]);
    });
  }

  return (
    <div>
      <ul>
        {optimisticMessages.map((m) => (
          <li key={m.id} style={{ opacity: m.sending ? 0.5 : 1 }}>
            {m.text}
            {m.sending && <small> (sending…)</small>}
          </li>
        ))}
      </ul>
      <form action={sendAction} ref={formRef}>
        <input name="message" placeholder="Type a message" autoComplete="off" />
        <button type="submit">Send</button>
      </form>
    </div>
  );
}
The update function receives the current state and the value passed to addOptimisticMessage, and returns a new array with a temporary message marked sending: true. The UI dims it until the server confirms.
React resets uncontrolled forms automatically after a successful action. The explicit formRef.current?.reset() clears the input immediately instead of waiting a full second, which matters for a chat box where users type the next message right away.
Multiple Pending Updates
If the user sends three messages quickly, each submission starts its own action. useOptimistic stacks the optimistic updates: all three appear with "sending…" at once. When an action completes, React recomputes the optimistic state by replaying the still-pending updates on top of the latest real state. Because the update function is pure and works from current, this replay is always correct.
This is also why the update function must be pure. React may call it more than once.
Example 3: A Todo List With Add, Toggle, and Delete
When one list supports several kinds of changes, pass an action object to the update function, like a reducer:
// Todos.tsx
import { startTransition, useOptimistic, useState } from "react";

type Todo = { id: string; title: string; done: boolean; pending?: boolean };

type OptimisticAction =
  | { type: "add"; todo: Todo }
  | { type: "toggle"; id: string }
  | { type: "delete"; id: string };

function applyOptimistic(todos: Todo[], action: OptimisticAction): Todo[] {
  switch (action.type) {
    case "add":
      return [...todos, { ...action.todo, pending: true }];
    case "toggle":
      return todos.map((t) => (t.id === action.id ? { ...t, done: !t.done, pending: true } : t));
    case "delete":
      return todos.filter((t) => t.id !== action.id);
  }
}

const api = {
  async create(title: string): Promise<Todo> {
    await new Promise((r) => setTimeout(r, 600));
    return { id: crypto.randomUUID(), title, done: false };
  },
  async update(todo: Todo): Promise<Todo> {
    await new Promise((r) => setTimeout(r, 600));
    return todo;
  },
  async remove(id: string): Promise<void> {
    await new Promise((r) => setTimeout(r, 600));
  },
};

export function Todos() {
  const [todos, setTodos] = useState<Todo[]>([]);
  const [optimisticTodos, dispatchOptimistic] = useOptimistic(todos, applyOptimistic);

  function addTodo(formData: FormData) {
    const title = String(formData.get("title") ?? "").trim();
    if (!title) return;
    startTransition(async () => {
      dispatchOptimistic({ type: "add", todo: { id: `temp-${Date.now()}`, title, done: false } });
      const created = await api.create(title);
      startTransition(() => setTodos((prev) => [...prev, created]));
    });
  }

  function toggleTodo(todo: Todo) {
    startTransition(async () => {
      dispatchOptimistic({ type: "toggle", id: todo.id });
      const updated = await api.update({ ...todo, done: !todo.done });
      startTransition(() =>
        setTodos((prev) => prev.map((t) => (t.id === updated.id ? updated : t))),
      );
    });
  }

  function deleteTodo(id: string) {
    startTransition(async () => {
      dispatchOptimistic({ type: "delete", id });
      await api.remove(id);
      startTransition(() => setTodos((prev) => prev.filter((t) => t.id !== id)));
    });
  }

  return (
    <>
      <form action={addTodo}>
        <input name="title" placeholder="New todo" />
        <button type="submit">Add</button>
      </form>
      <ul>
        {optimisticTodos.map((todo) => (
          <li key={todo.id} style={{ opacity: todo.pending ? 0.6 : 1 }}>
            <label>
              <input
                type="checkbox"
                checked={todo.done}
                disabled={todo.pending}
                onChange={() => toggleTodo(todo)}
              />
              {todo.title}
            </label>
            <button onClick={() => deleteTodo(todo.id)} disabled={todo.pending}>
              Delete
            </button>
          </li>
        ))}
      </ul>
    </>
  );
}
Disabling controls on pending items prevents the user from acting on a todo that only exists with a temporary ID. The discriminated union for actions keeps the update function type-safe; discriminated unions for type-safe React props covers that technique in more depth.
Handling Errors Properly
Automatic reverting covers the UI, but users still need to know something failed. A silent revert is confusing: "I'm sure I liked that." Good error handling for optimistic UIs includes:
- A visible message near the control or as a toast, explaining what didn't save.
- A retry path. For a chat message, keep the failed text so the user can resend it instead of retyping.
- Not throwing from a form action without an error boundary. An uncaught error in an action propagates to the nearest error boundary. Catch it inside the action and set error state, as in the like button example.
If you're using useActionState, you can return the error from the action and read it from the returned state, which keeps errors and pending state together. That pattern is covered in useActionState and form actions in modern React.
When Not to Be Optimistic
Optimistic UI is a bet that the operation will succeed. Avoid it when:
- Failure is common, such as validating a coupon code or checking username availability.
- The result is unknown in advance, for example a server-calculated price or a generated ID the user needs to see.
- Reverting is costly or confusing, like payments, deletions of important data, or anything irreversible. A spinner is more honest there.
Likes, follows, toggles, reordering, adding comments, and marking items read are the sweet spot.
Common Mistakes With useOptimistic
- Calling the setter outside a transition. The optimistic update gets dropped immediately and React warns. Call it inside
startTransitionor a form action. - Forgetting to update the real state. If you only set optimistic state, the UI reverts when the action ends, even when the request succeeded.
- Updating real state after the action is over. If you fire the request without awaiting it, the action ends instantly and the optimistic value disappears before the response arrives. Always
awaitthe work inside the action. - Computing the next value from confirmed state. Base toggles on the optimistic value, otherwise double clicks behave strangely.
- Side effects in the update function. It must be pure because React can replay it.
- Using temporary IDs as permanent keys. When the real item arrives with a server ID, the key changes and React remounts the row. That's usually fine, but avoid storing local state in rows that need to survive the swap.
Frequently Asked Questions (FAQ) About useOptimistic
No. It's a client hook in React 19 and works in any React app, including a plain Vite single-page app. It pairs naturally with Server Functions in frameworks, but any async function inside a transition works.
It doesn't need to do anything special. Optimistic values only exist while the action is pending. When the action finishes, React renders the real state. If you didn't update the real state because the request failed, the UI shows the original value again.
You called the addOptimistic function from a regular event handler or effect. Wrap the call and the async work in startTransition, or put it inside a function passed to a form's action prop, which React runs as a transition.
Yes. Pass the query data as the state argument and call your mutation inside an async transition, awaiting mutateAsync so the action stays pending until the request and cache update finish. TanStack Query also has its own optimistic update patterns using onMutate, so pick one approach per mutation.
They stack. React applies each pending update on top of the current real state, in order. When one action finishes, React recomputes the optimistic state from the latest real state and the remaining pending updates.
It replaces that pattern. With useState you'd save the previous value, update immediately, and restore it on failure, while handling races between overlapping requests. useOptimistic ties the temporary value to the lifetime of the action, so most of that bookkeeping goes away.
Conclusion
useOptimistic lets you show the result of an action before the server confirms it, without writing rollback logic. Render the optimistic state, call the setter inside a transition or form action, await the real work, and update the confirmed state when it succeeds. If the request fails, React reverts automatically, and your job is to tell the user what happened.
Try it on the most common low-risk interaction in your app, like a like button or a toggle, and measure how much faster it feels. Then combine it with useActionState for forms, so pending state, errors, and optimistic updates all flow through the same action.